Troubleshooting: Creaking Motor Interface on the Centauri 2Updated 6 months ago
Tools Required:
- 3mm, 5mm, 6mm, 8mm hex wrench
- Torque wrench
- Park Tool CCP-44 Crank Puller (ISIS Drive)
- Park BBT-9 or Shimano TL-FC32
- Grease and a brush
- Finger dexterity!
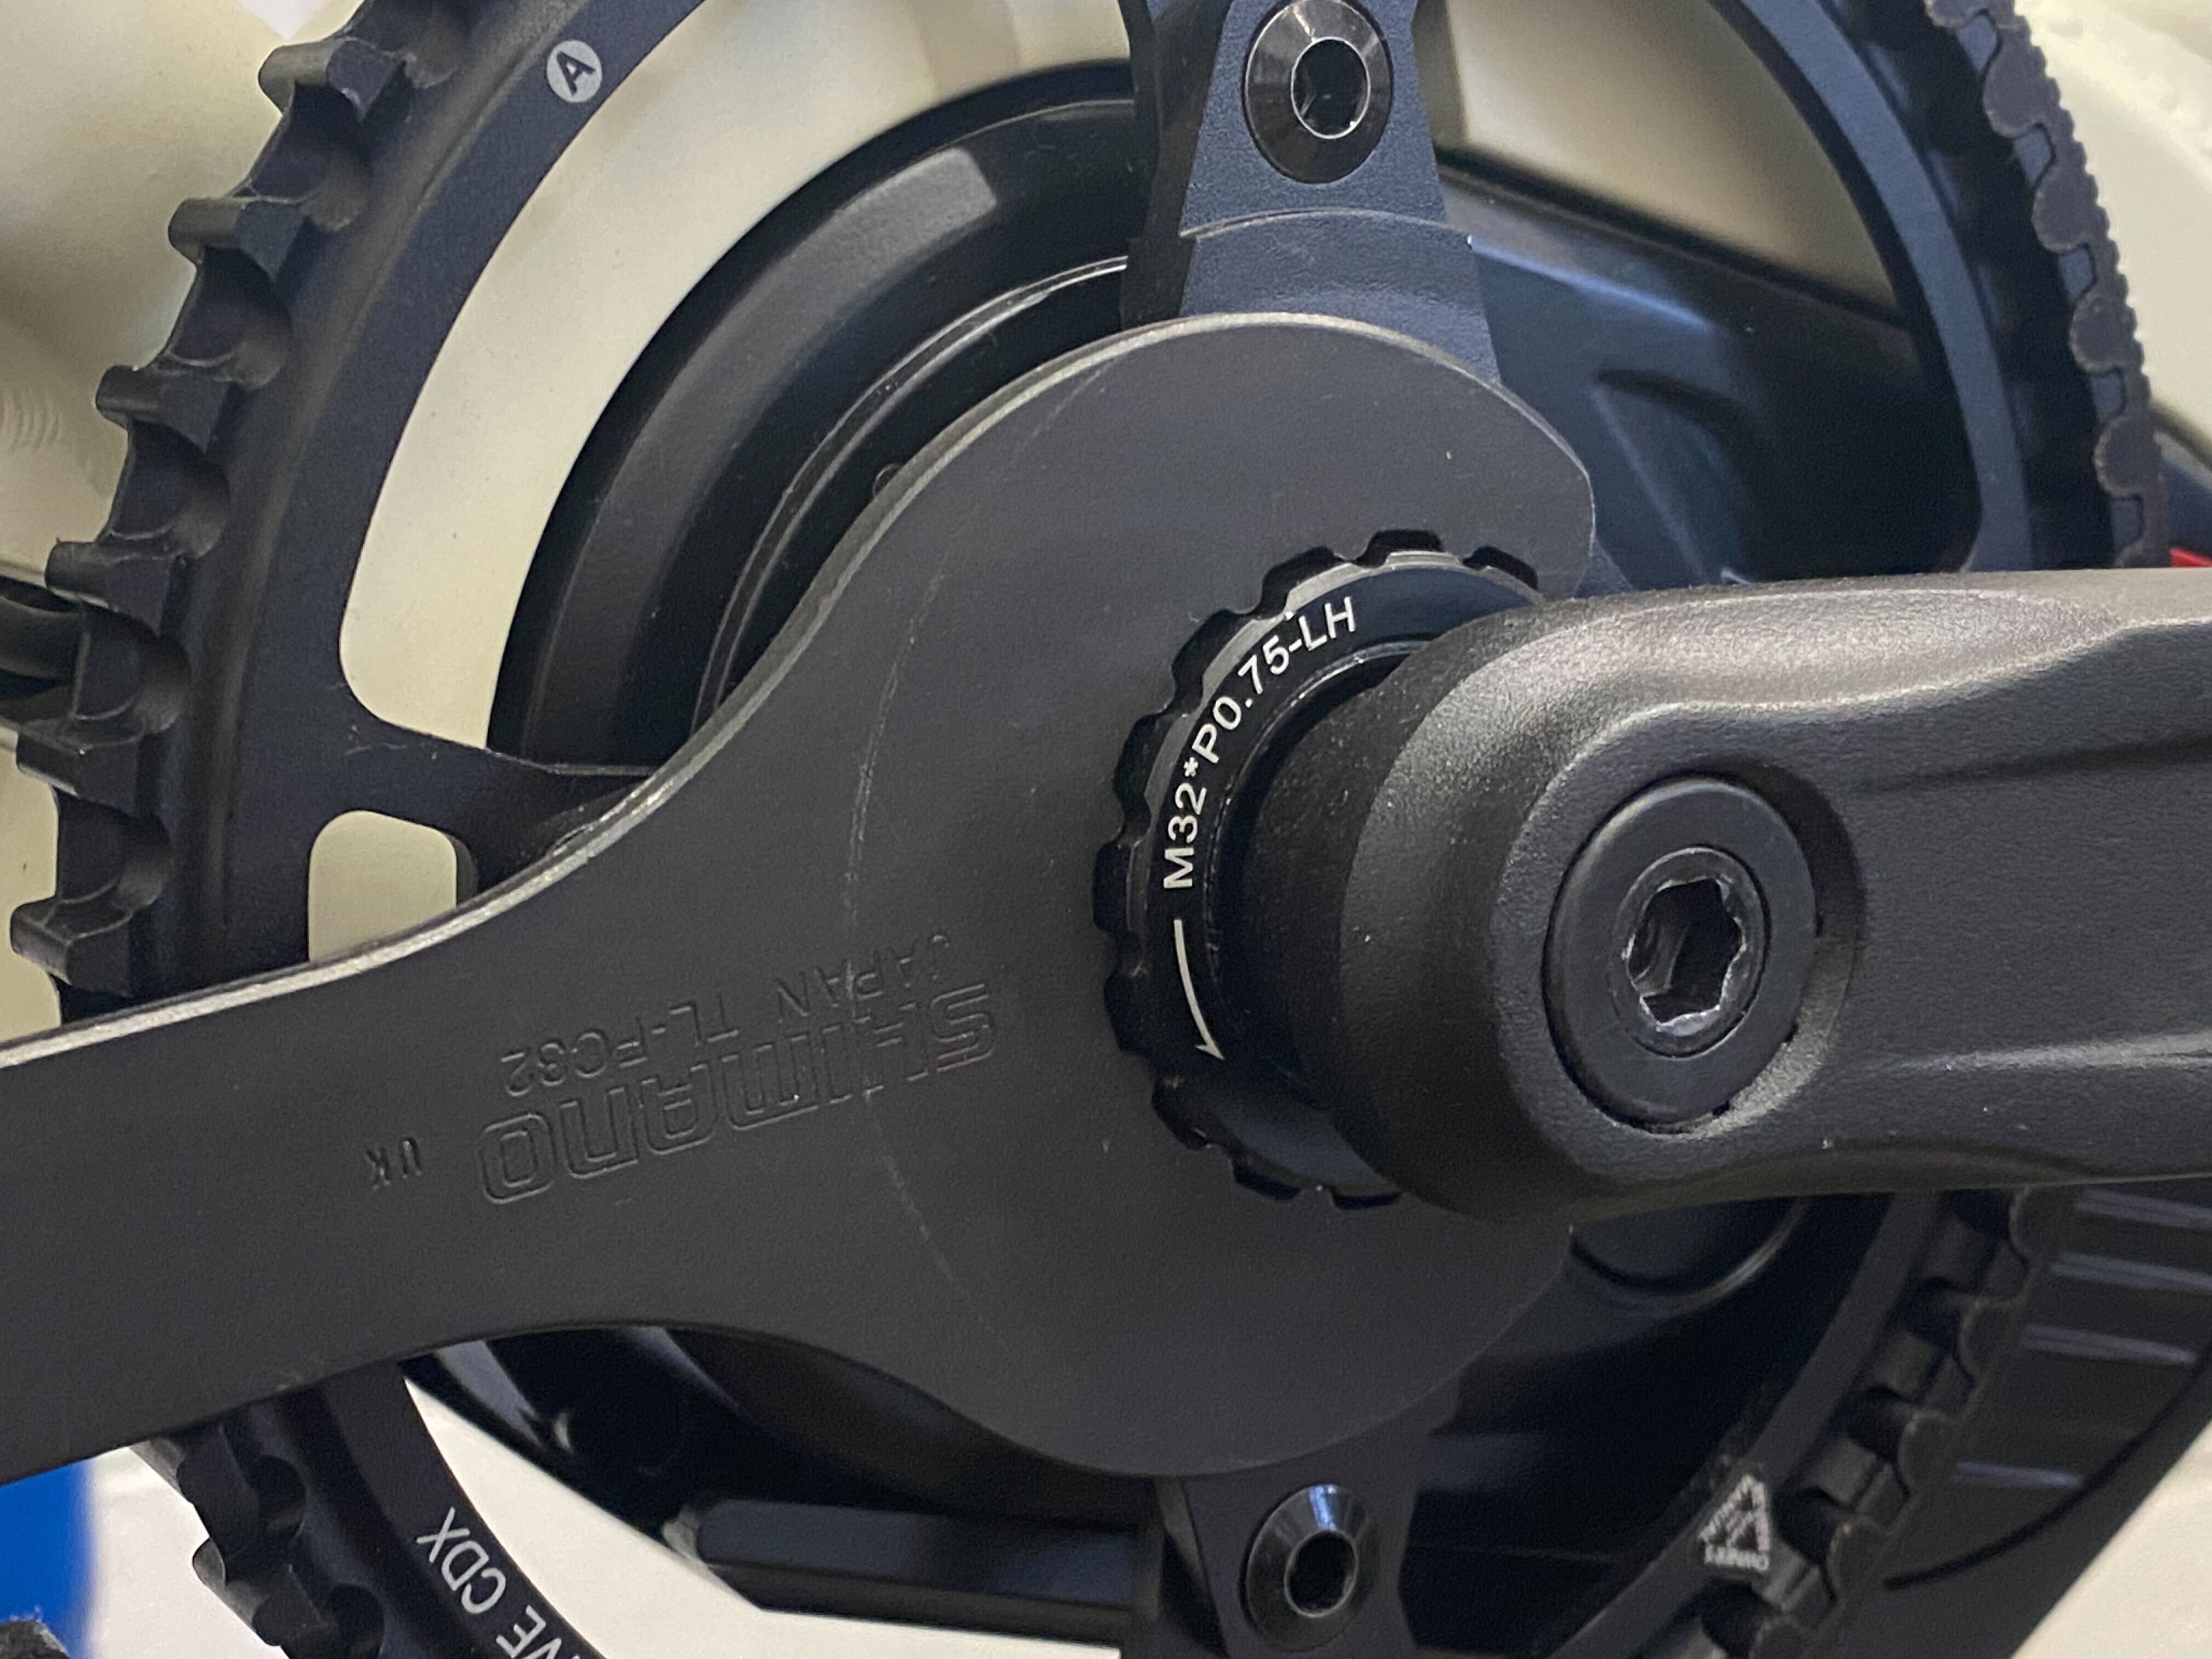
Step 1: Checking Torque on Lock Ring and Belt-Ring Bolts
- The lock ring tightens counterclockwise.
- Use the TL-FC32, or remove the crank arm (steps to follow) and use the BBT-9
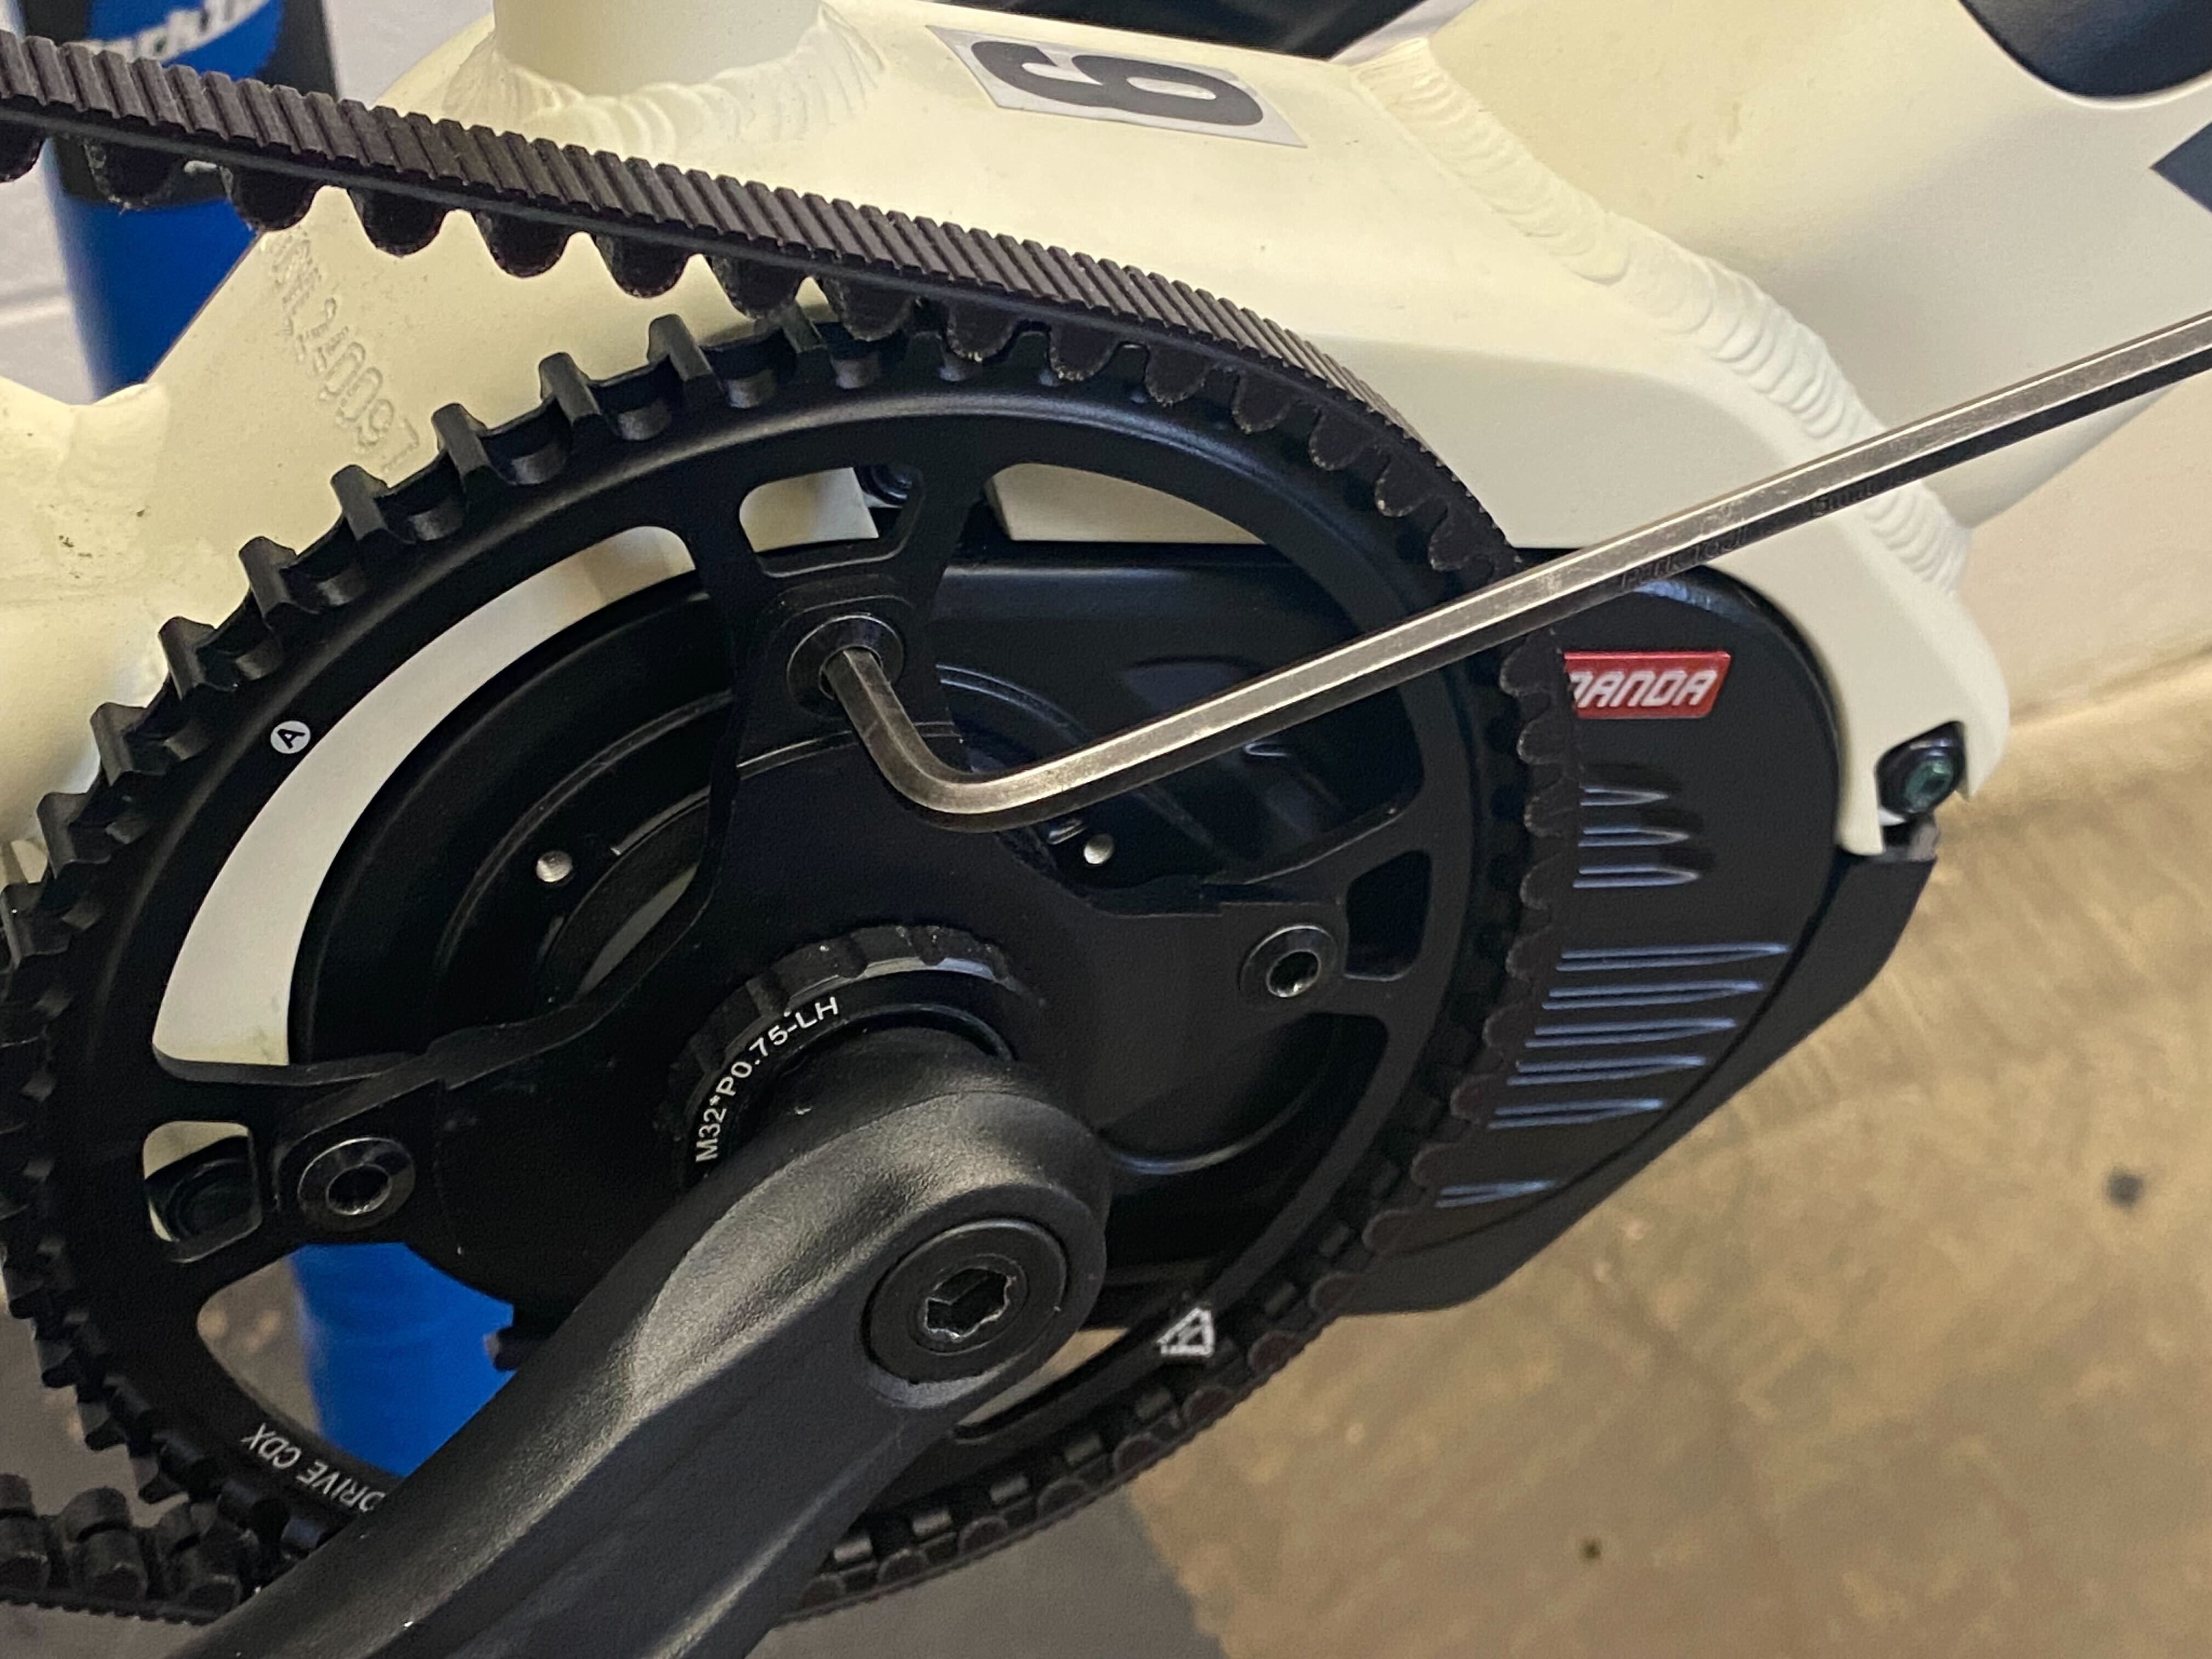
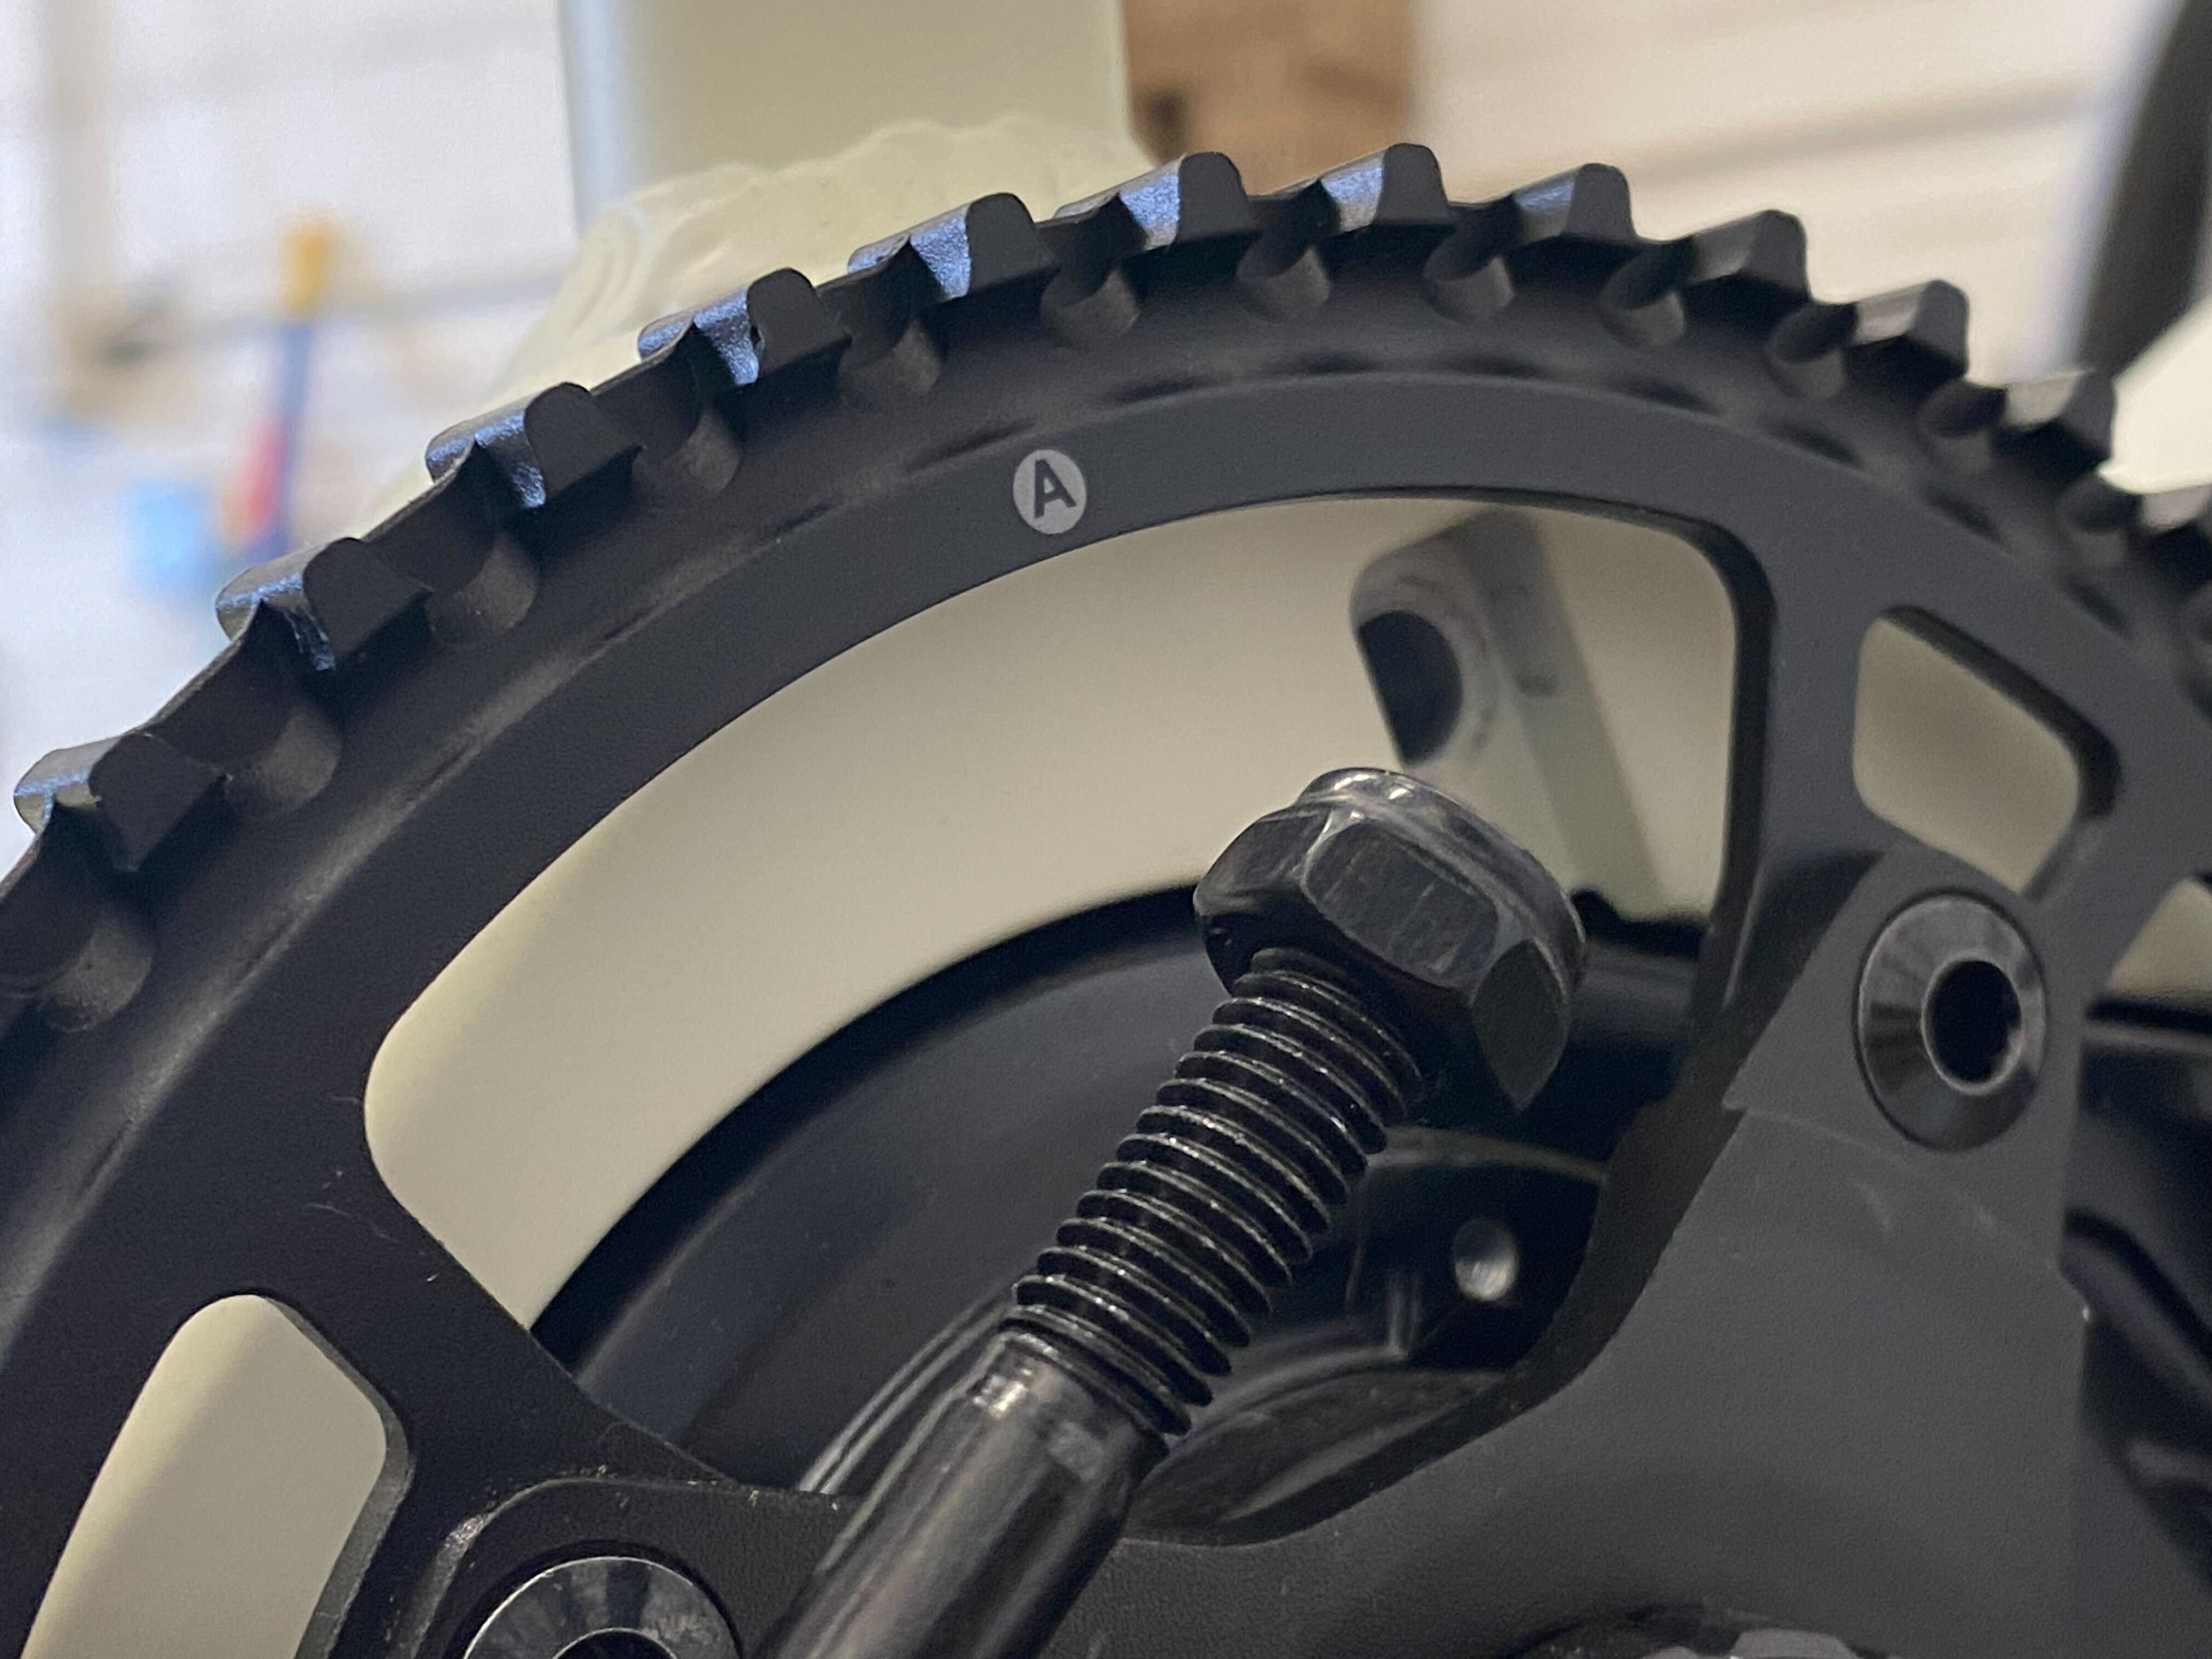
- To check the torque on the belt ring bolts:
- Use a 5mm hex wrench.
- Hold your rear brake to prevent the belt ring from spinning while checking torque.
 Park Tool TL-FC32
 5mm hex to check belt ring bolts
Step 2: Partially Dropping the Motor & Adding Grease
- Remove the rear wheel following these instructions:
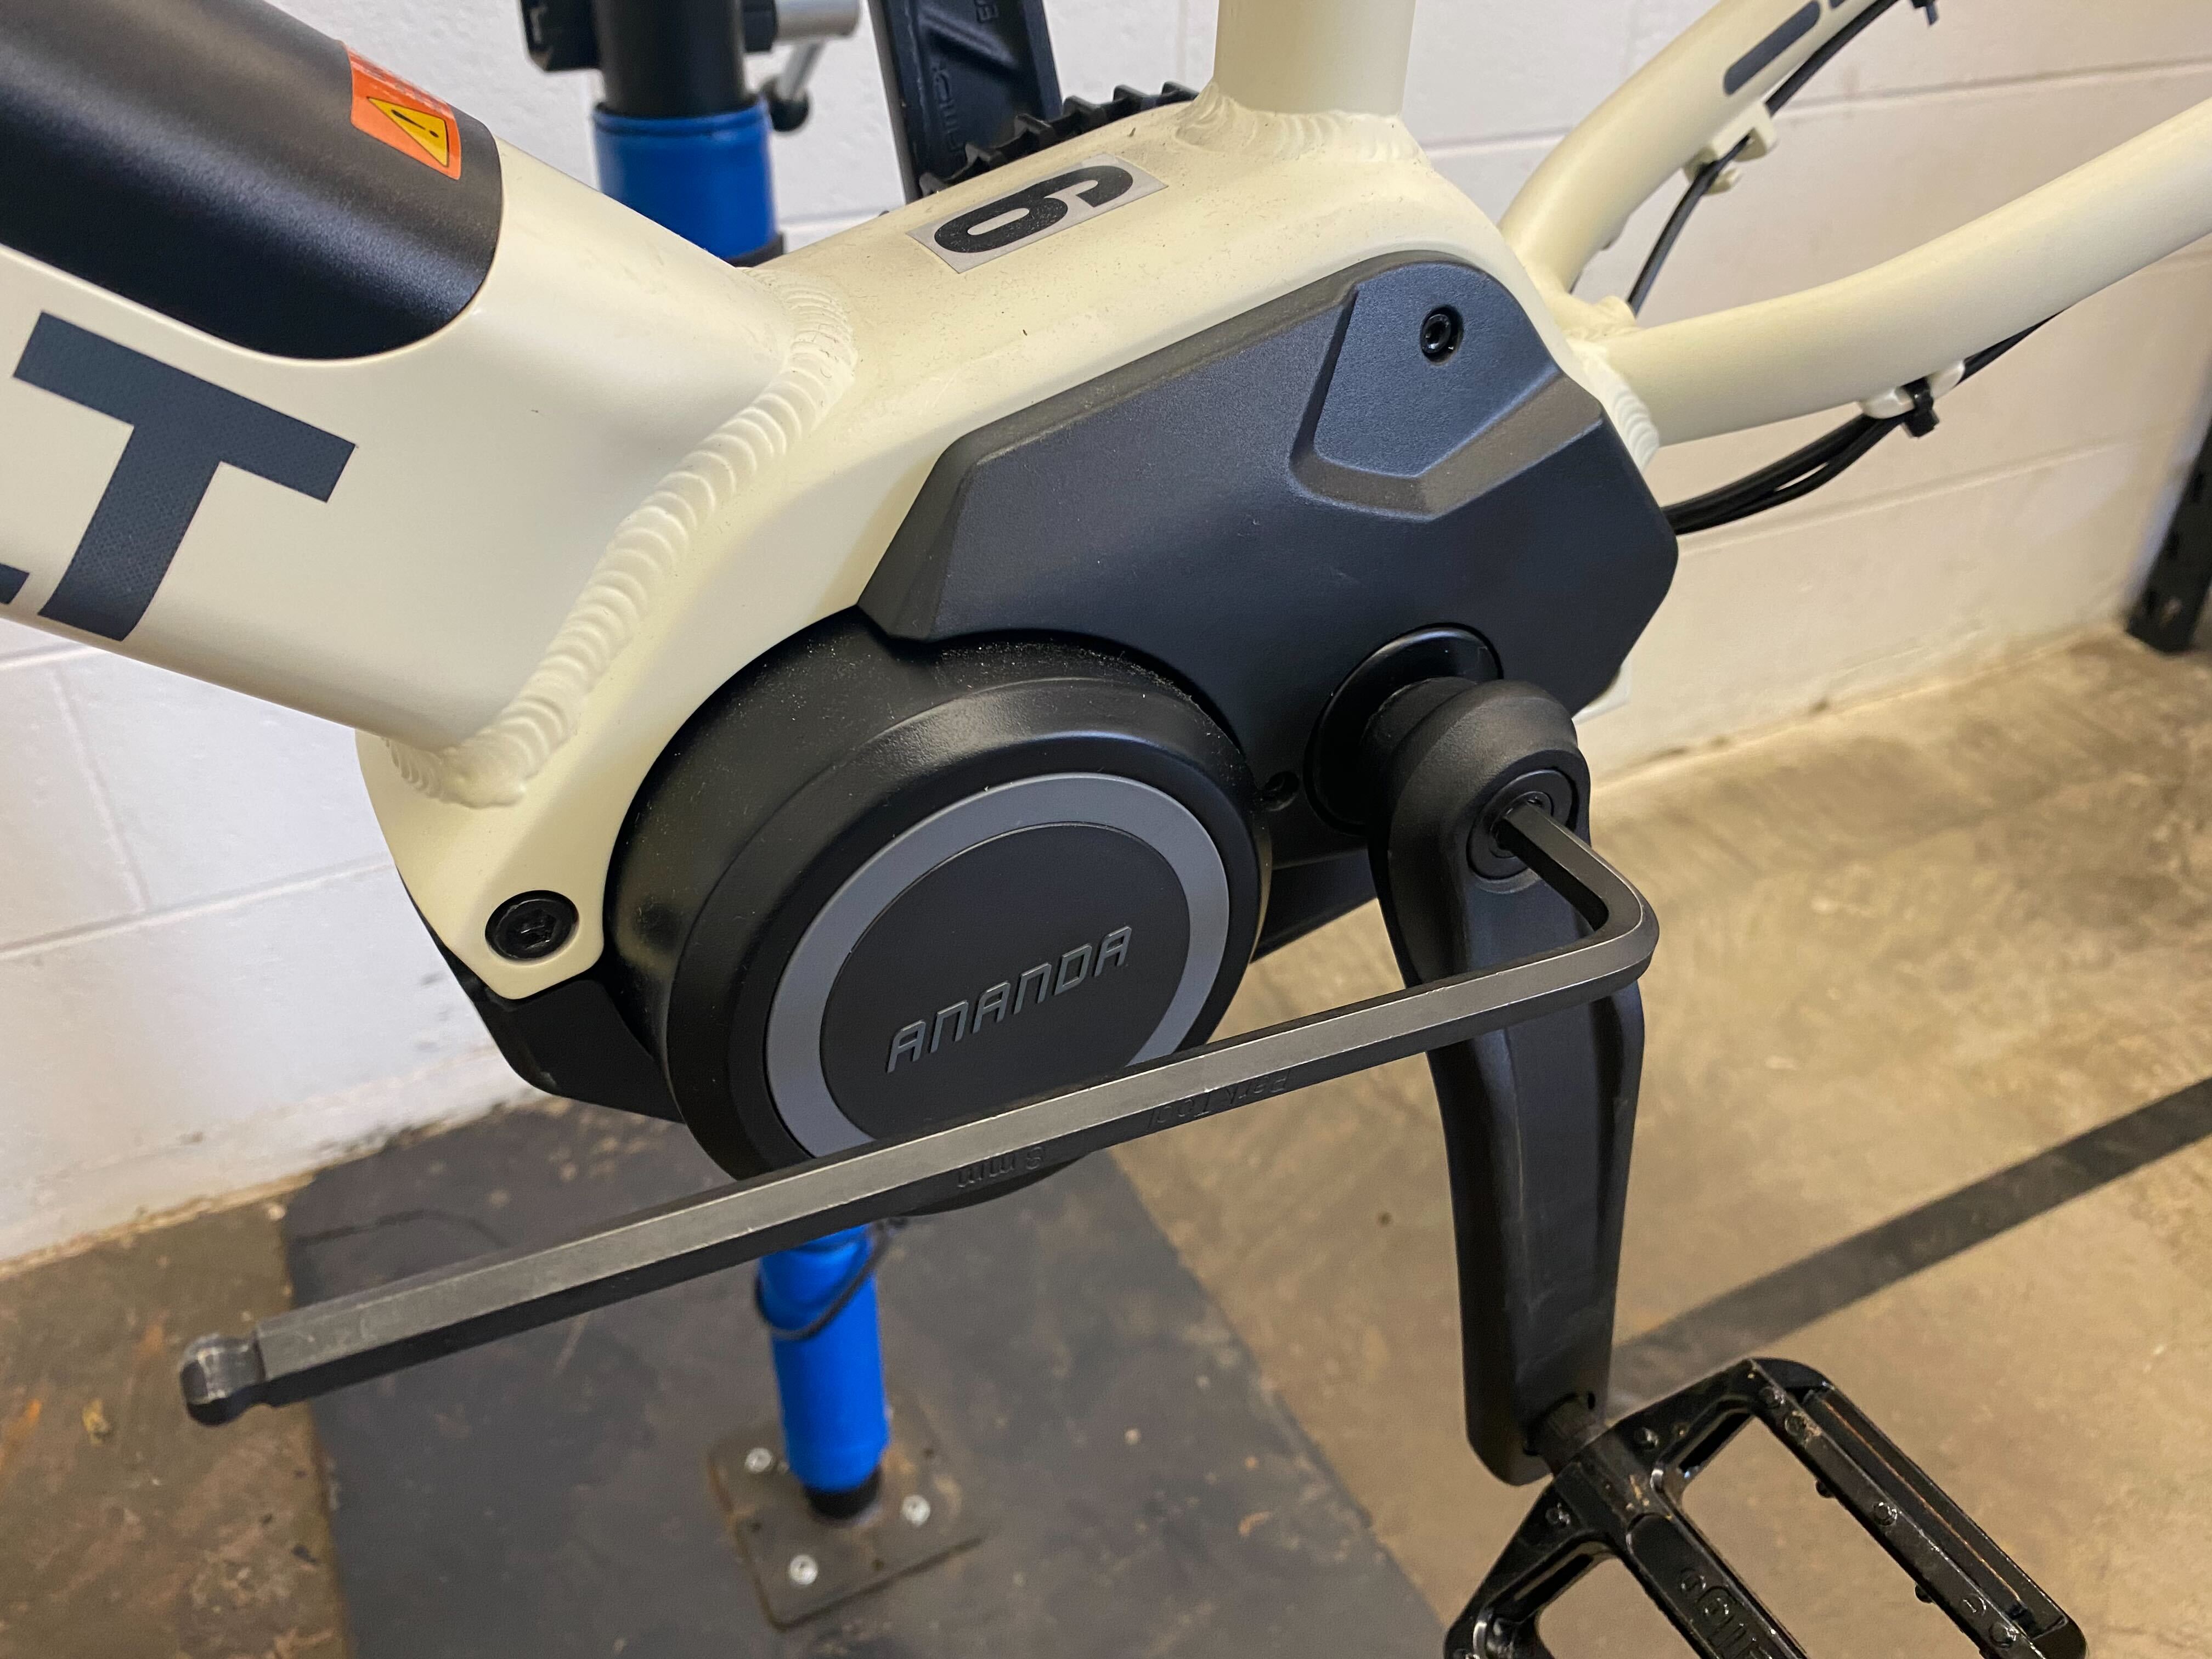
- Remove the crank fixing bolt using an 8mm hex wrench.
- Use the CCP-44 Crank Puller to detach the crank arm.
 Removing the crank arm fixing bolt
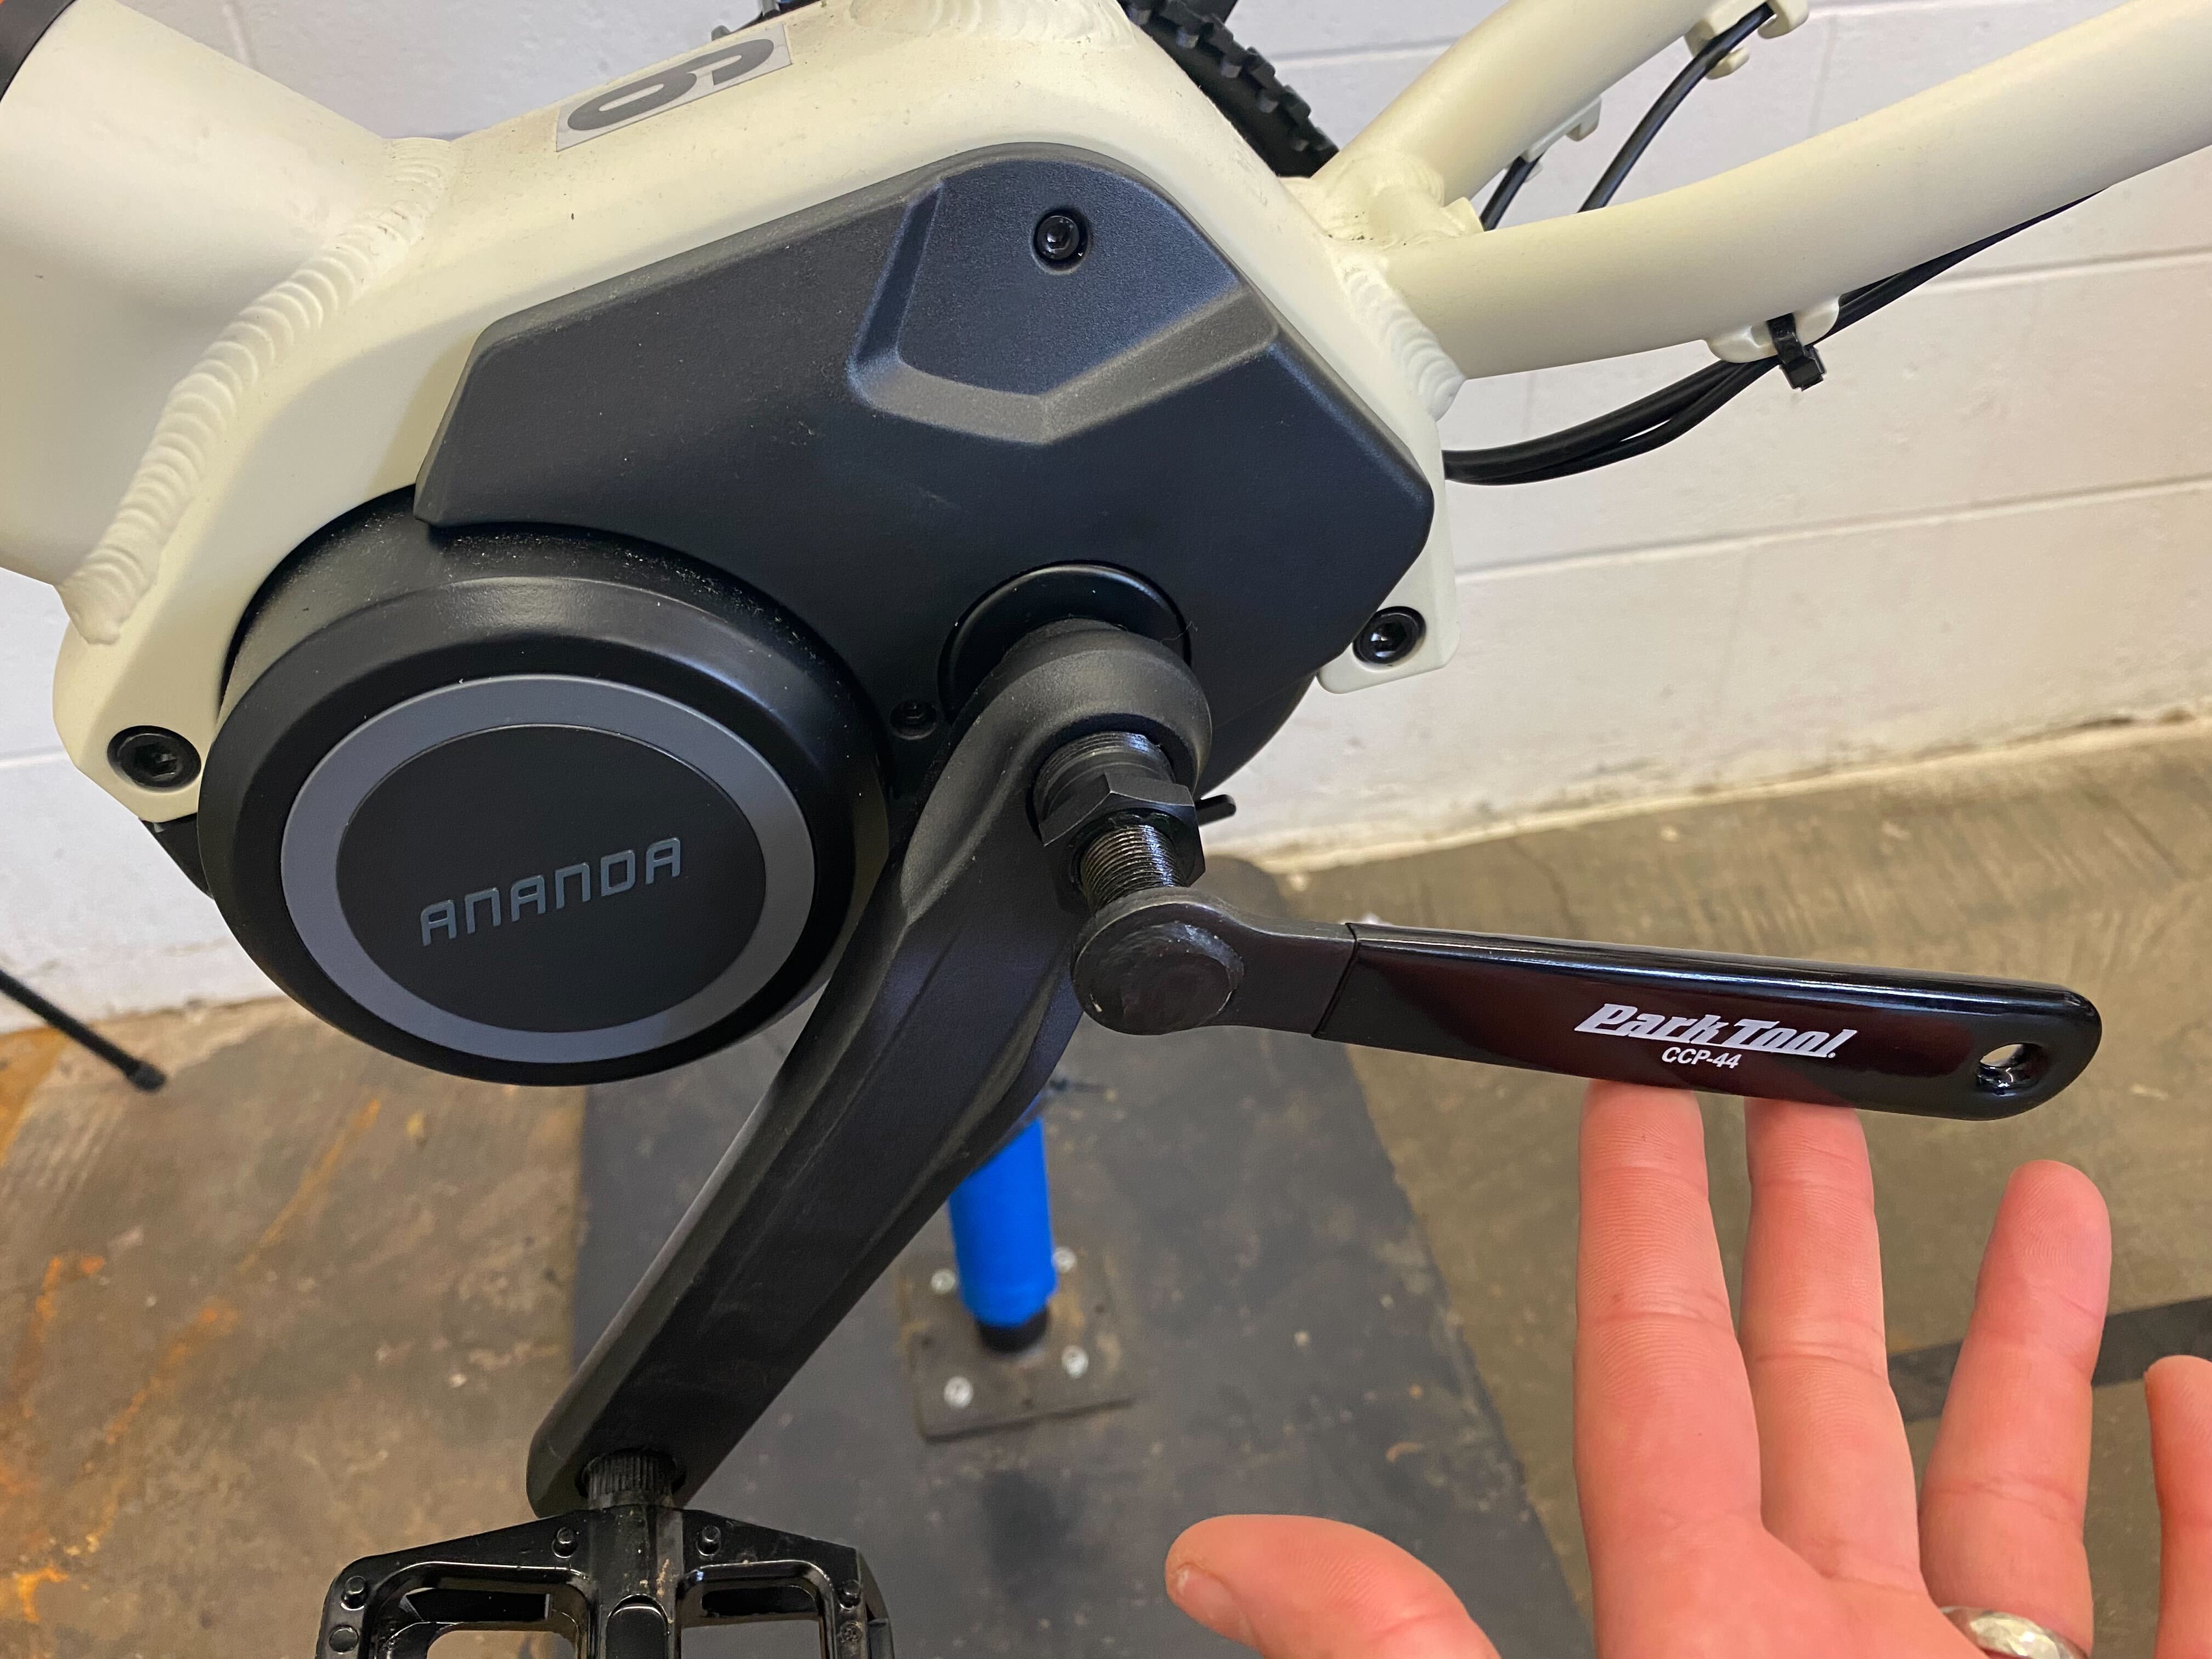 Removing the crank arm
Step 3: Removing the Plastic Motor Cover
- Use a 3mm hex wrench to remove the two fixing bolts securing the plastic motor cover.
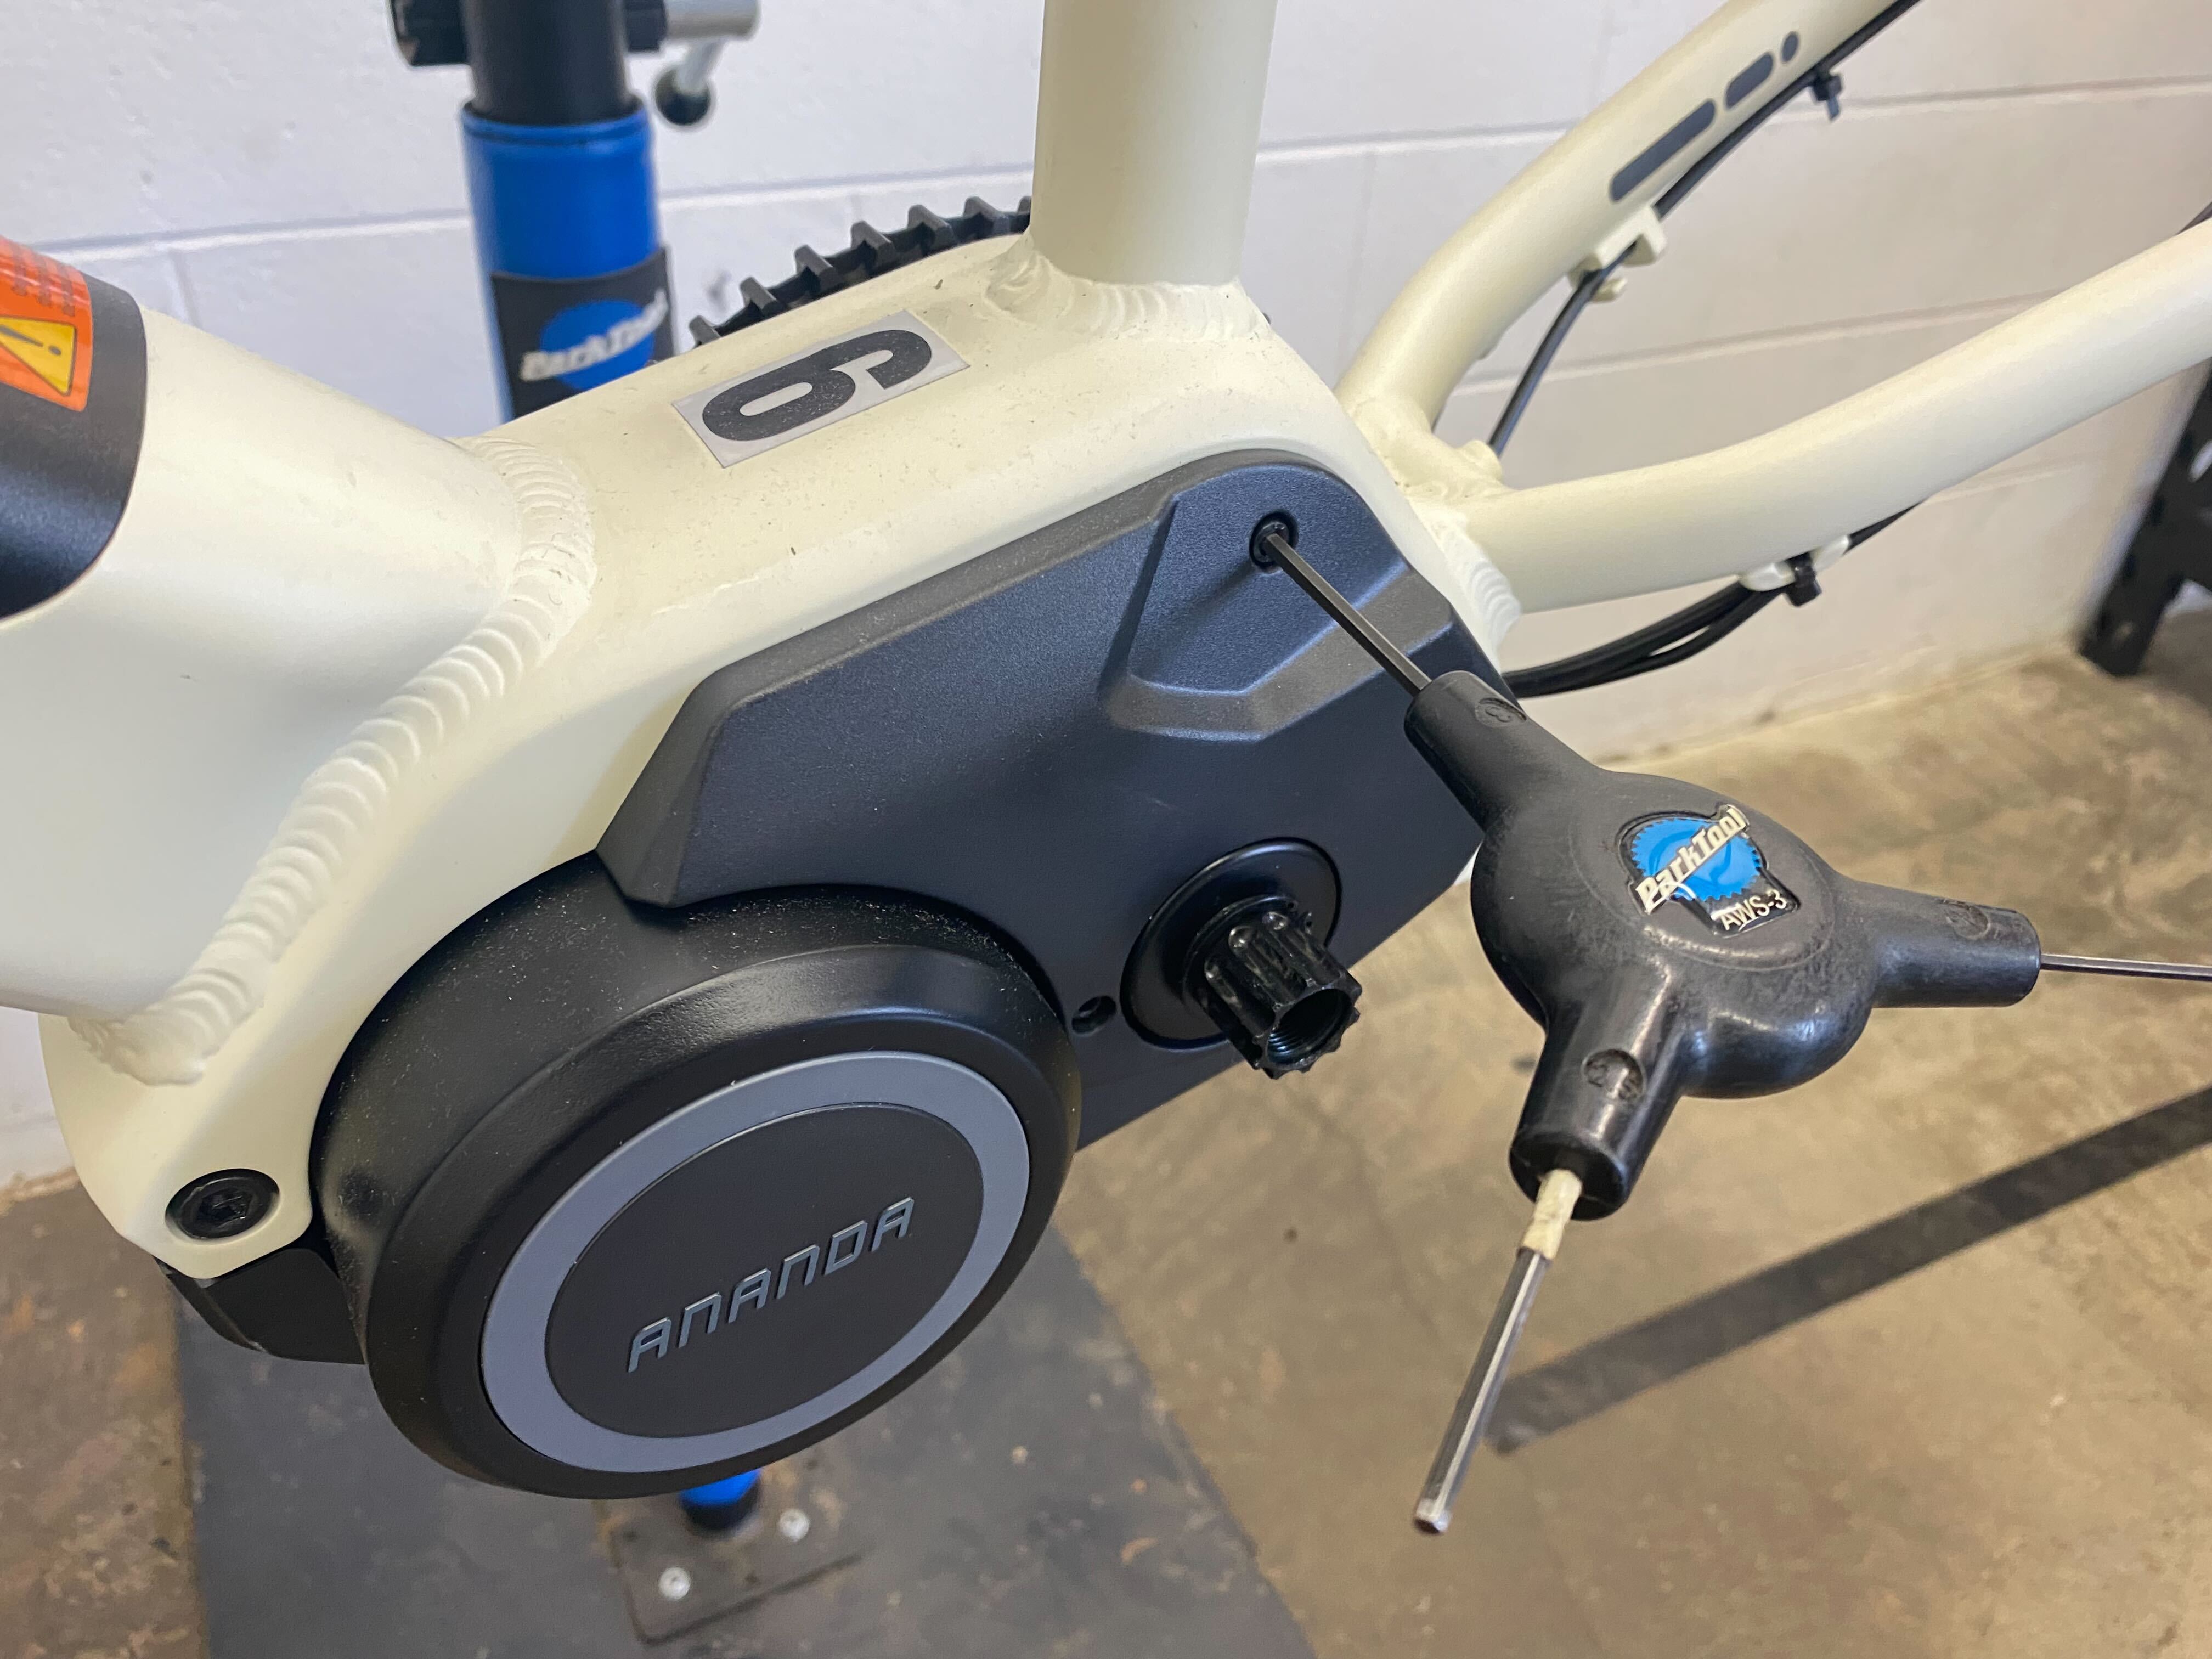 Removing the plastic motor cover
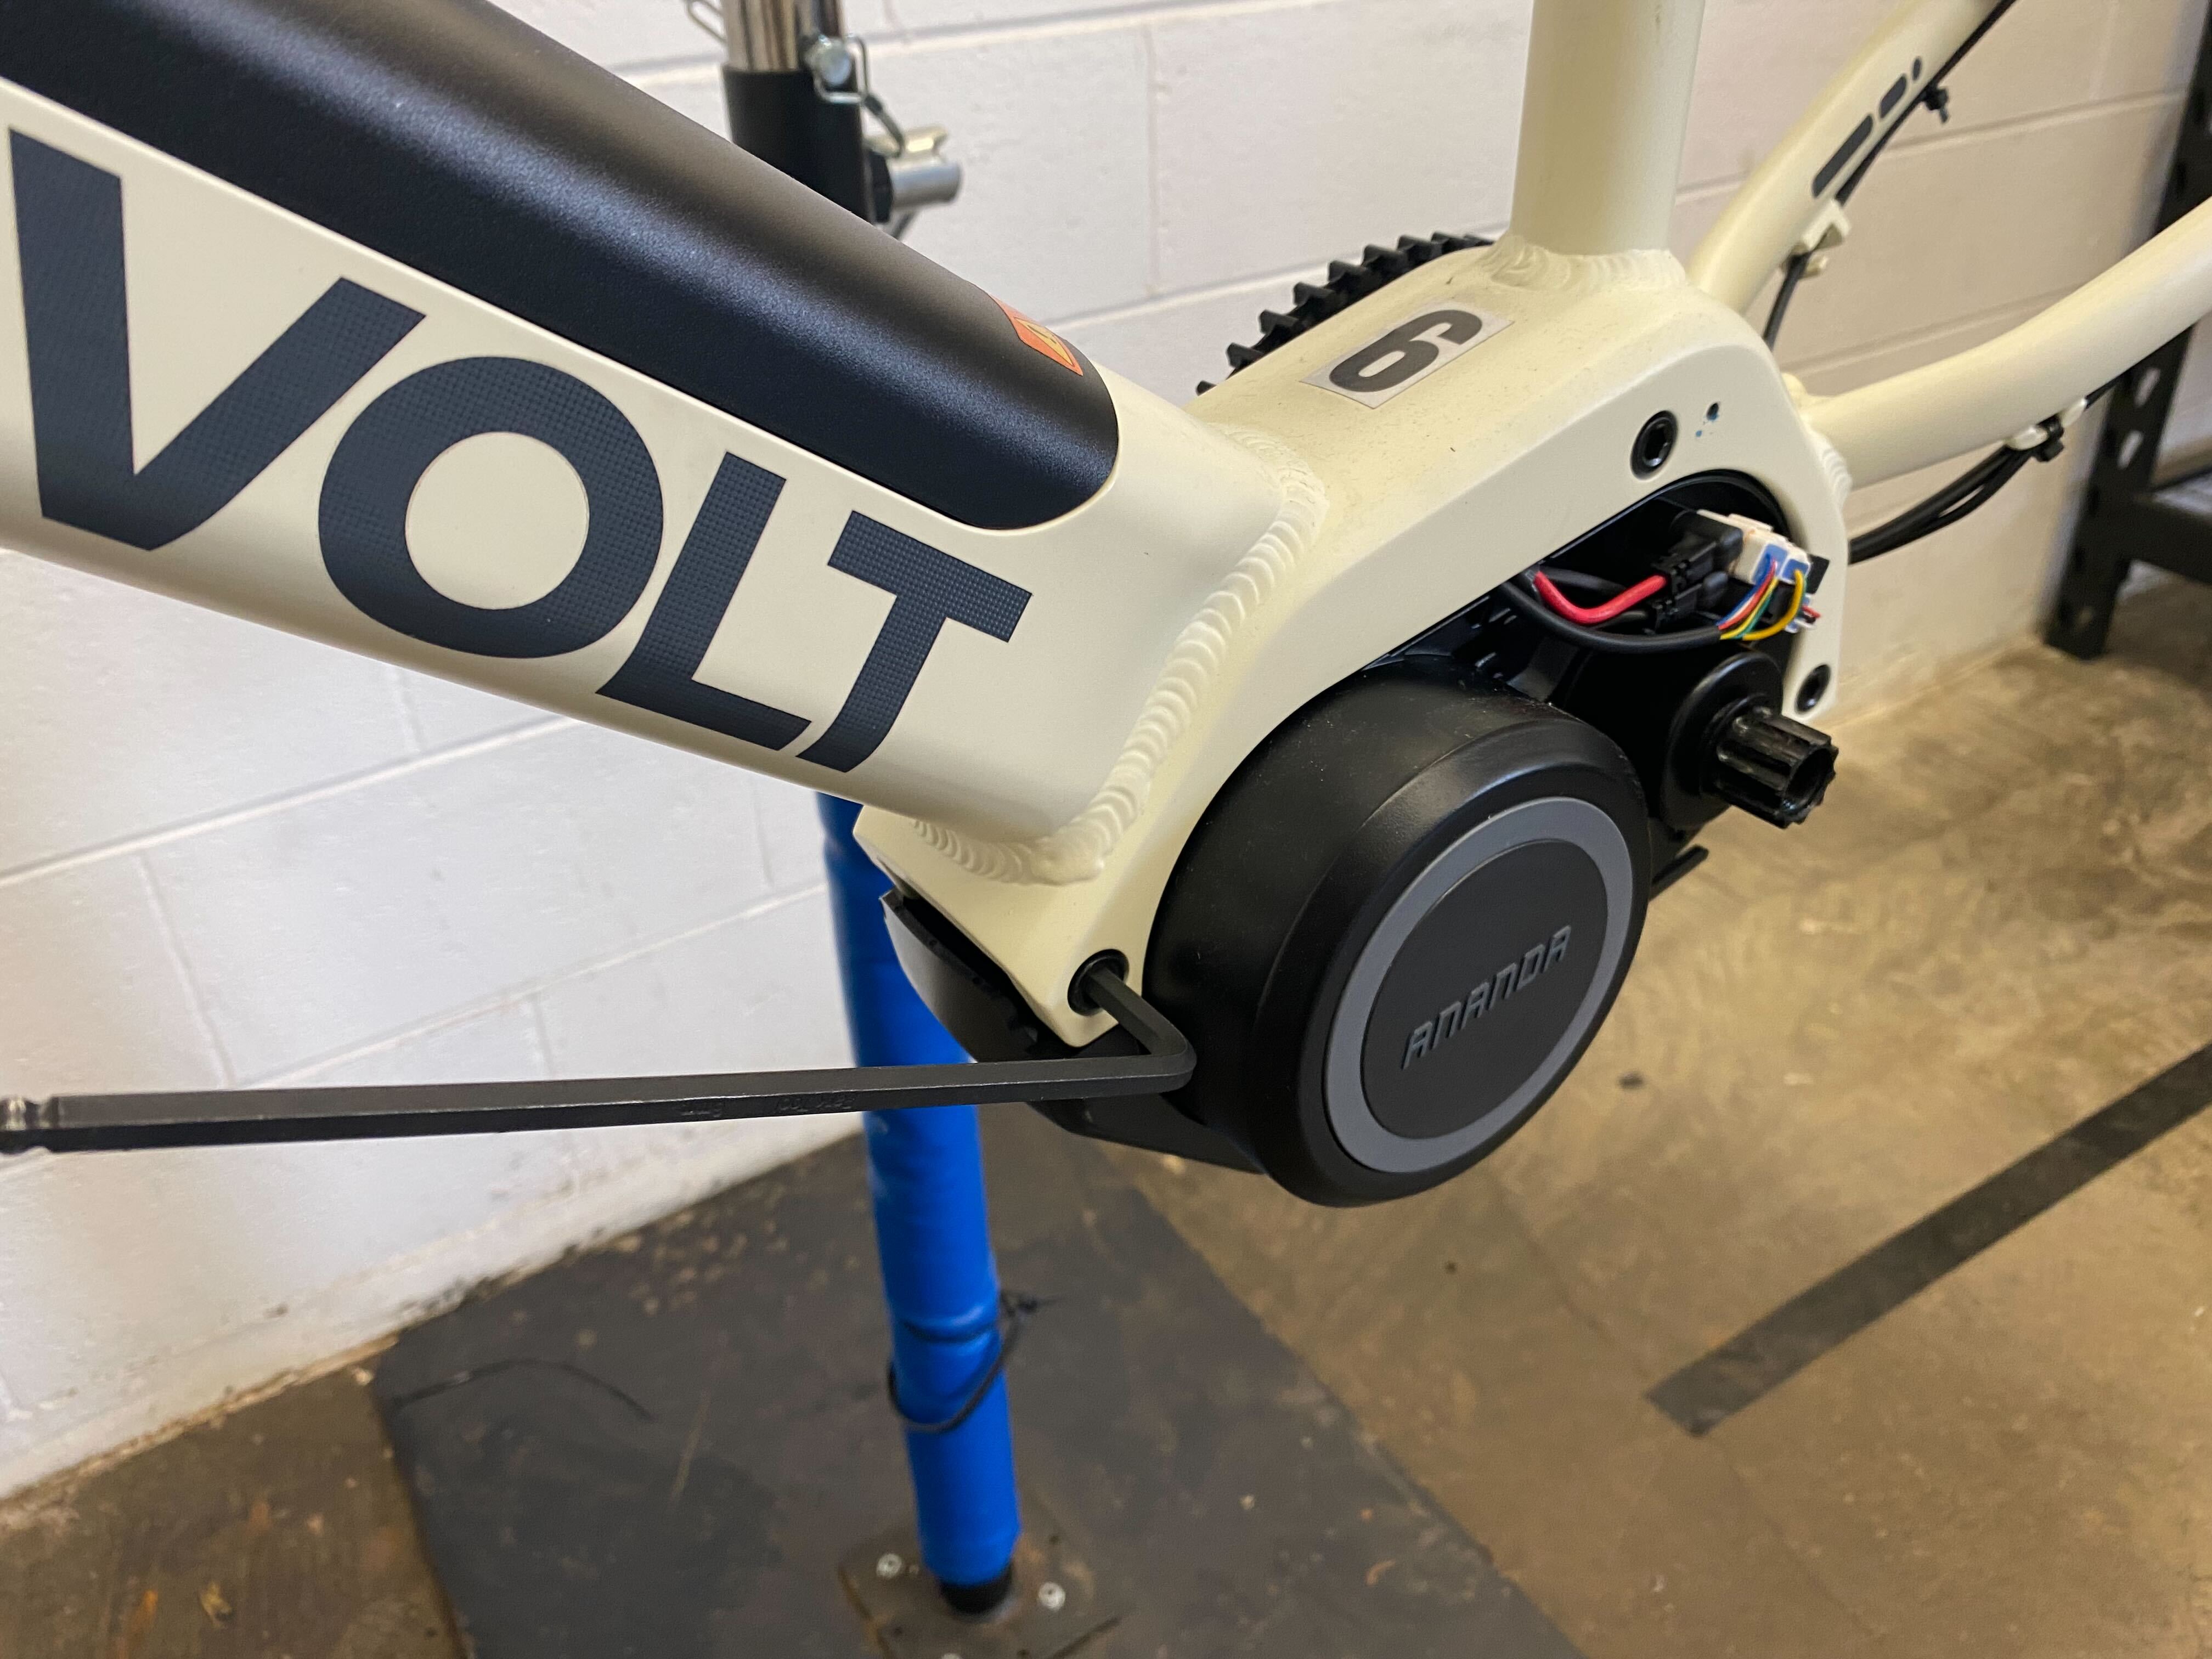
Step 4: Removing Forward & Middle Motor Bolts
- Use a 6mm hex wrench to remove the forward and middle motor bolts.
- These bolts thread into a backing nut and may fall out. This is normal—use careful finger dexterity to realign them during reinstallation.
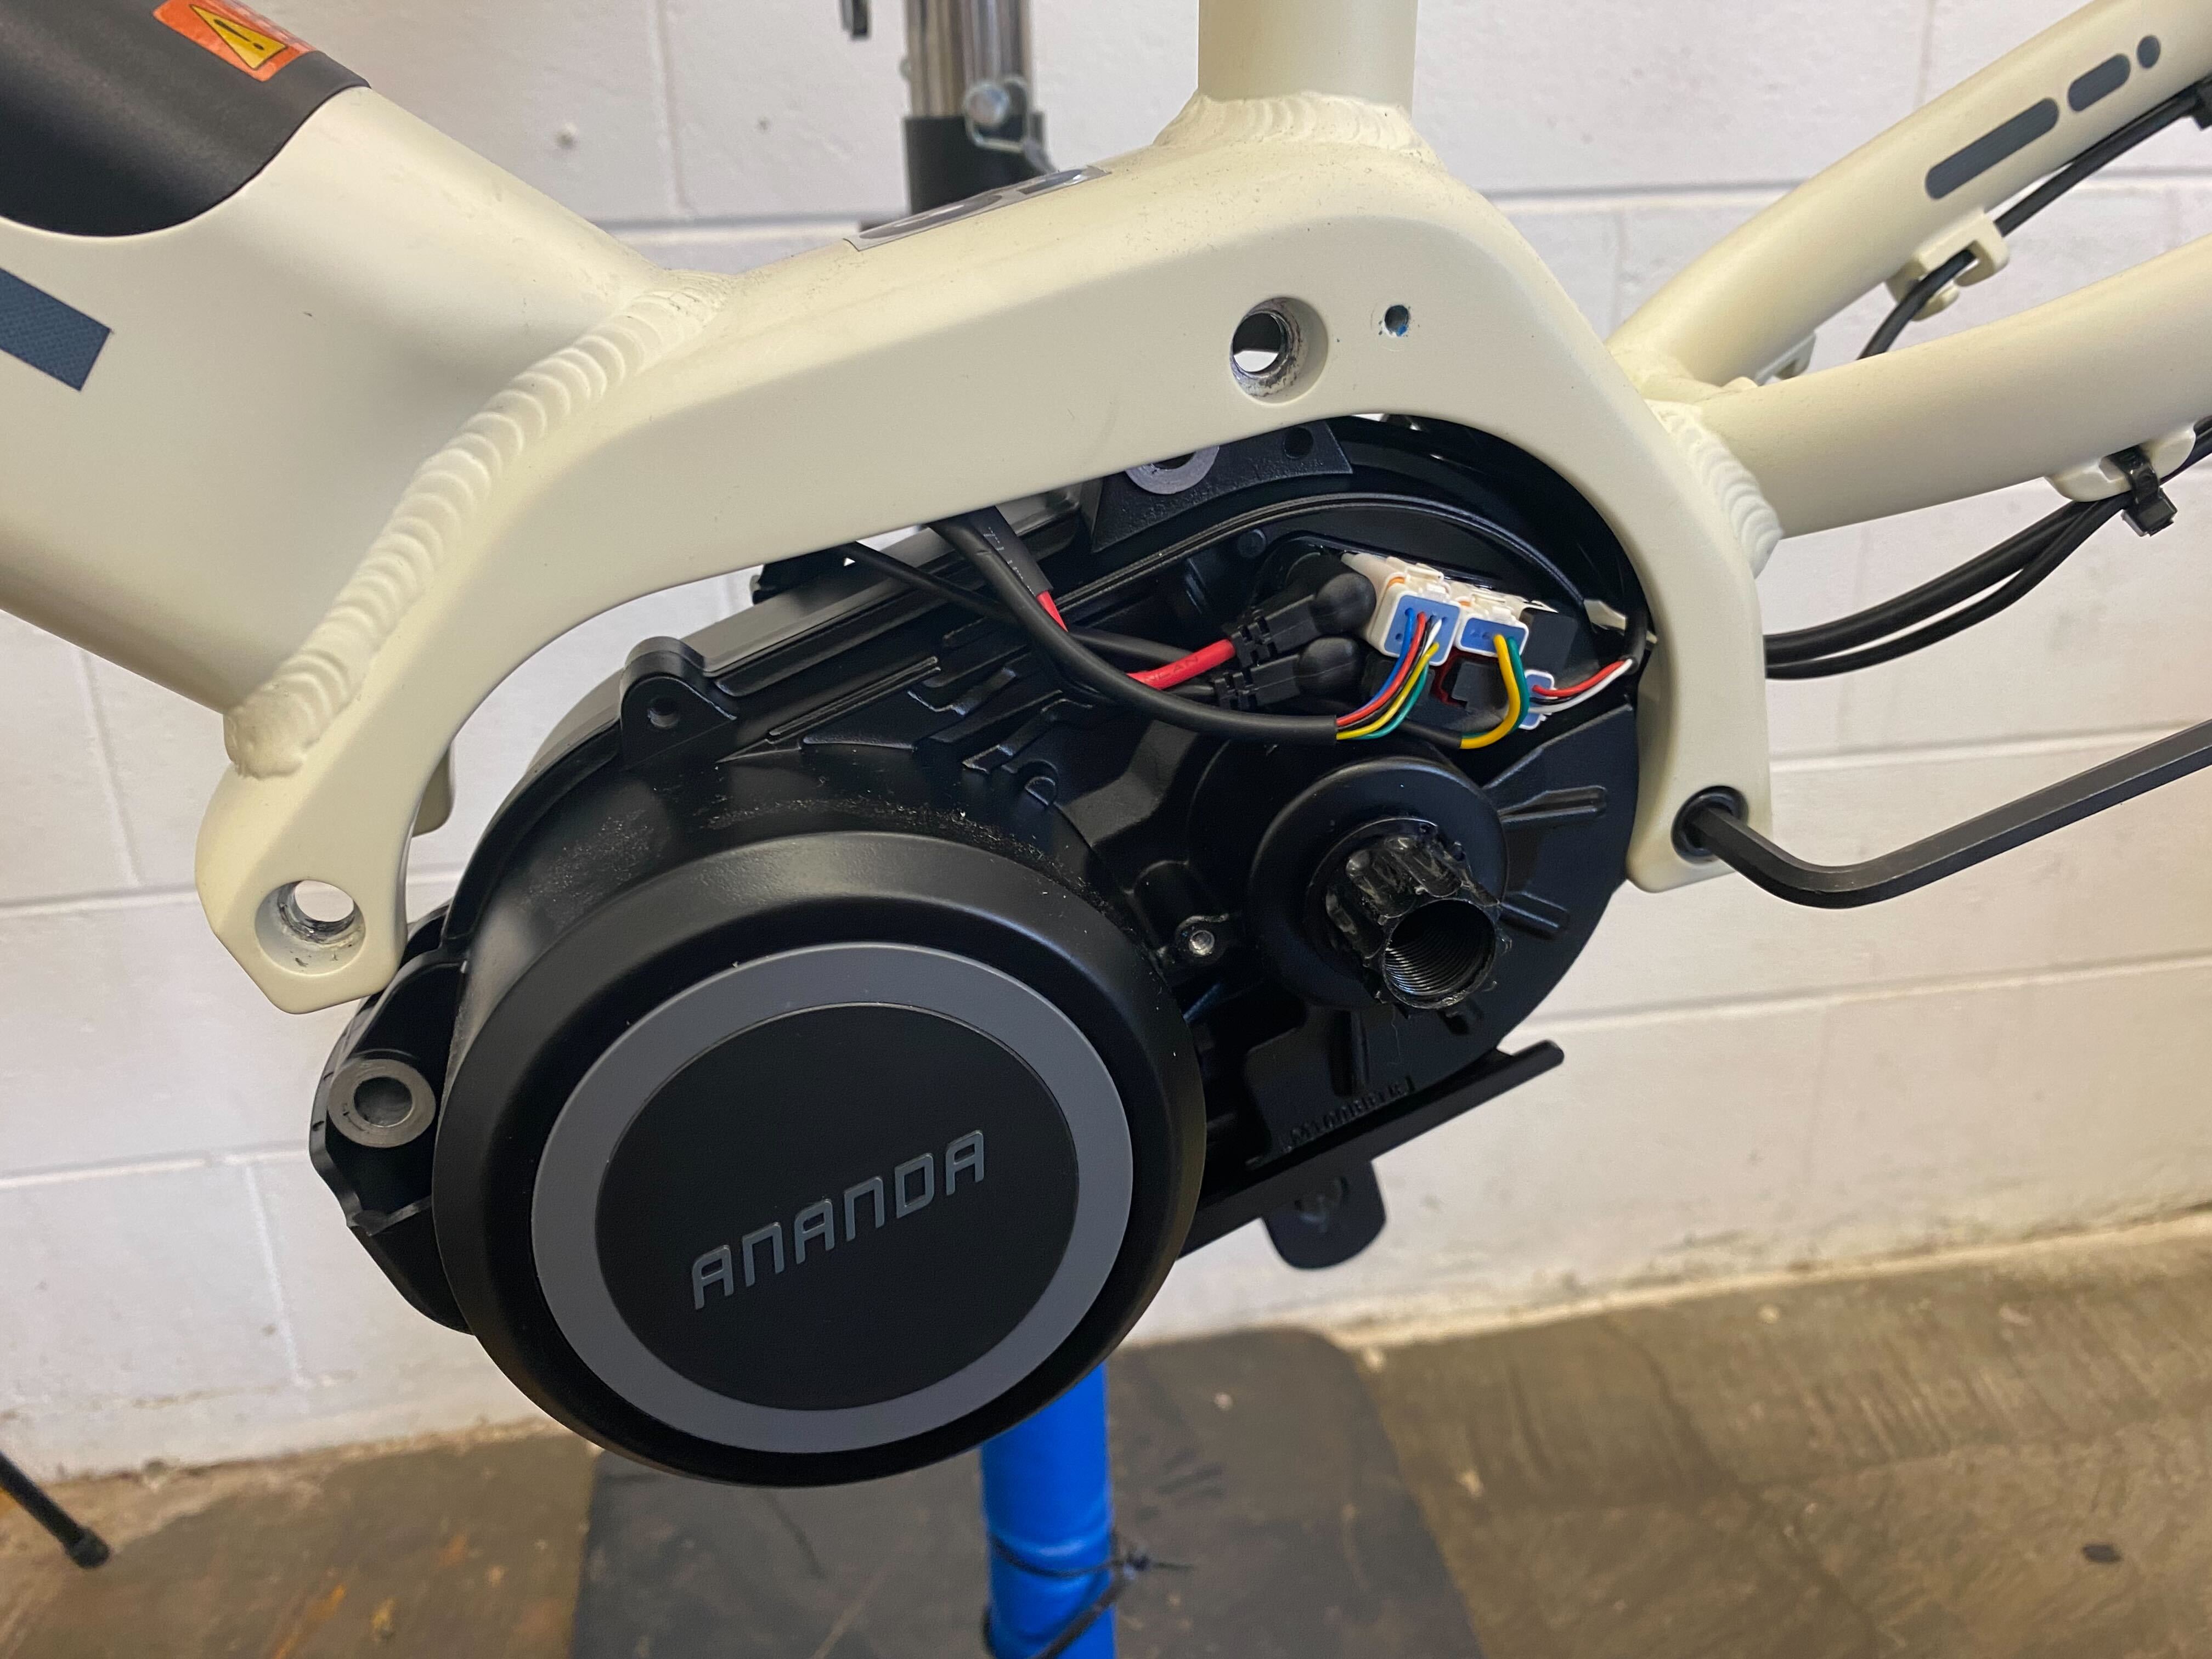
Step 5: Partially Lowering the Motor and Grease the Forward and Middle Contact Points
- Loosen (but do not remove) the rearward motor bolt.
- The motor will rest on the rearward bolt, allowing access to grease the motor/interface.
- Apply a thin film of grease to the frame, motor interface, and motor bolts.
- Identify the extra-long speed sensor wire:
- If the speed sensor wire is pinched between the motor and the frame, reposition it so it rests within the motor cavity.
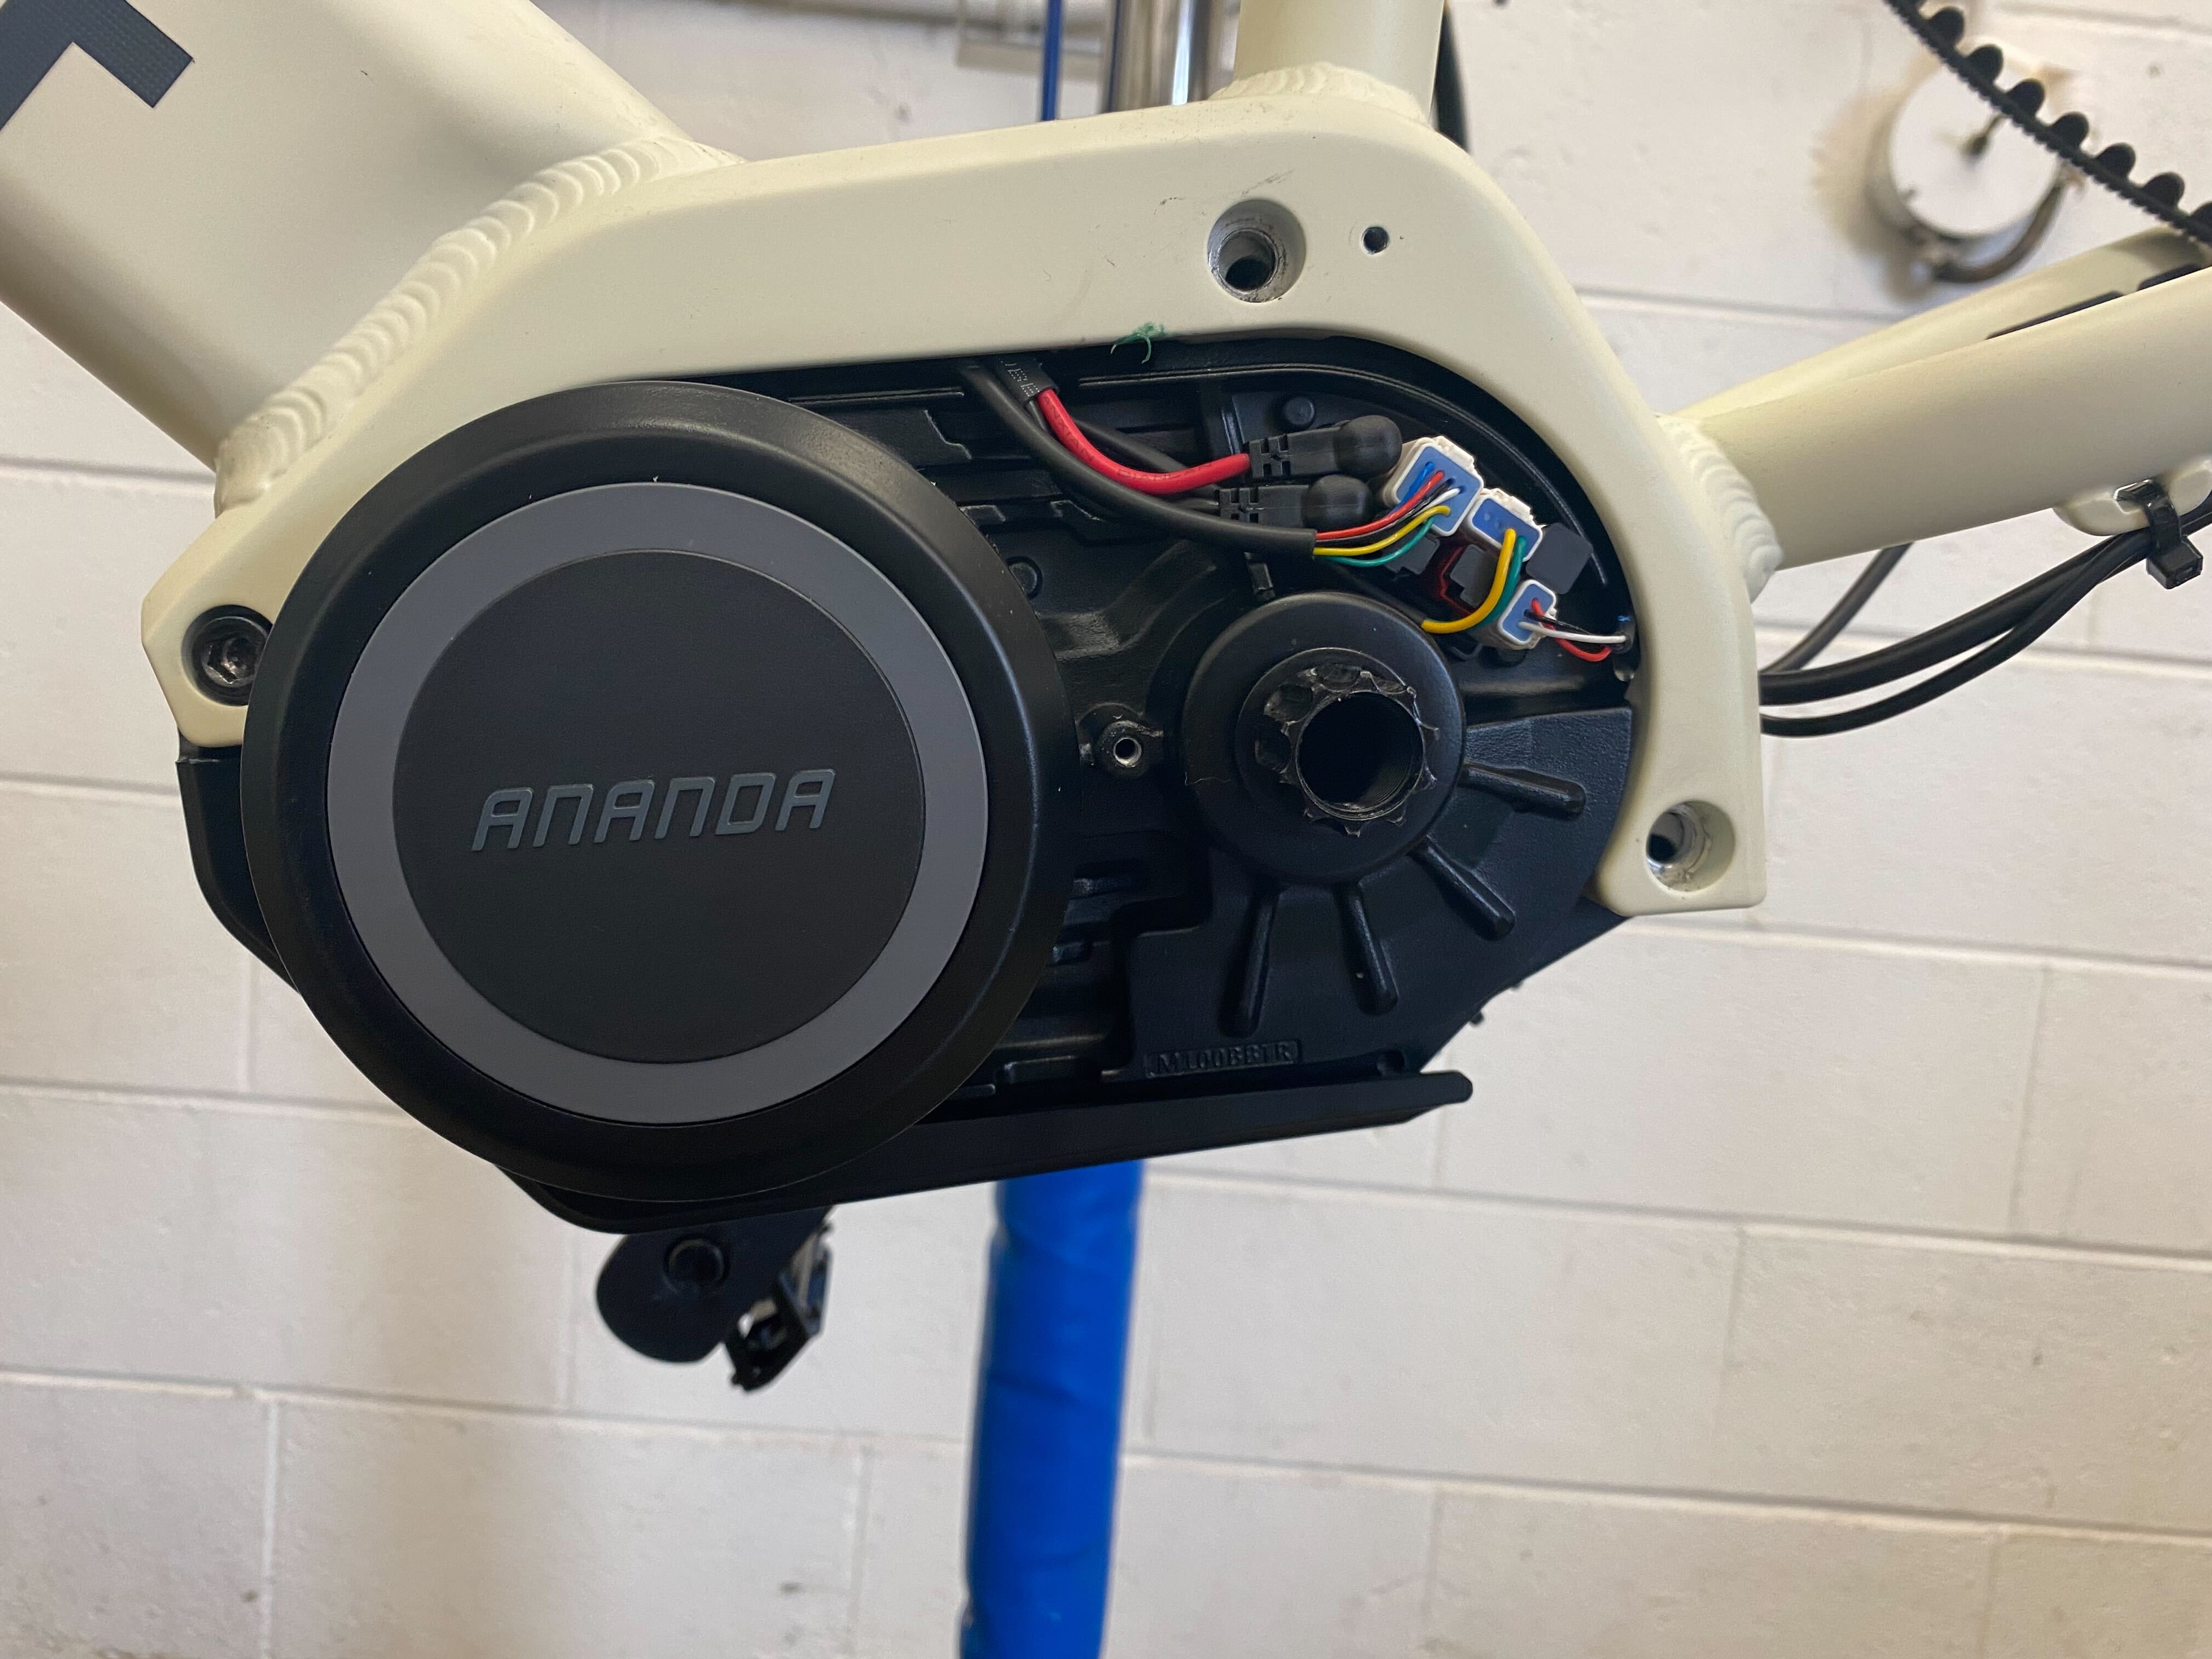
 Motor resting on rearward bolt
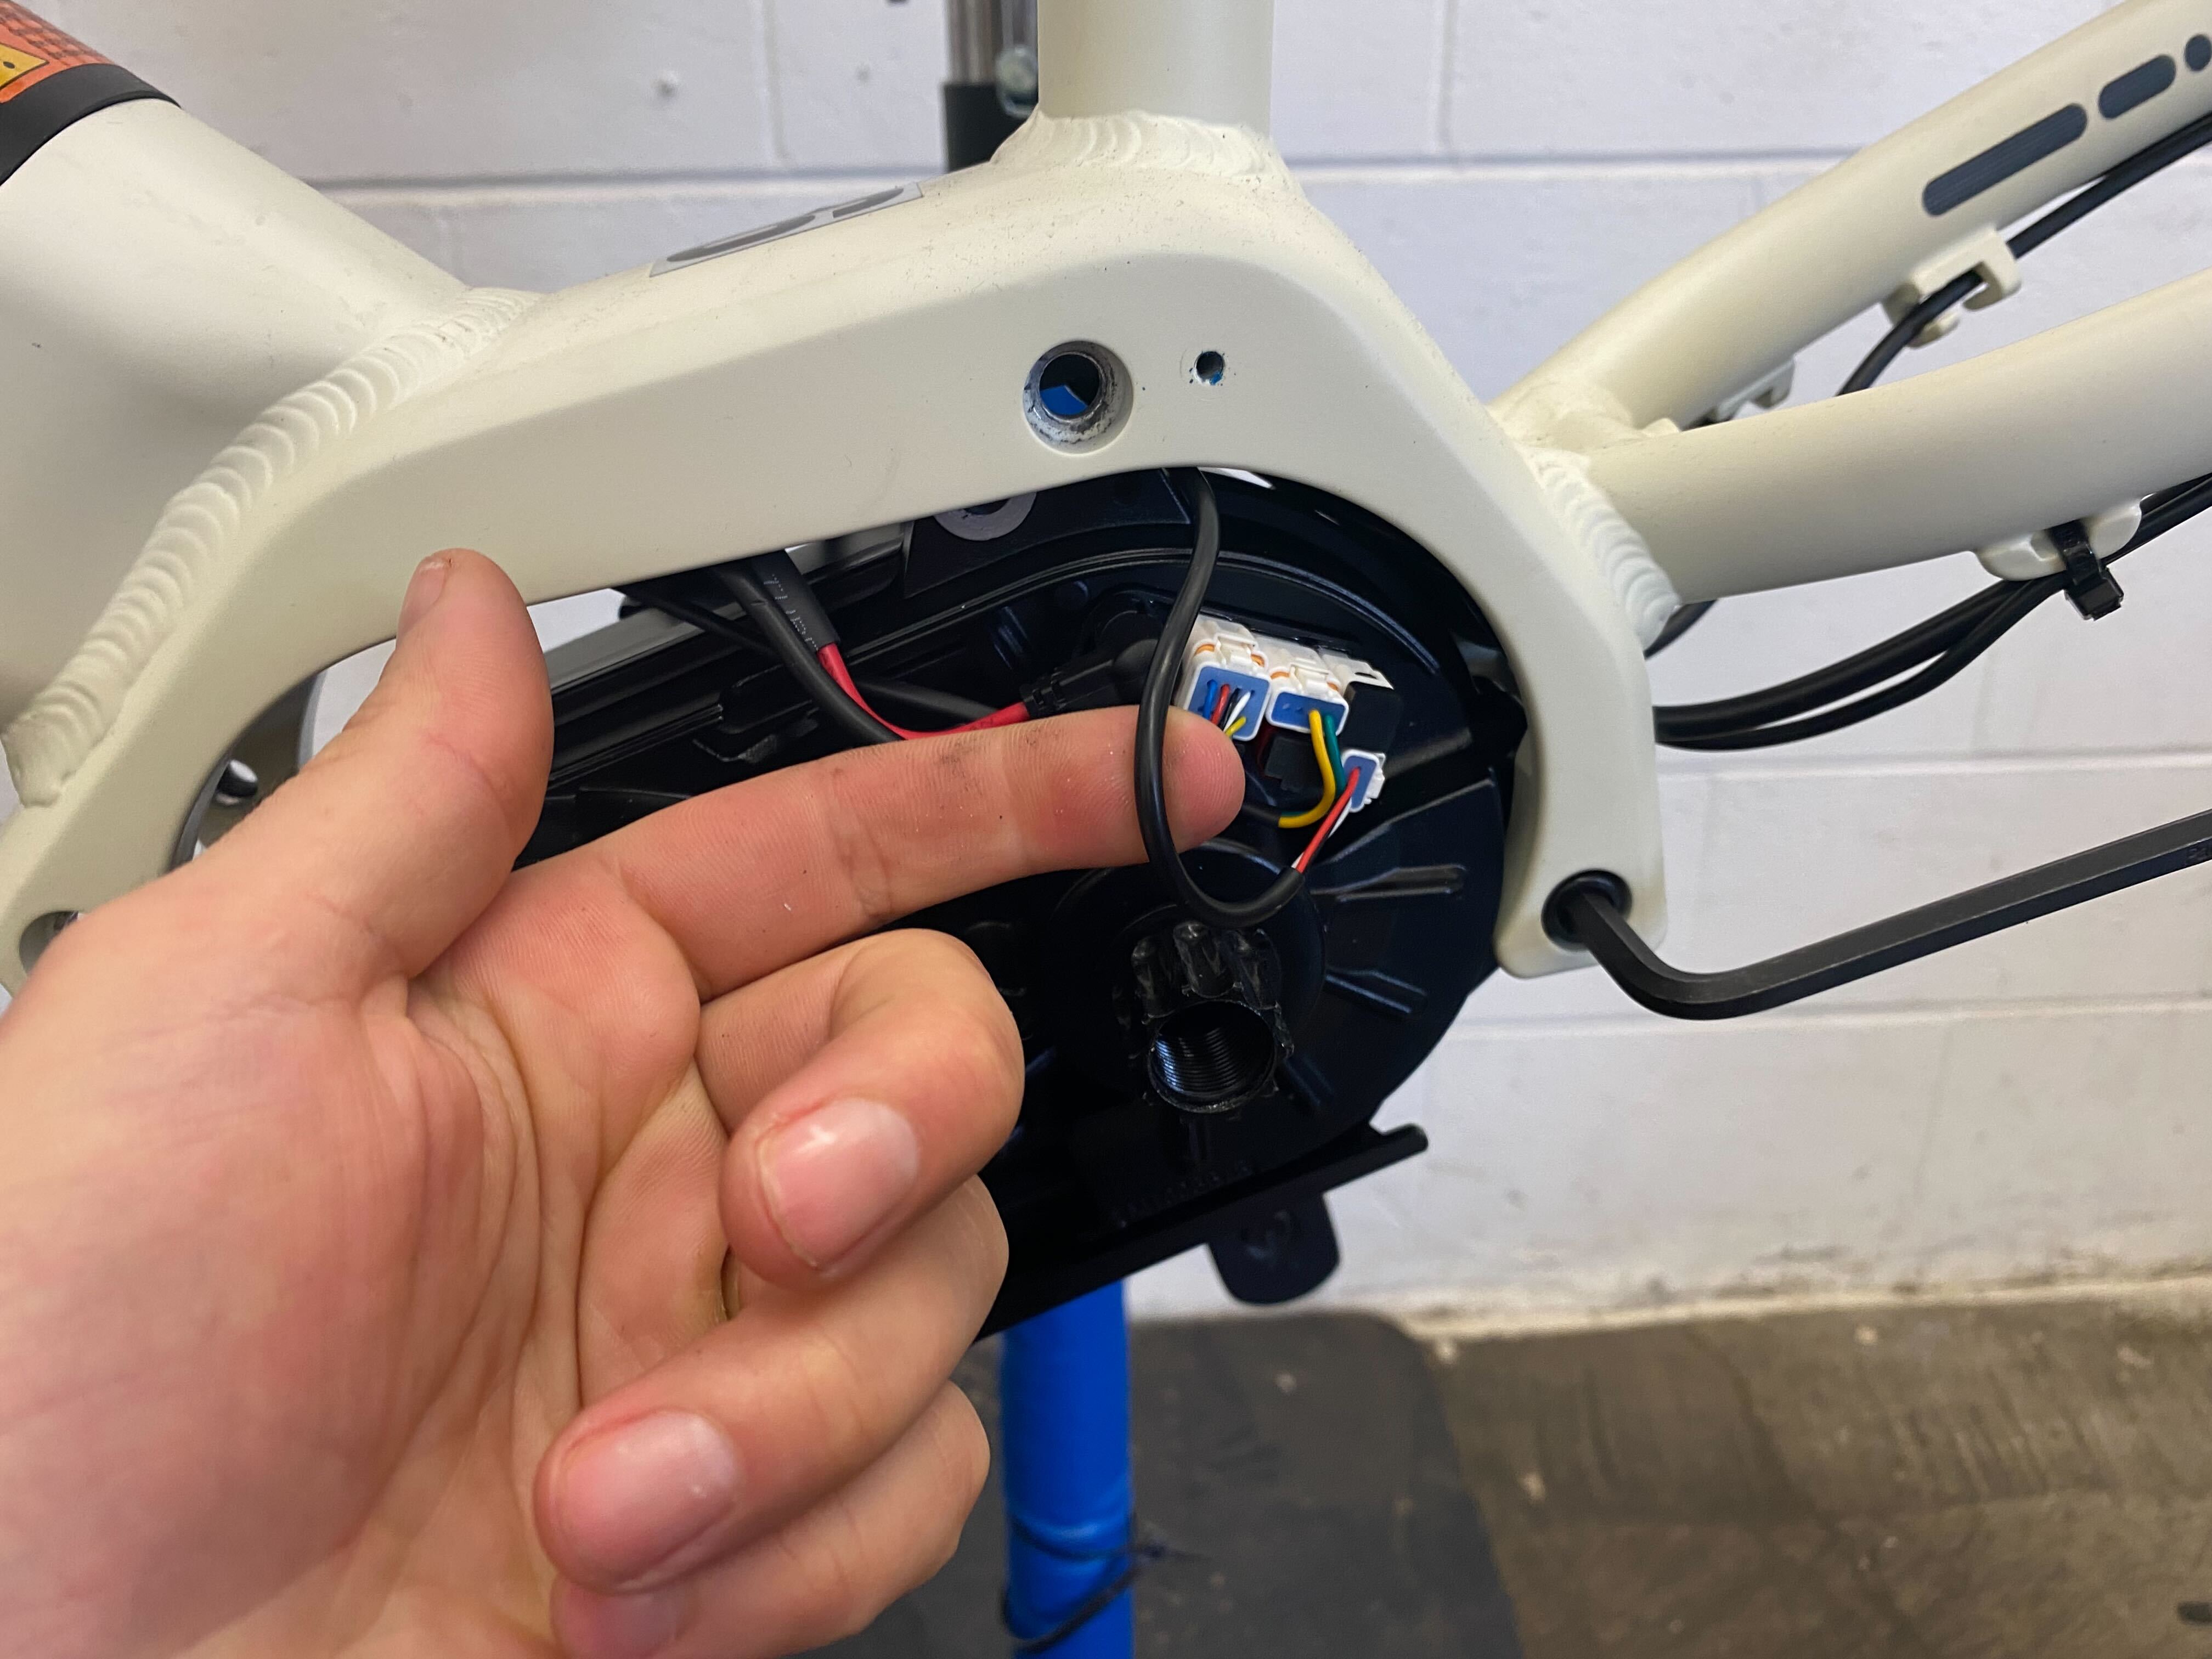 Speed sensor wire
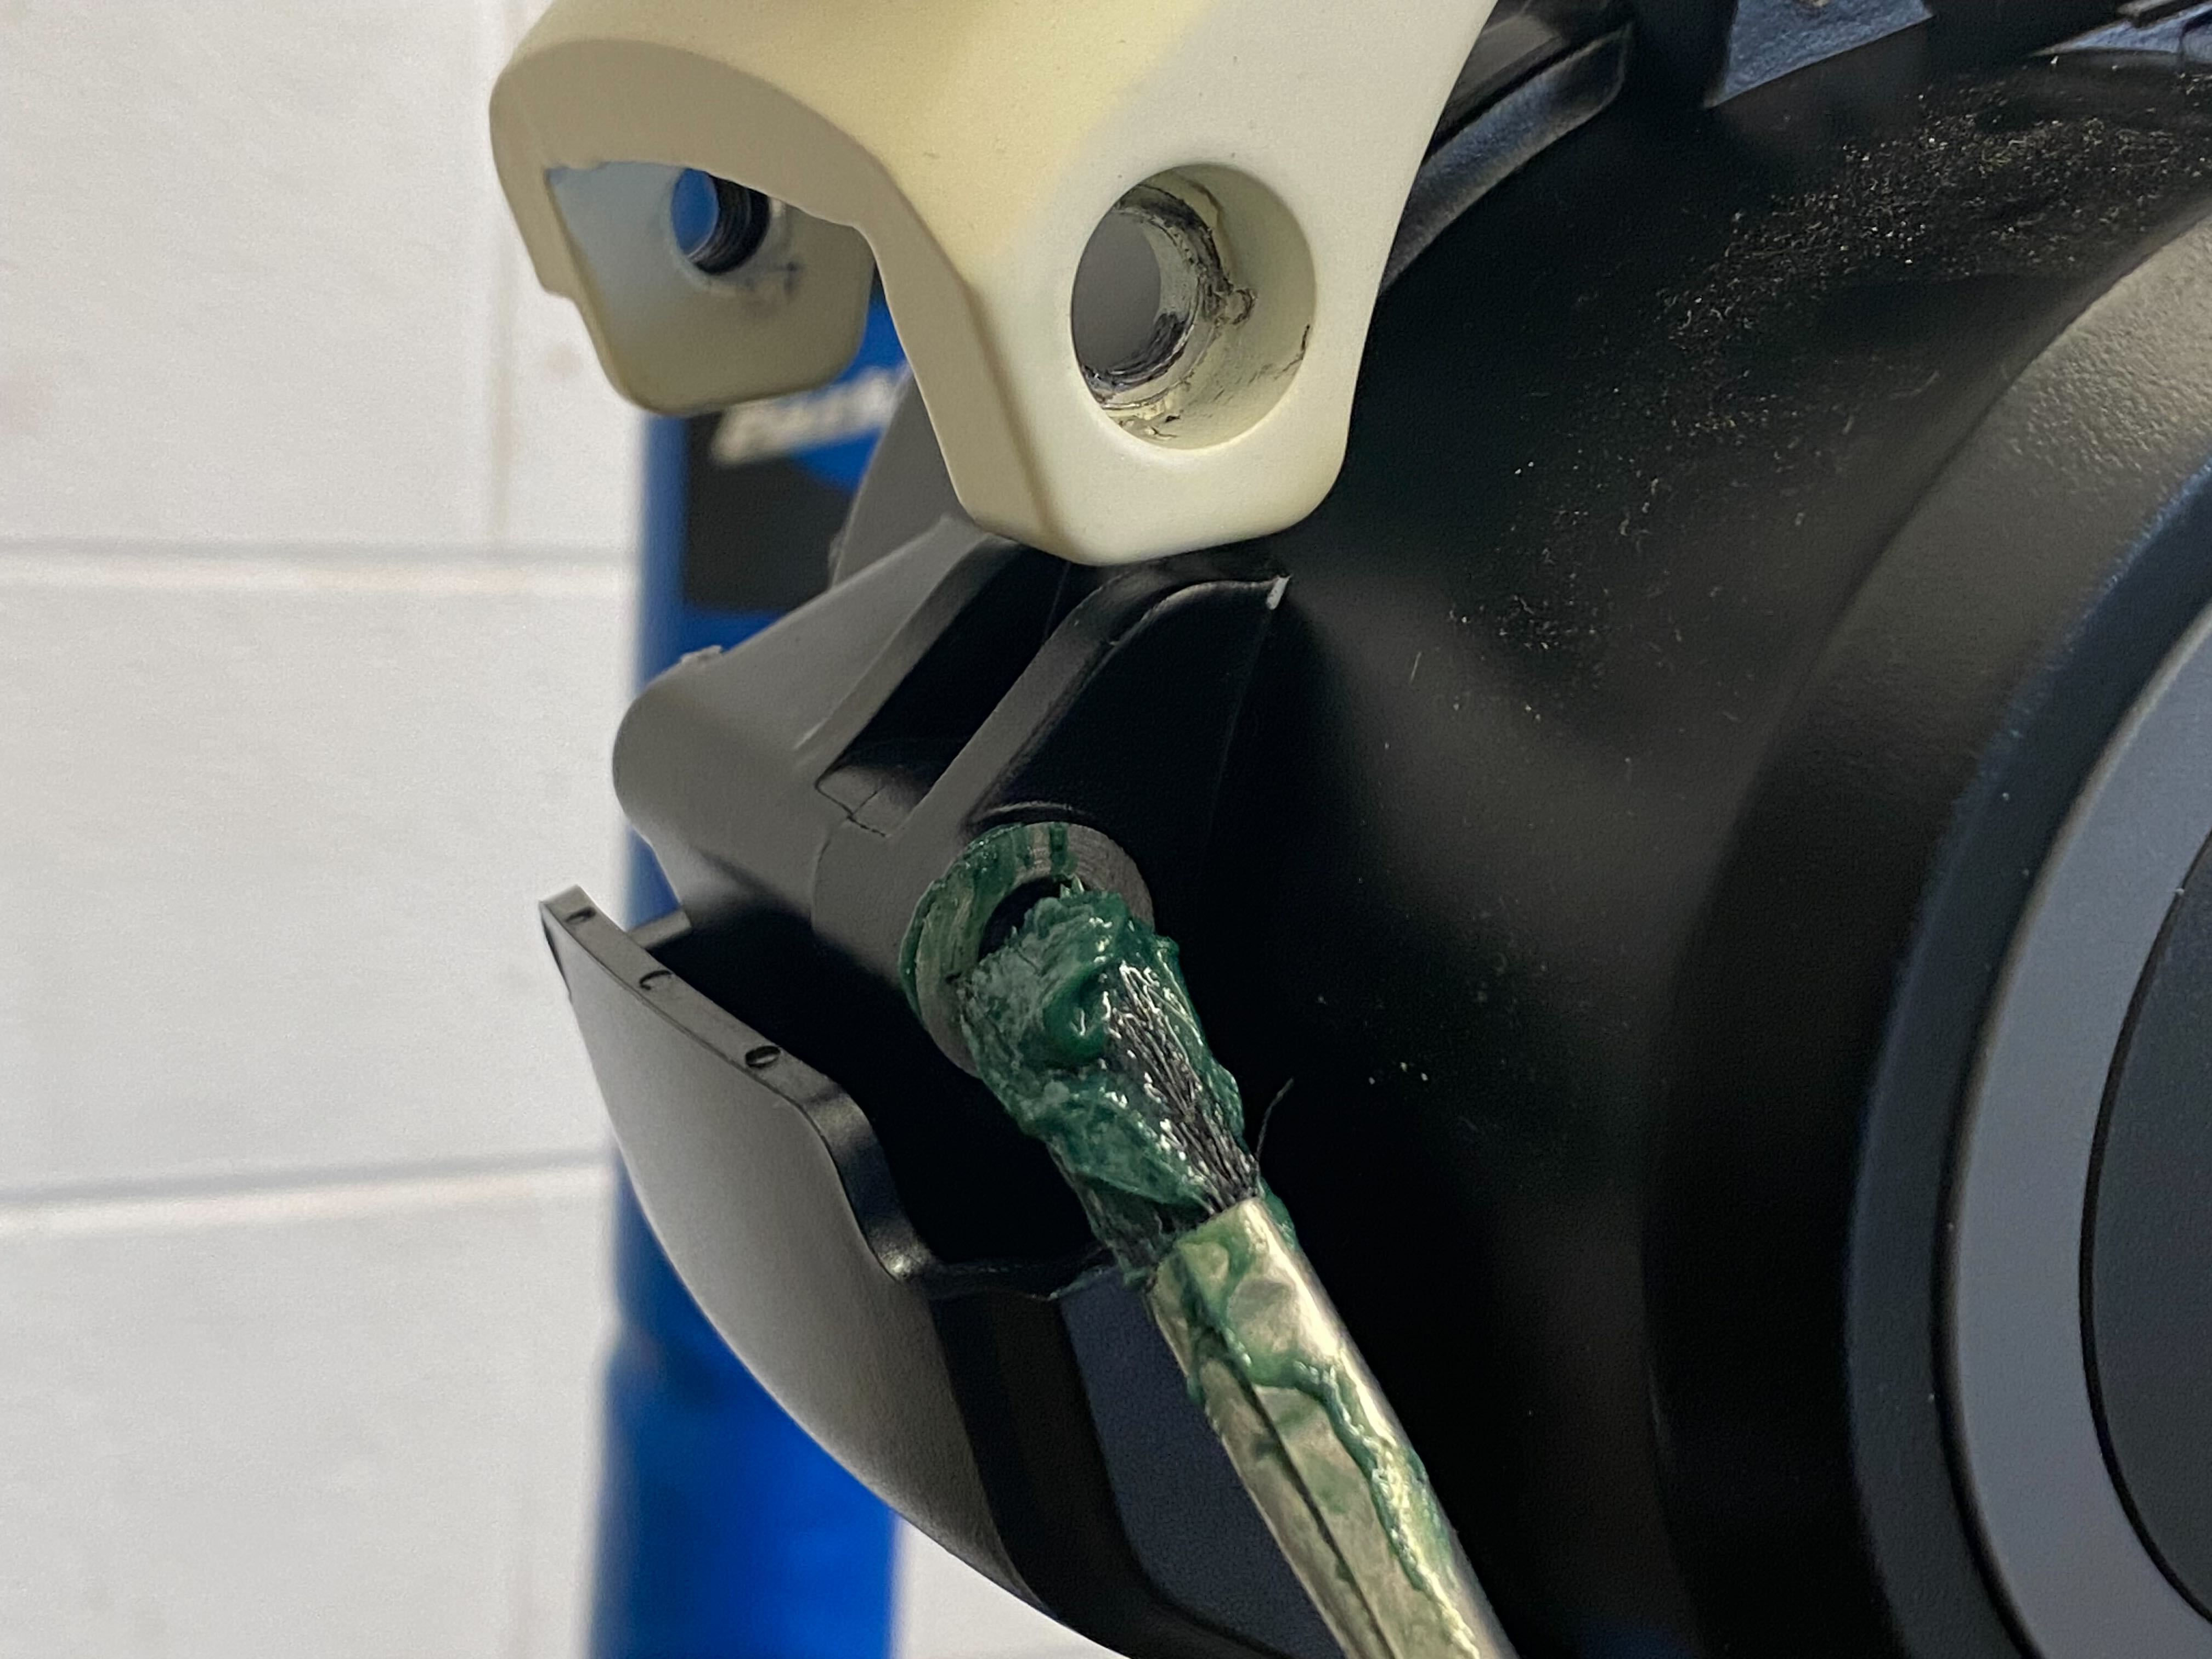 Grease the motor interface
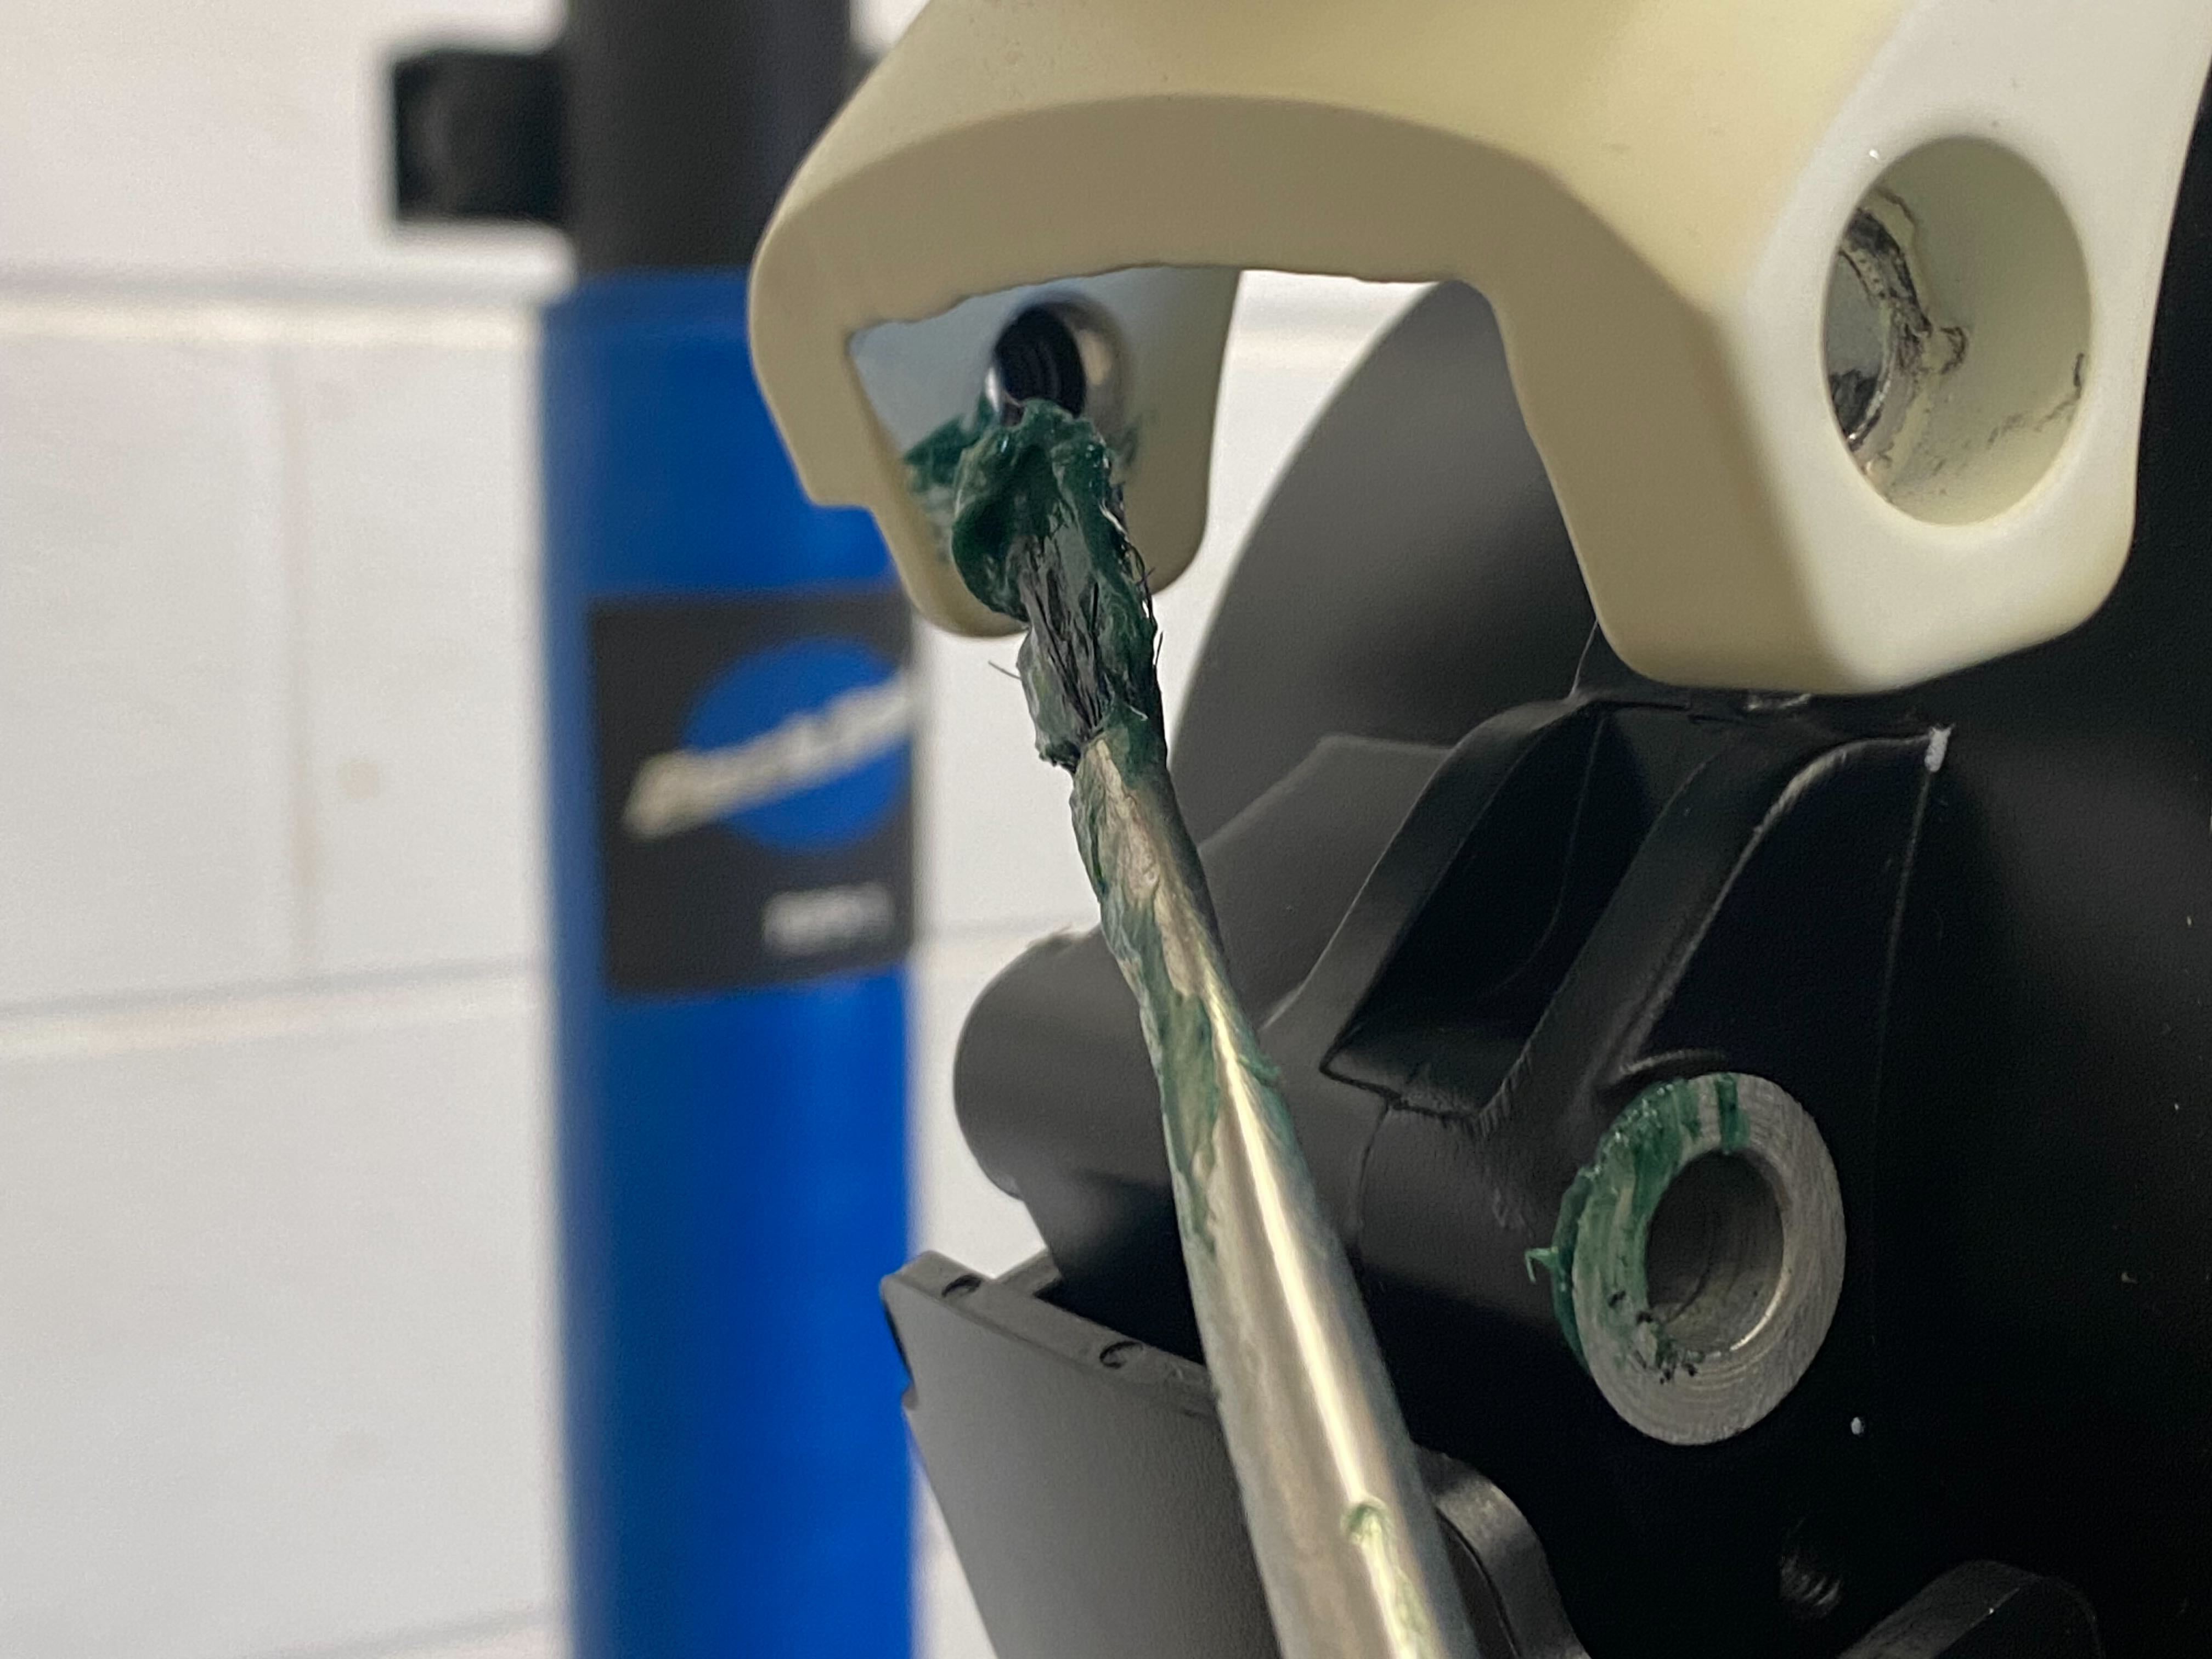 Greasing the frame.
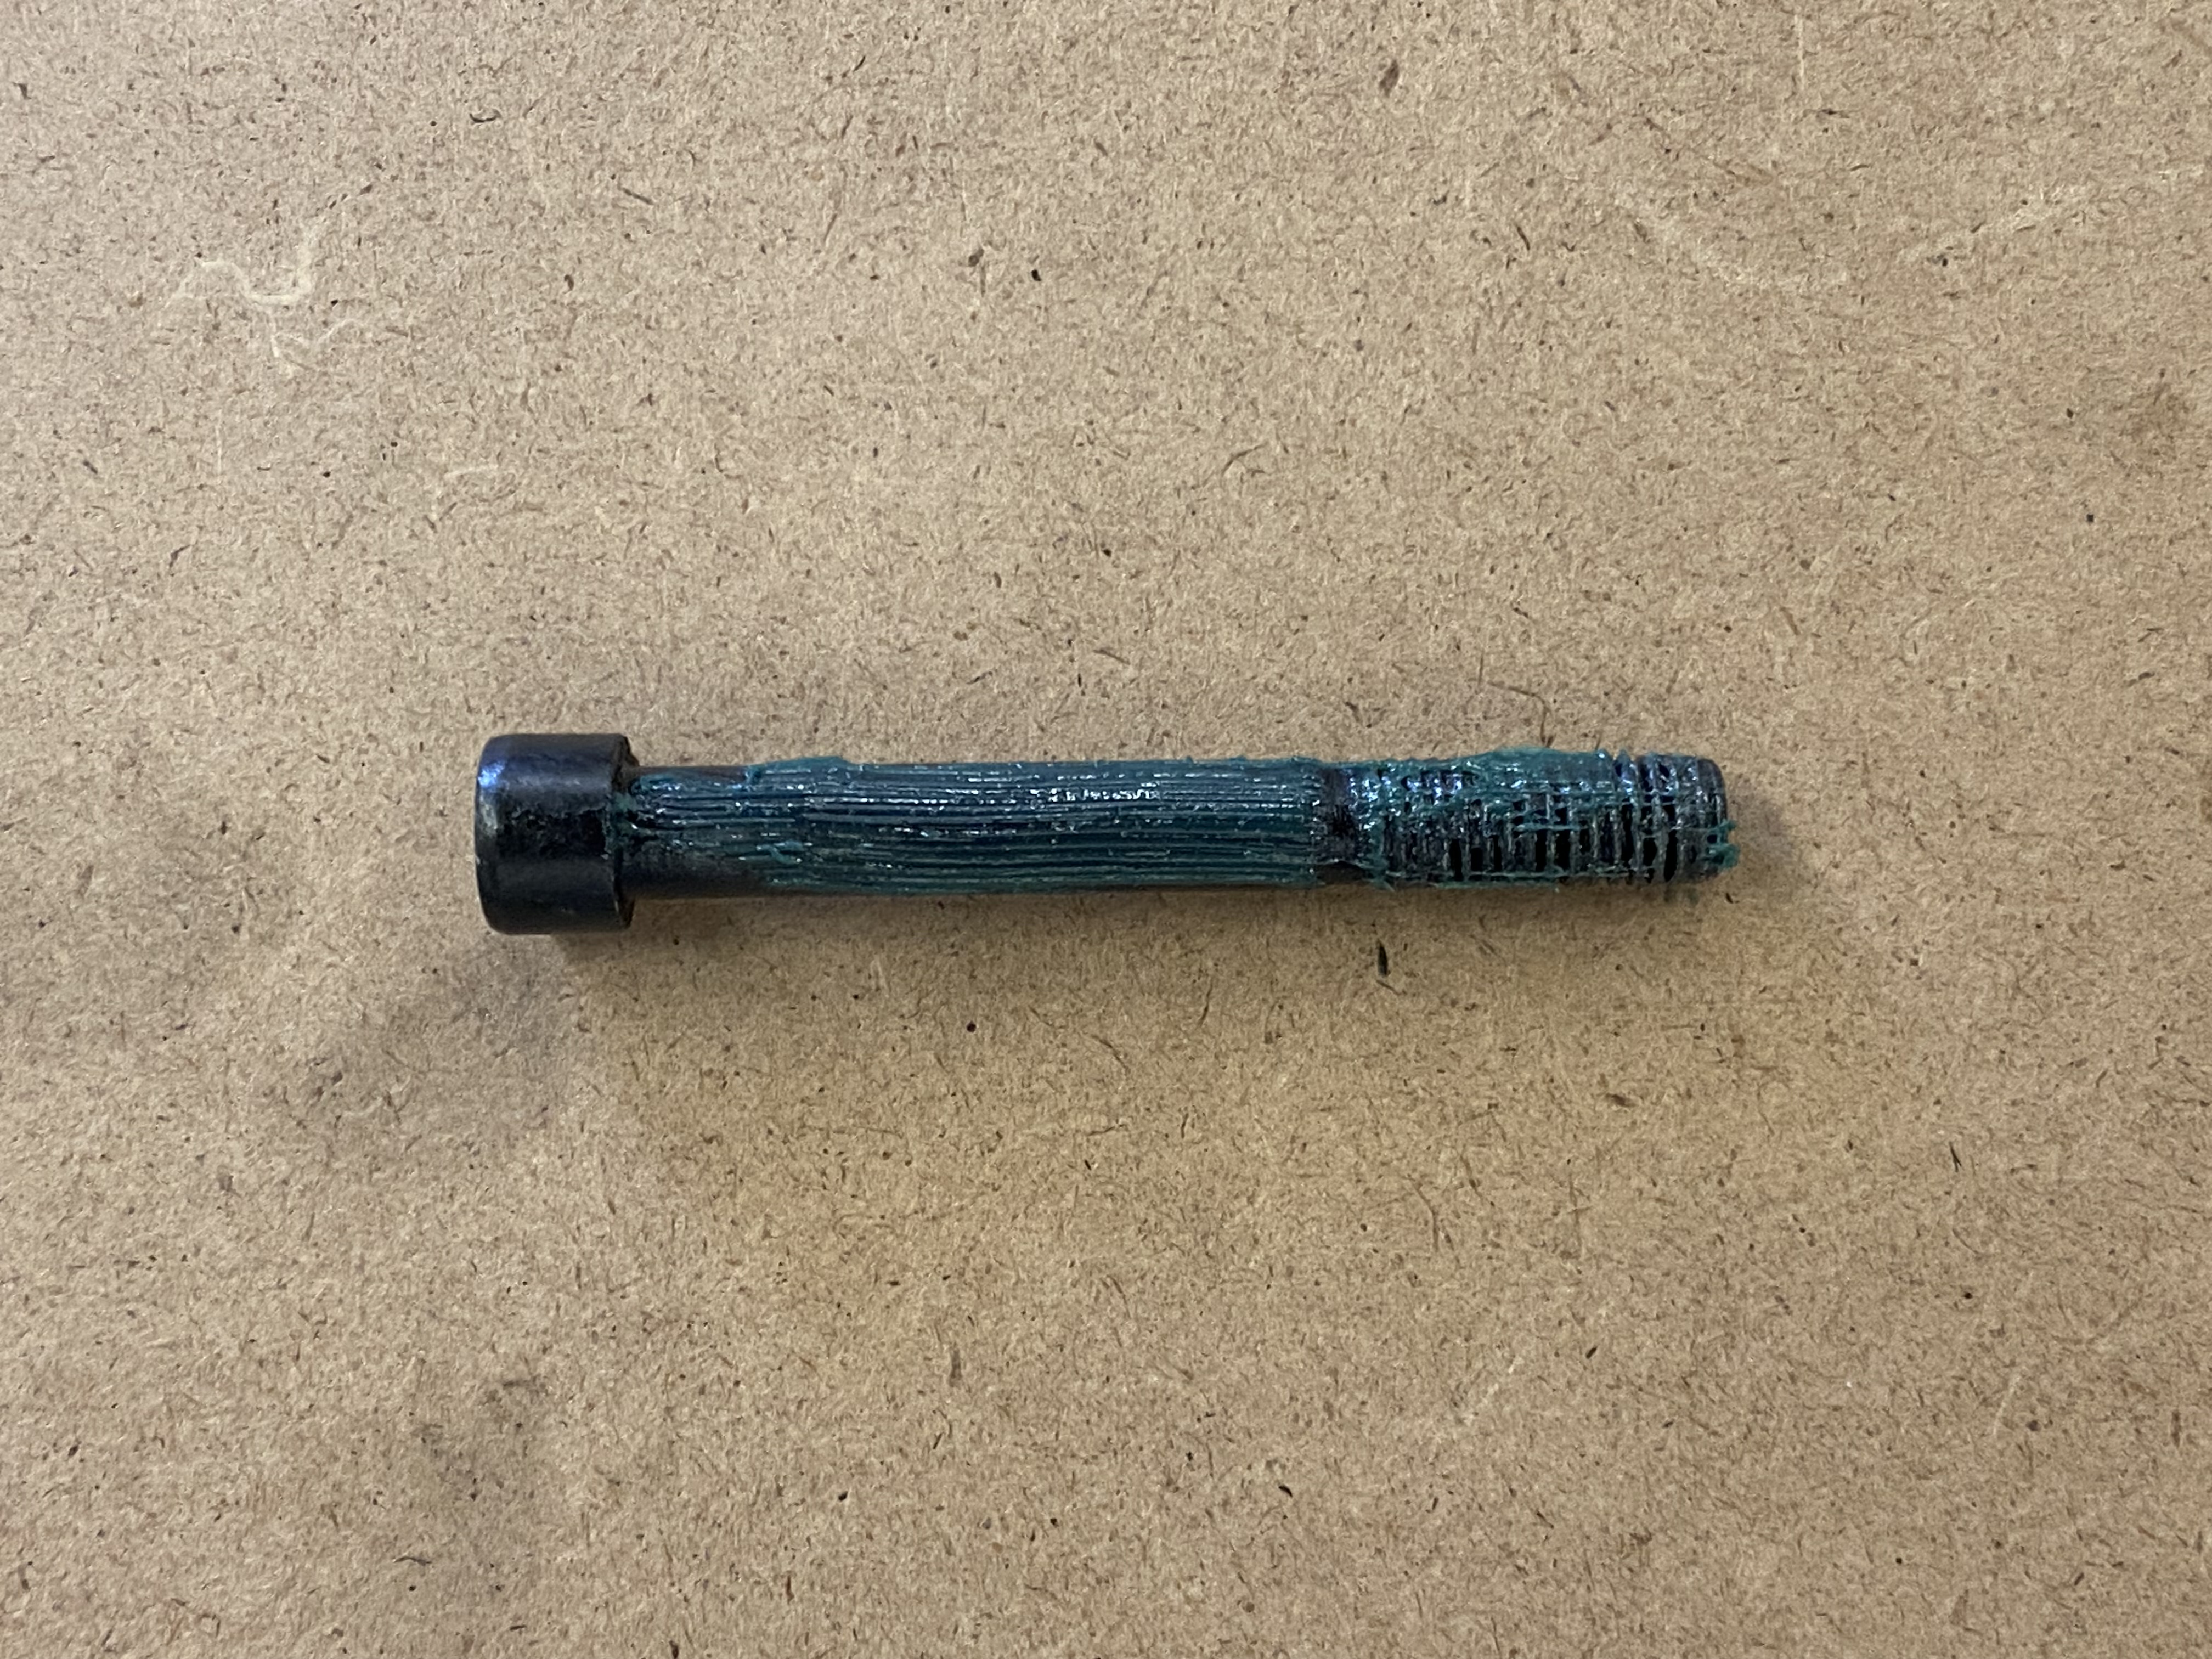 Greased motor bolt
Step 6: Rearward Bolt & Motor Interface Greasing and Final Bolt Installation
- Reinstall the forward motor bolt.
- Keep it loose so you can use it to hinge the motor in the opposite direction.
- Remove the rearward motor bolt to add grease to the final interface.
- Reinstall all three motor bolts:
- Ensure the speed sensor wire is not pinched.
- Start with the forward and rearward bolts, then the middle bolt.
- Align and tighten securely to 8-10nm.
 Accessing the rearward bolt
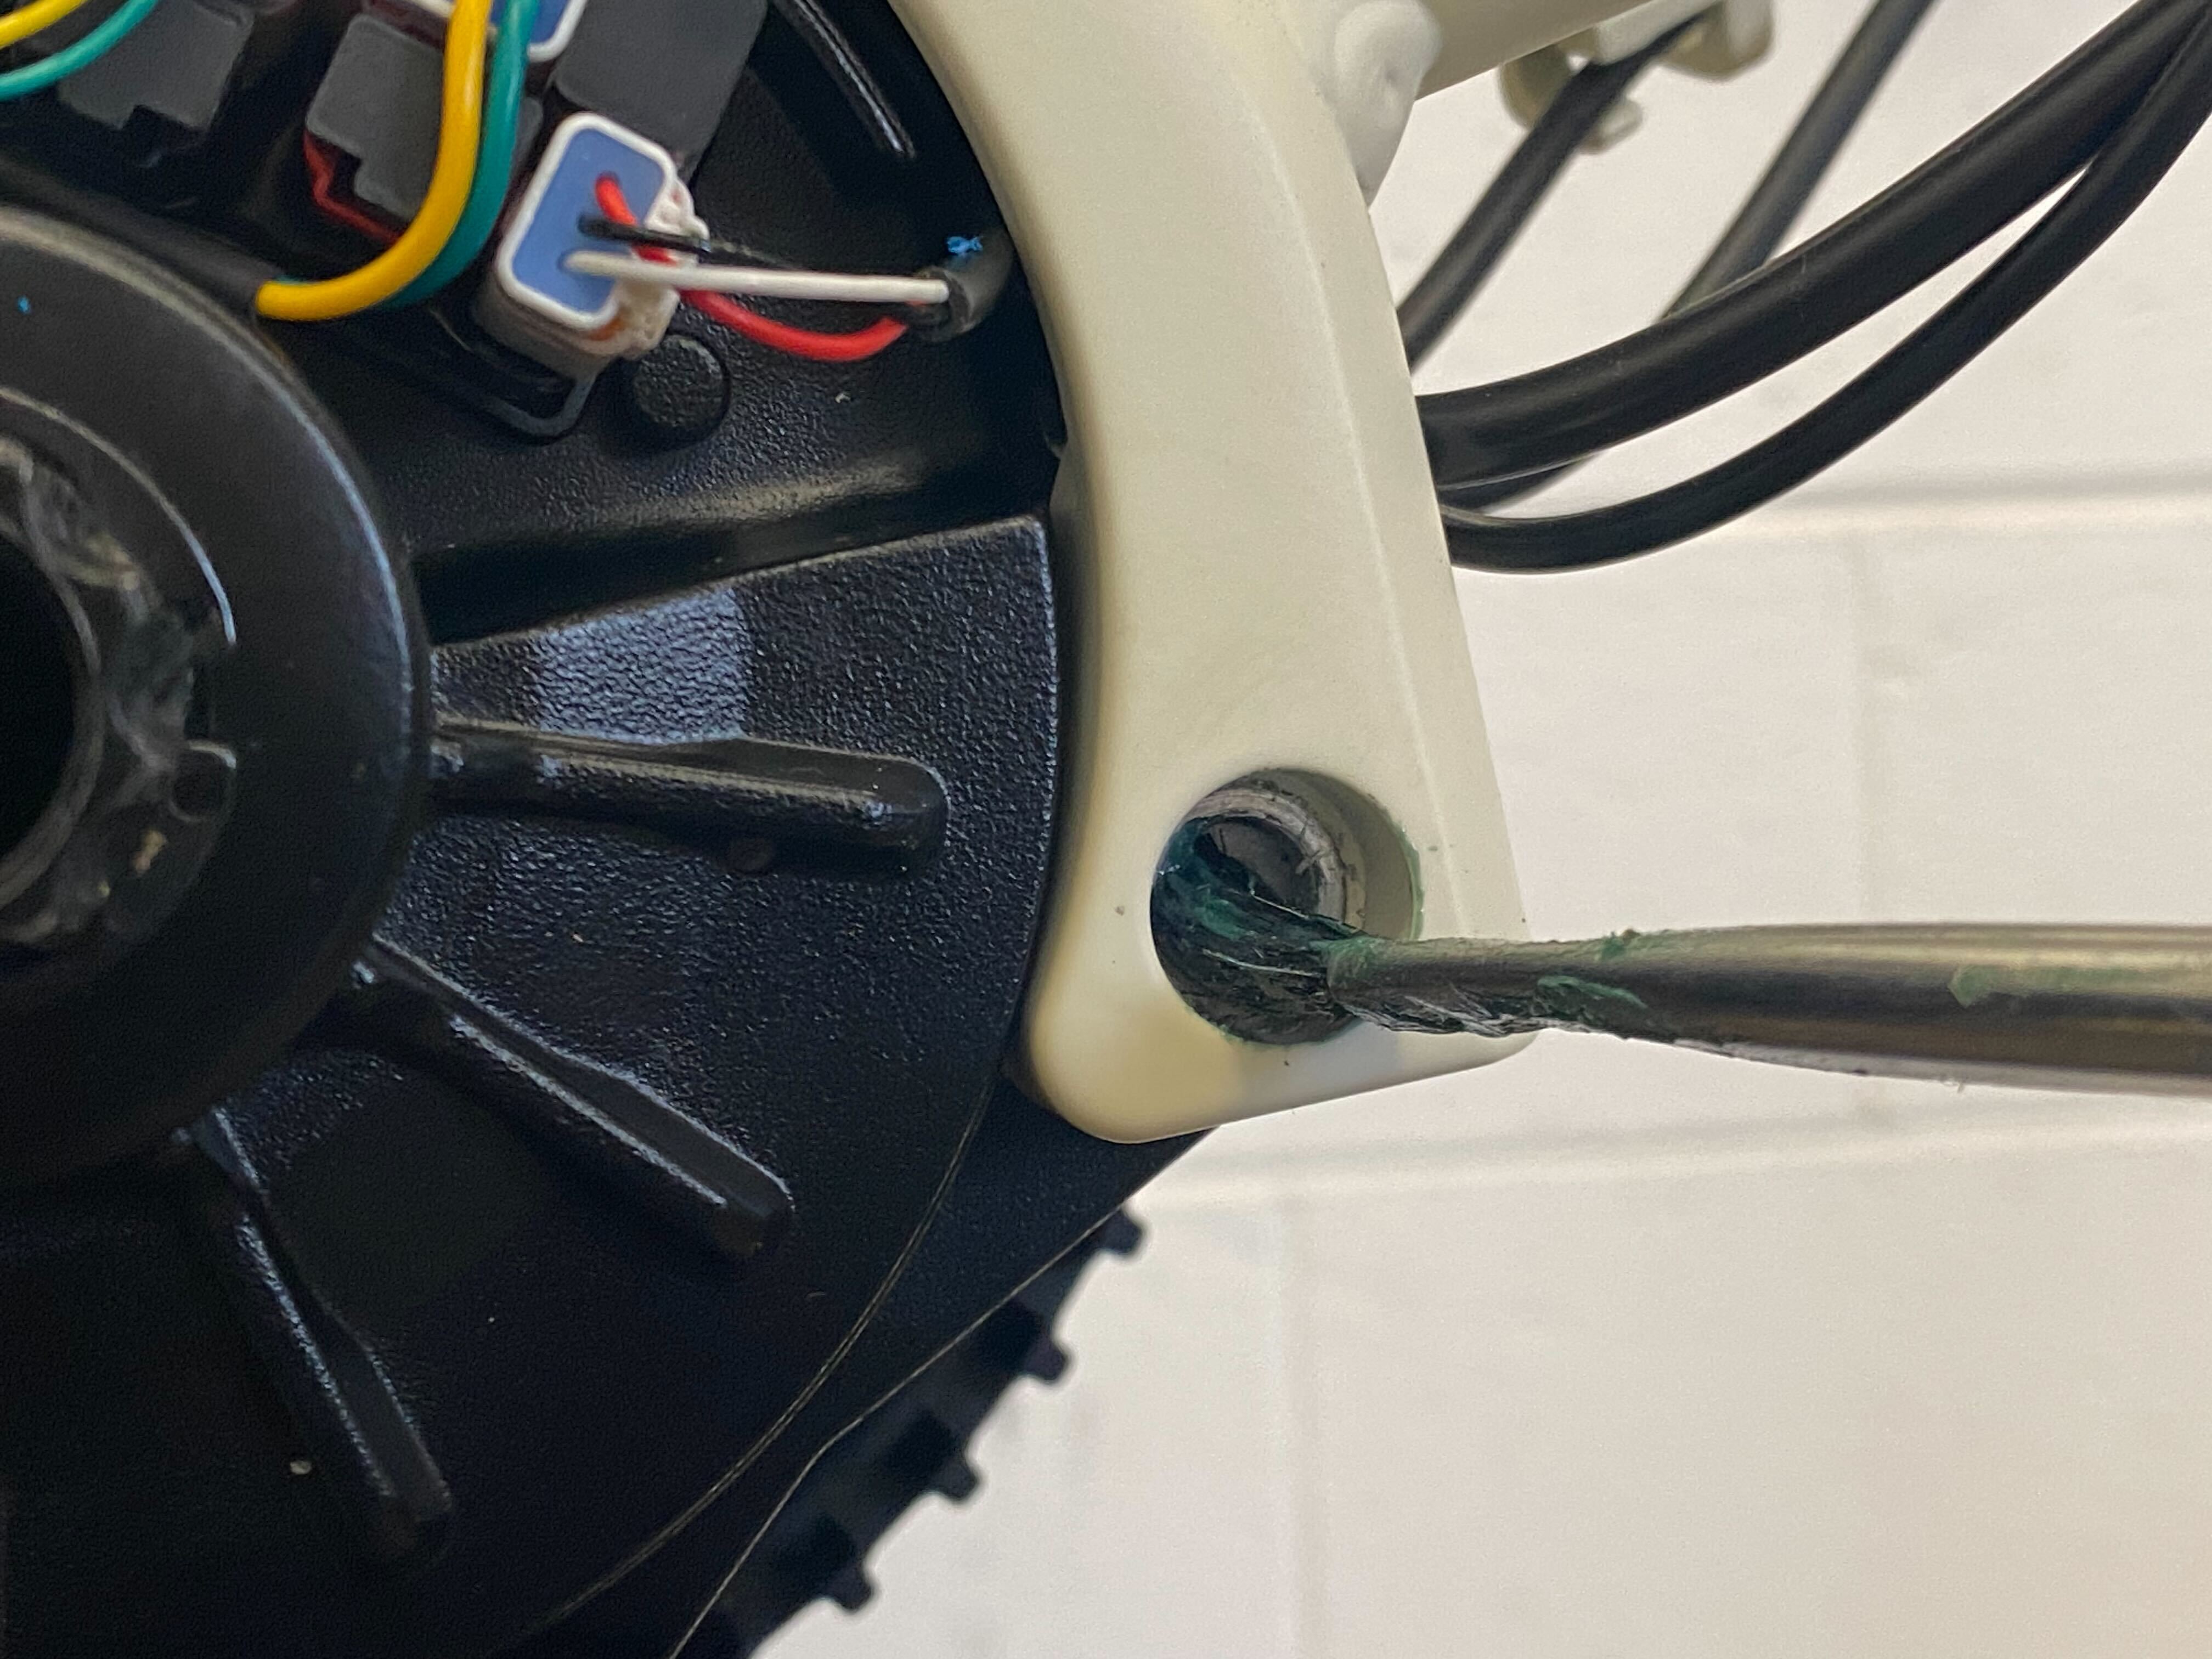 Greasing the rearward bolt
Step 7: Reinstallation
You can now reverse the abovementioned process to get back on the road!
- Plastic motor cover
- Crank arm
- Install to 40nm
- Rear wheel