Troubleshooting: Alpha I Bottom Bracket Service and ReplacementUpdated 6 months ago
The first-generation Vvolt Alpha is equipped with a cadence-sensing, English-threaded square taper bottom bracket. Symptoms that require service include:
- Creaking while pedaling
- Play when rocking the crank arms back and forth
- No motor response, but walk mode functions
The bottom bracket is wired, and the drive-side cup has notches. 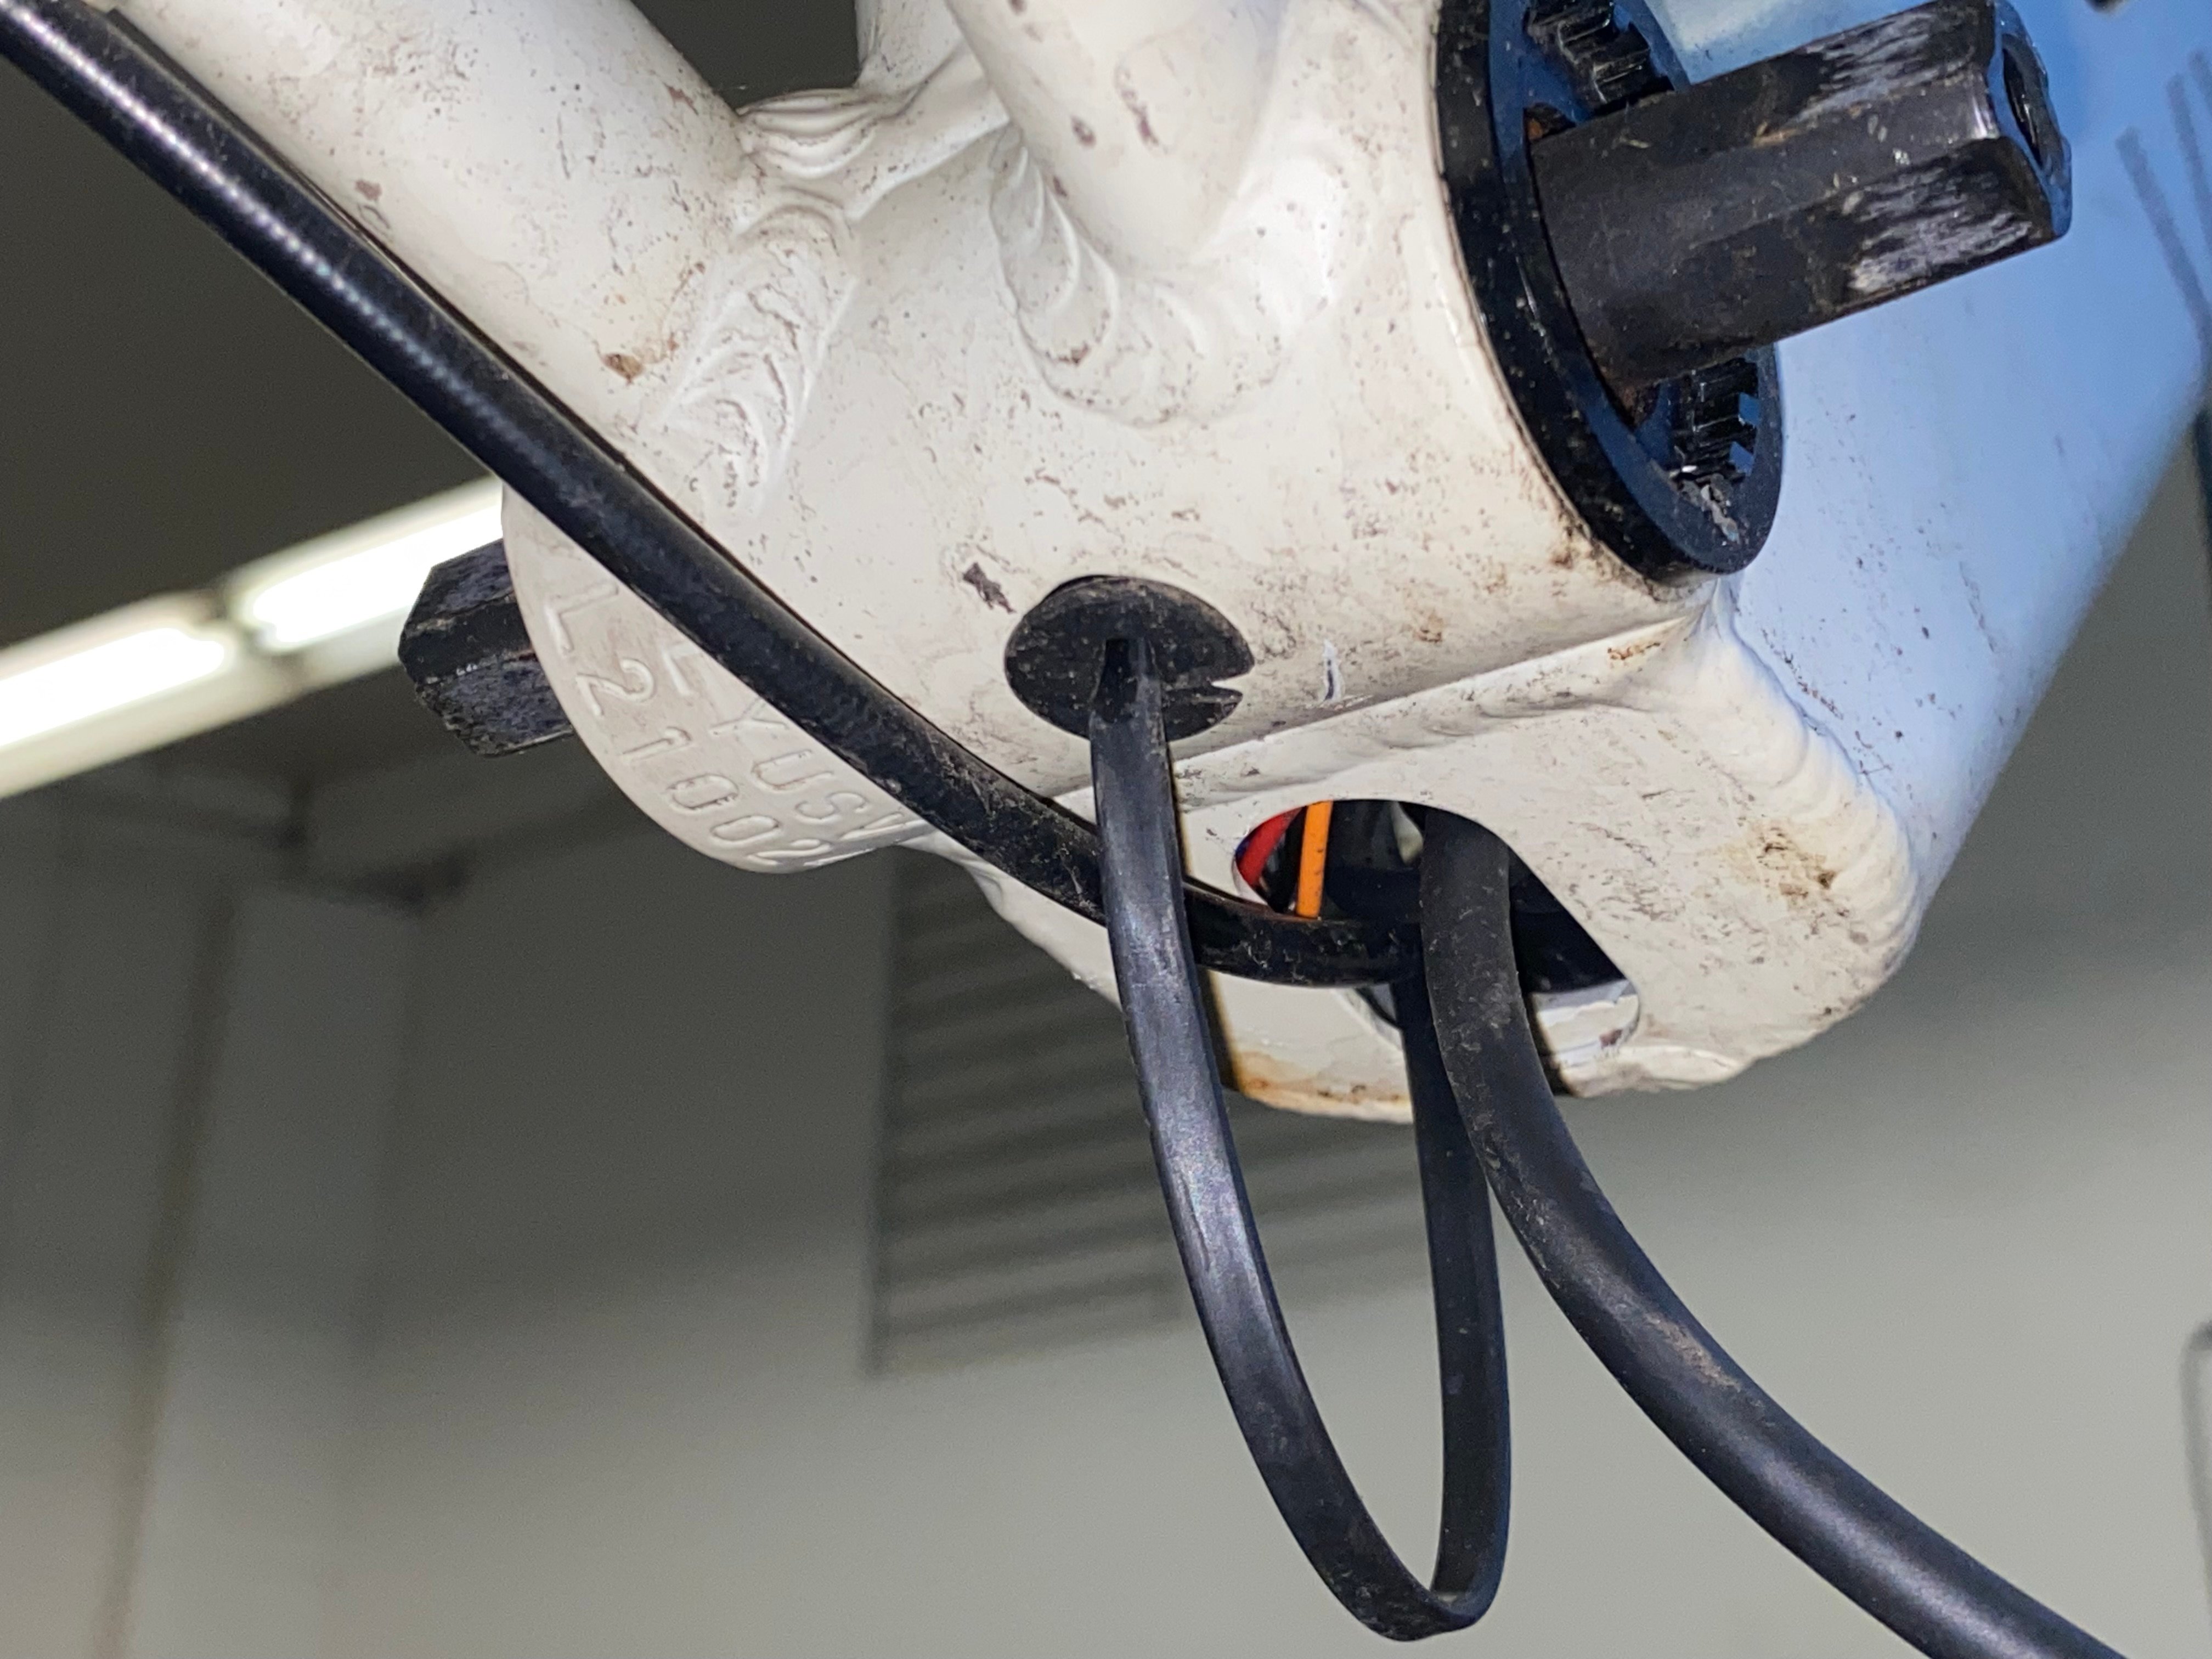 Ye Olde Cadence-Sensing Square Taper Bottom Bracket To avoid damaging or severing the wire during removal or installation, follow these handy instructions!
This instructional document begins after the removal of the Alpha cranks, which requires an 8mm wrench to remove the crank fixing bolts and a square taper crank puller to remove the cranks. Don't know what that is? Head to a bike shop :^)
Tools Required
- Stubby #2 Philips screwdriver
- Sealed cartridge bottom bracket tool (BBT-22 or equivalent)
- Soft mallet
- Grease
Removal and Installation
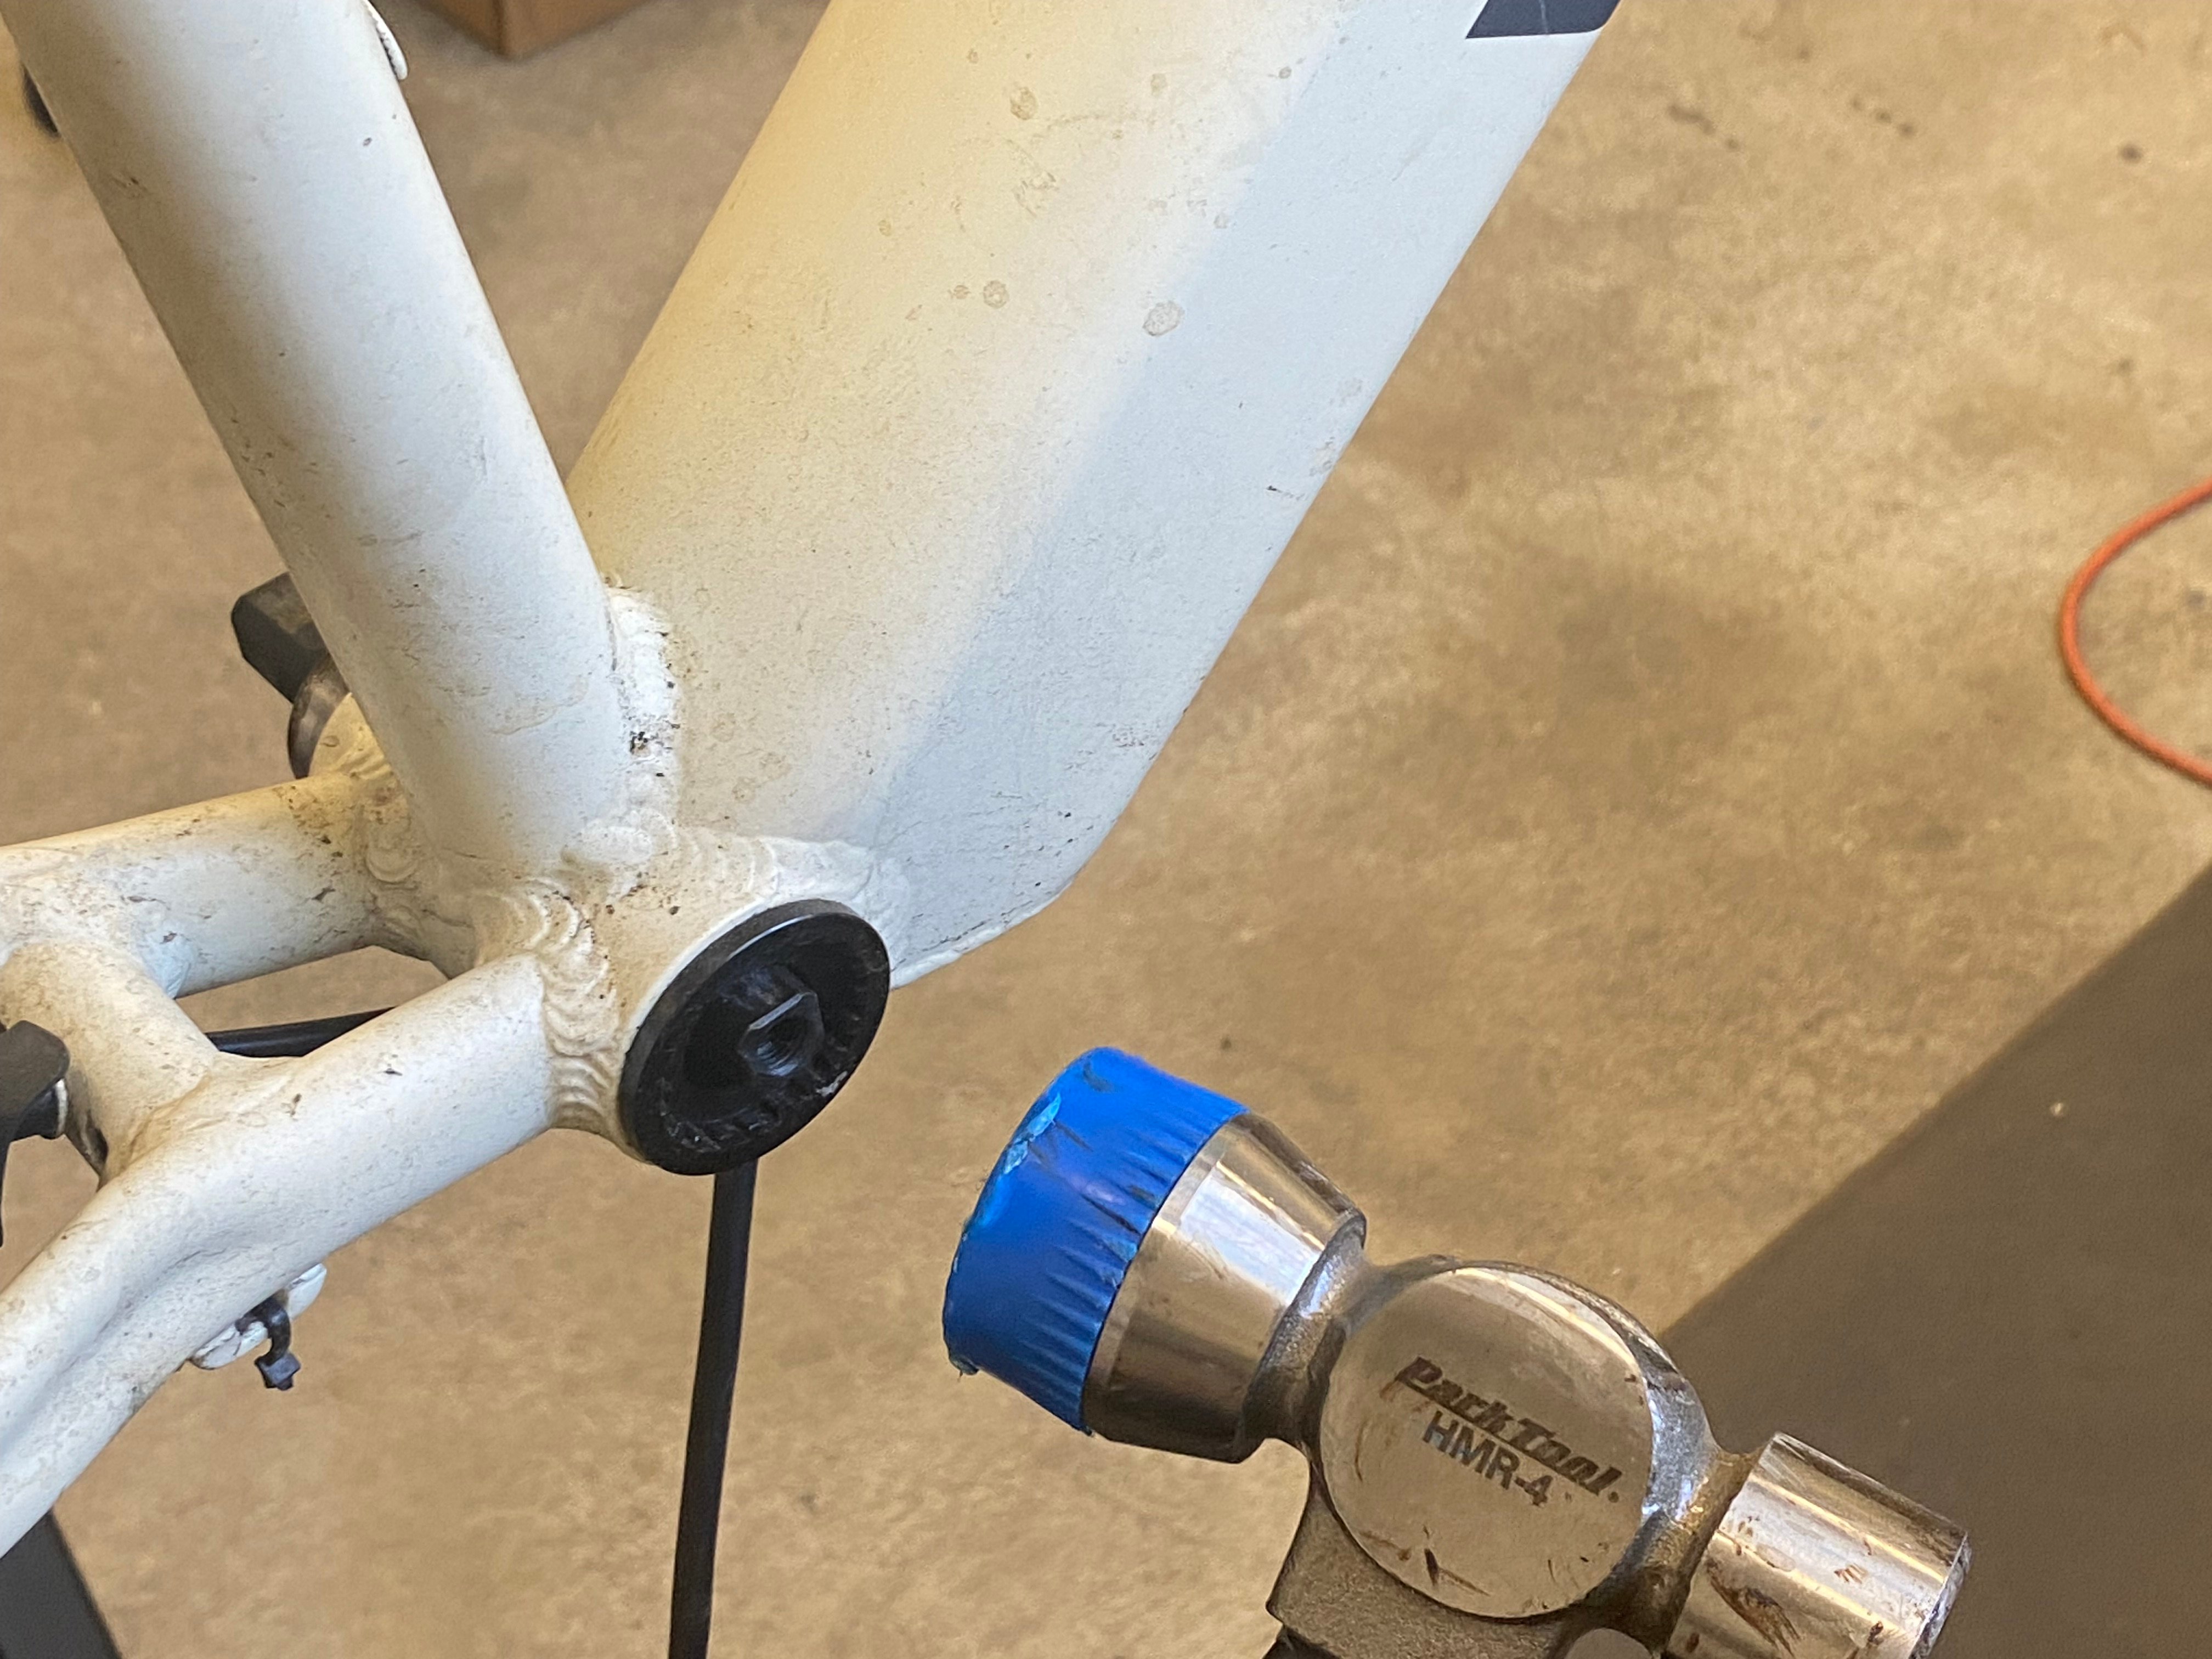
- Begin by ensuring that both cups are appropriately torqued. If loose, add torque, reinstall the cranks, and test. If a creak is still present, move to the next steps. Disregard this step if you're replacing the bottom bracket.
- Remove the battery and unplug the motor cable, then remove the discharge terminal. Find the bottom bracket wire and unplug it.
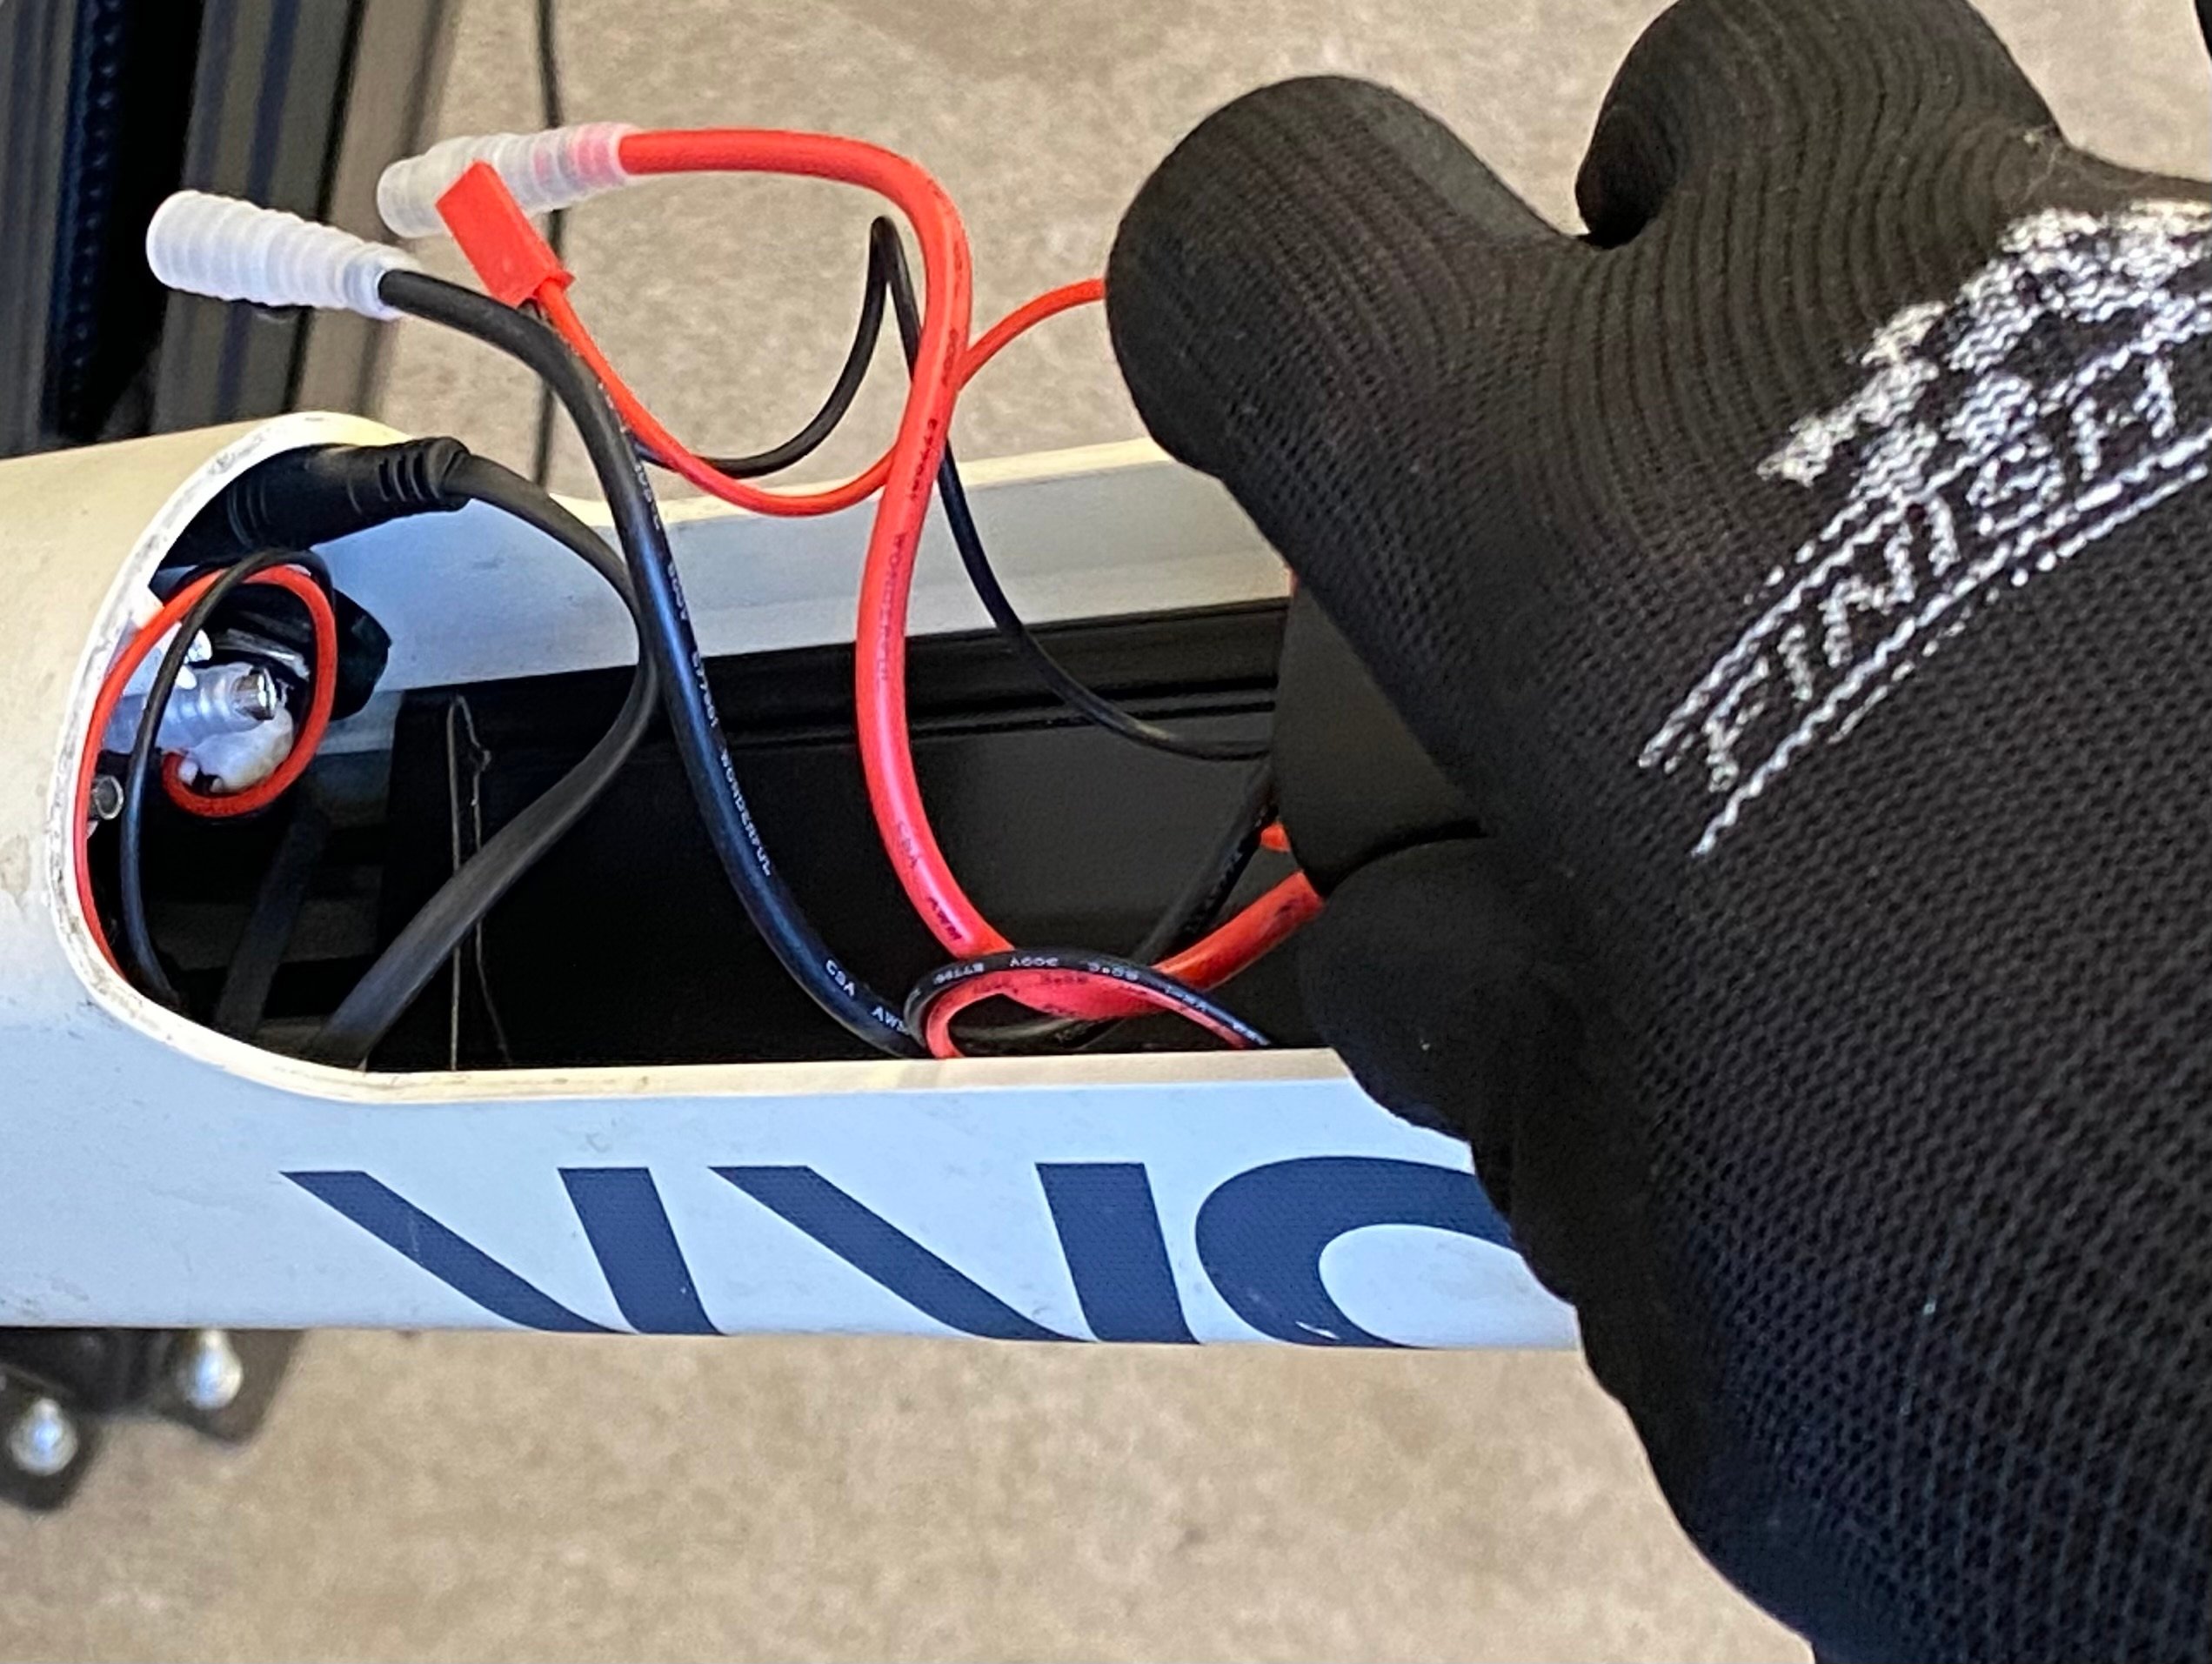 Removing the discharge terminal
 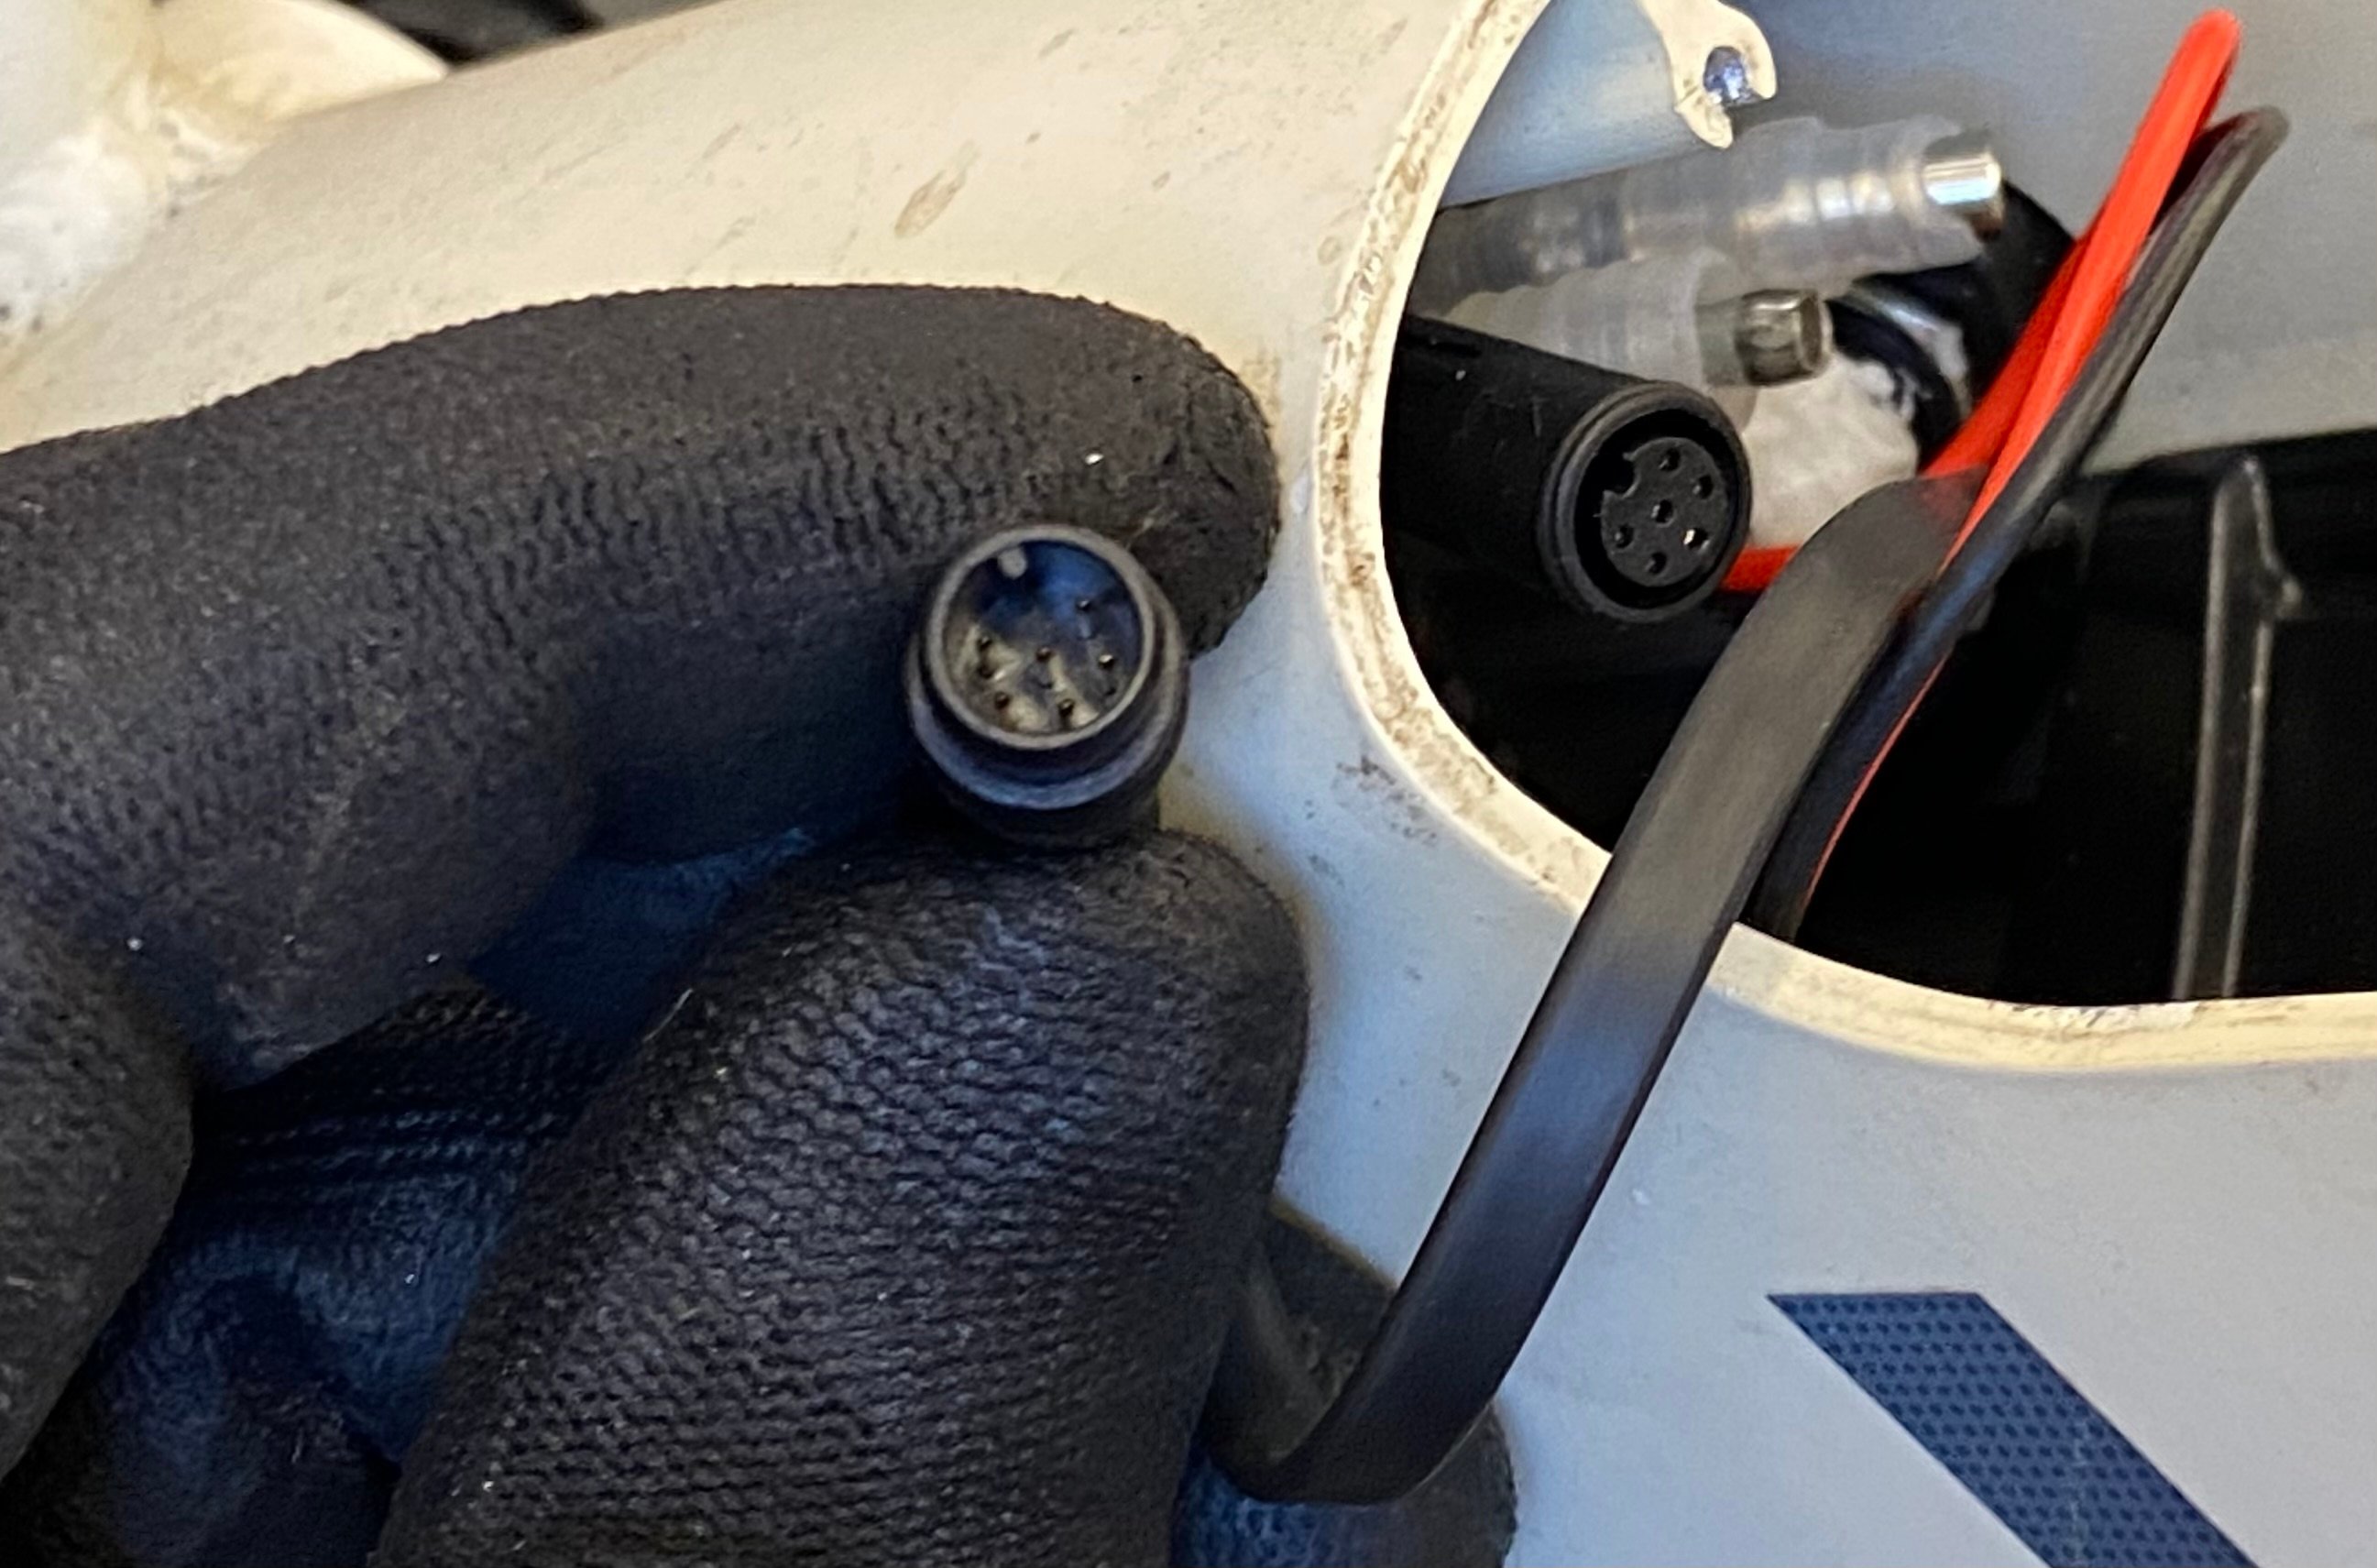 Bottom bracket plug
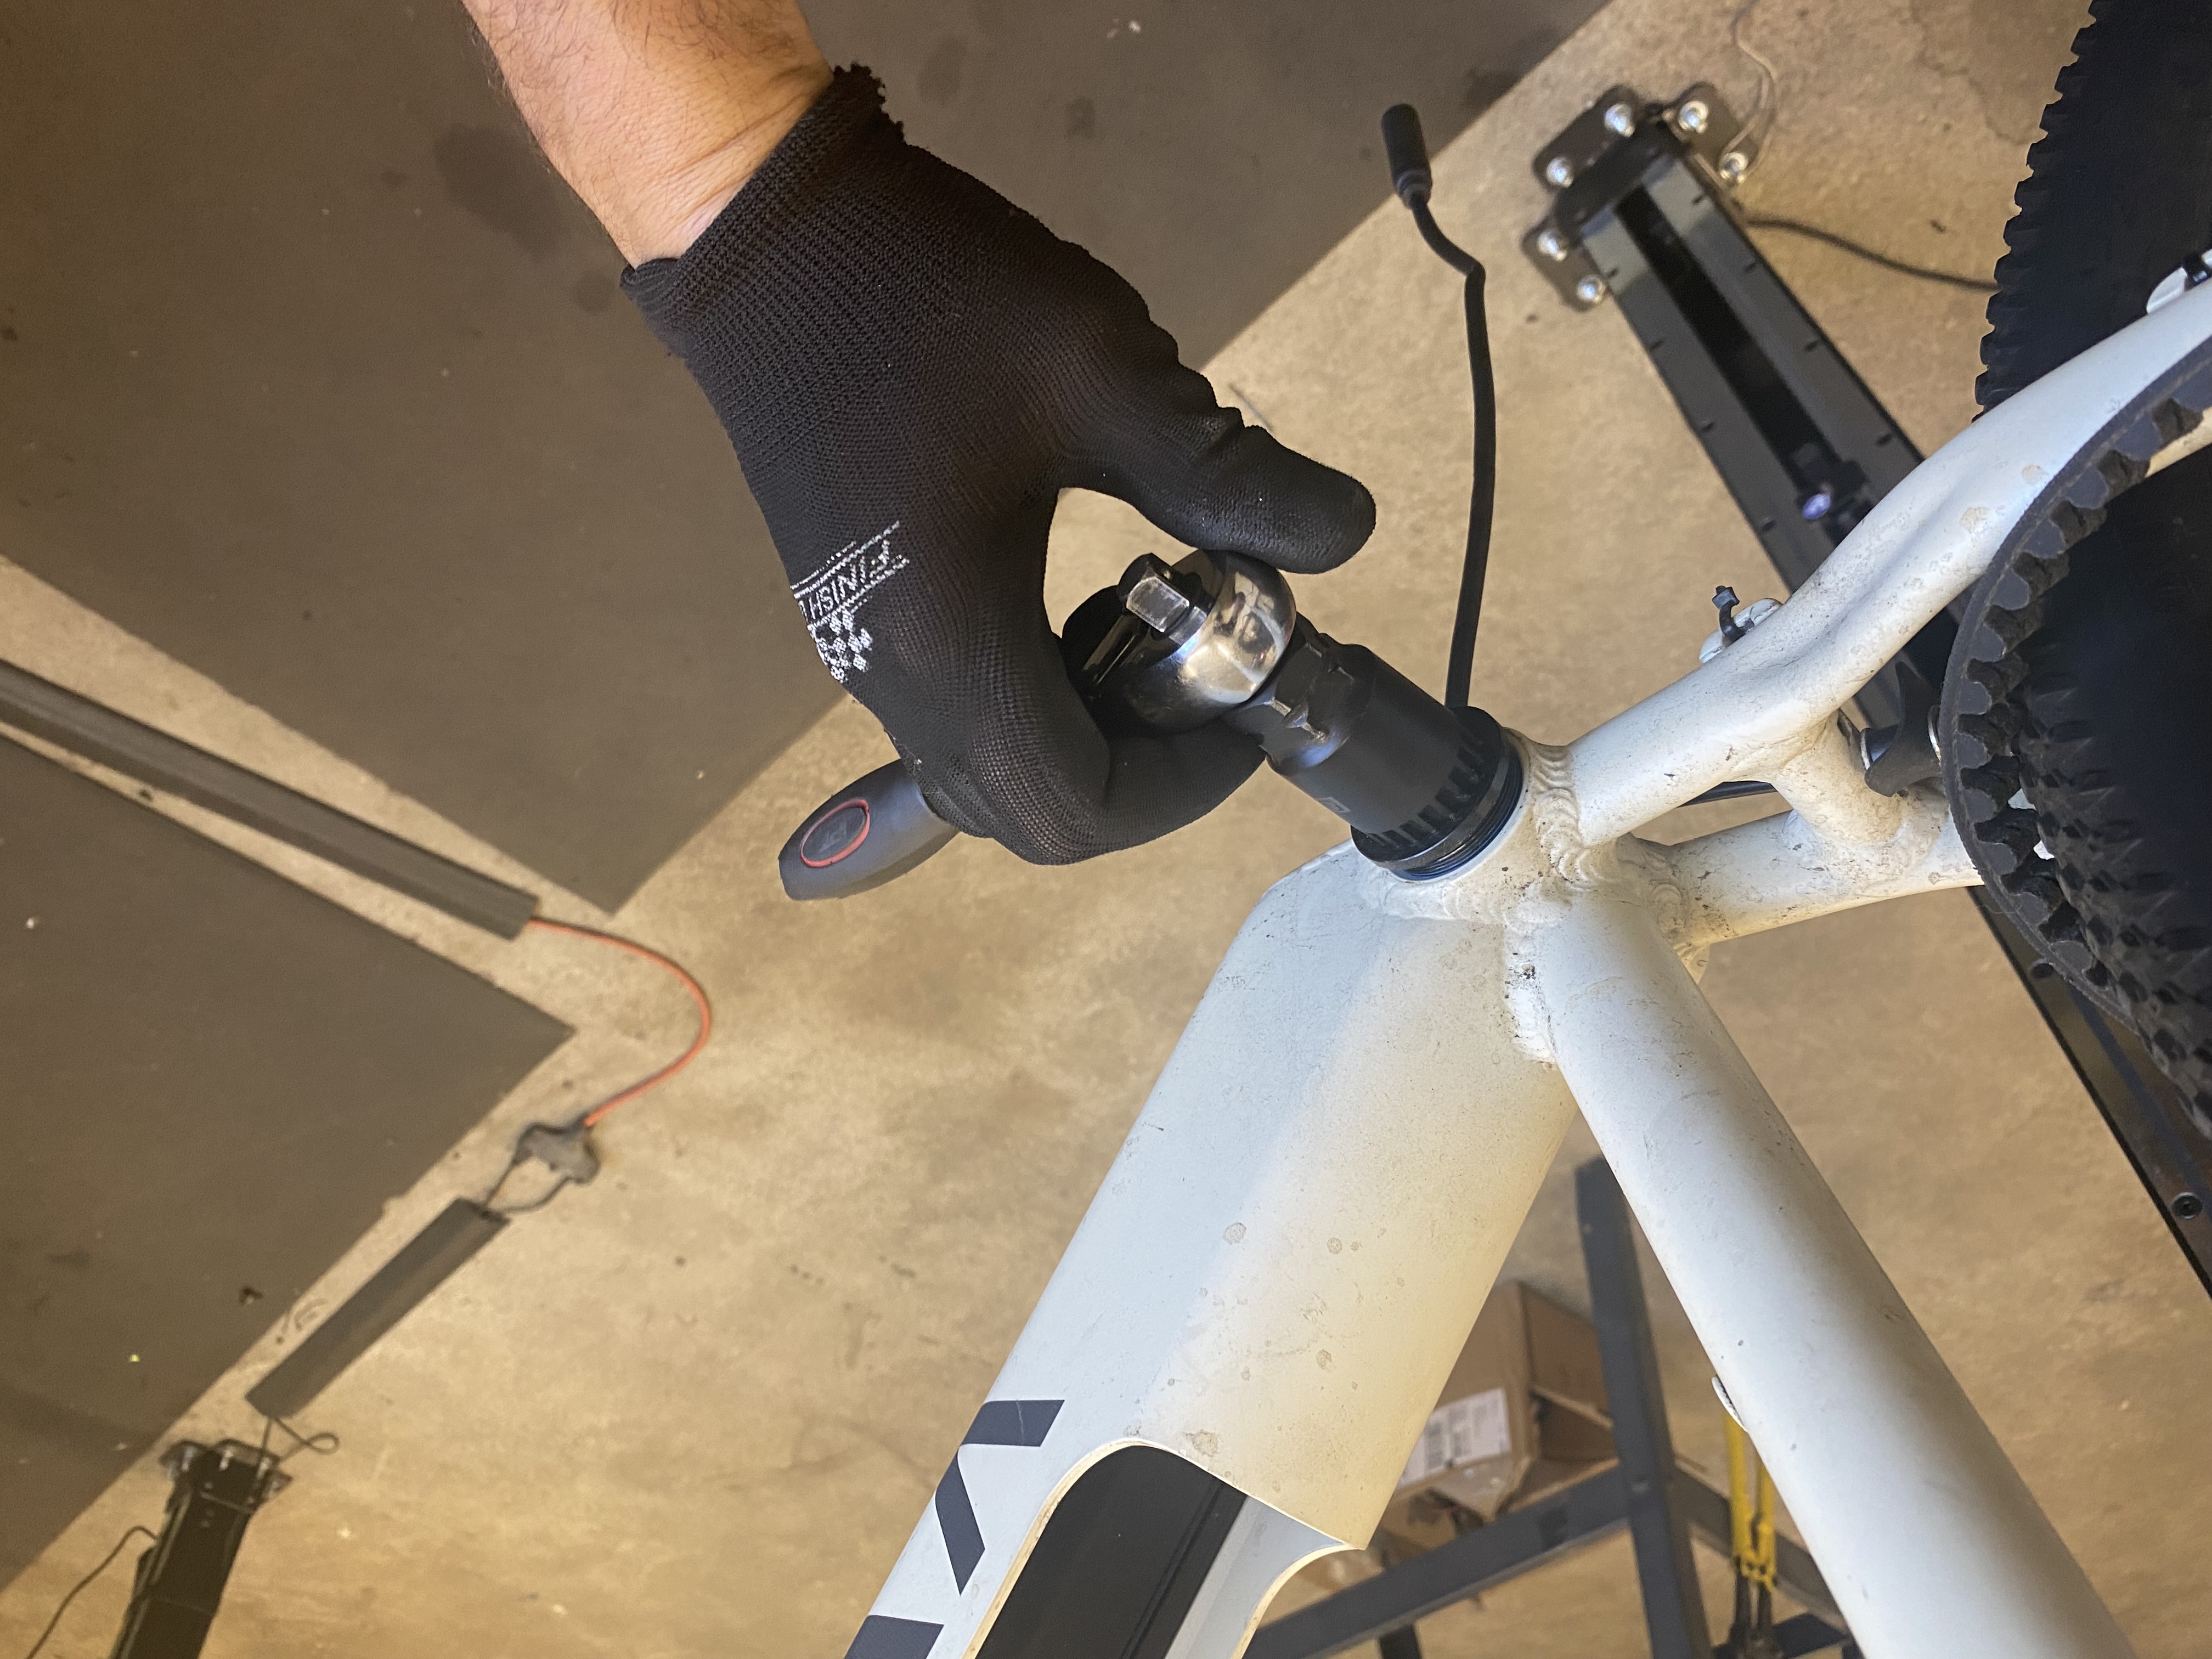
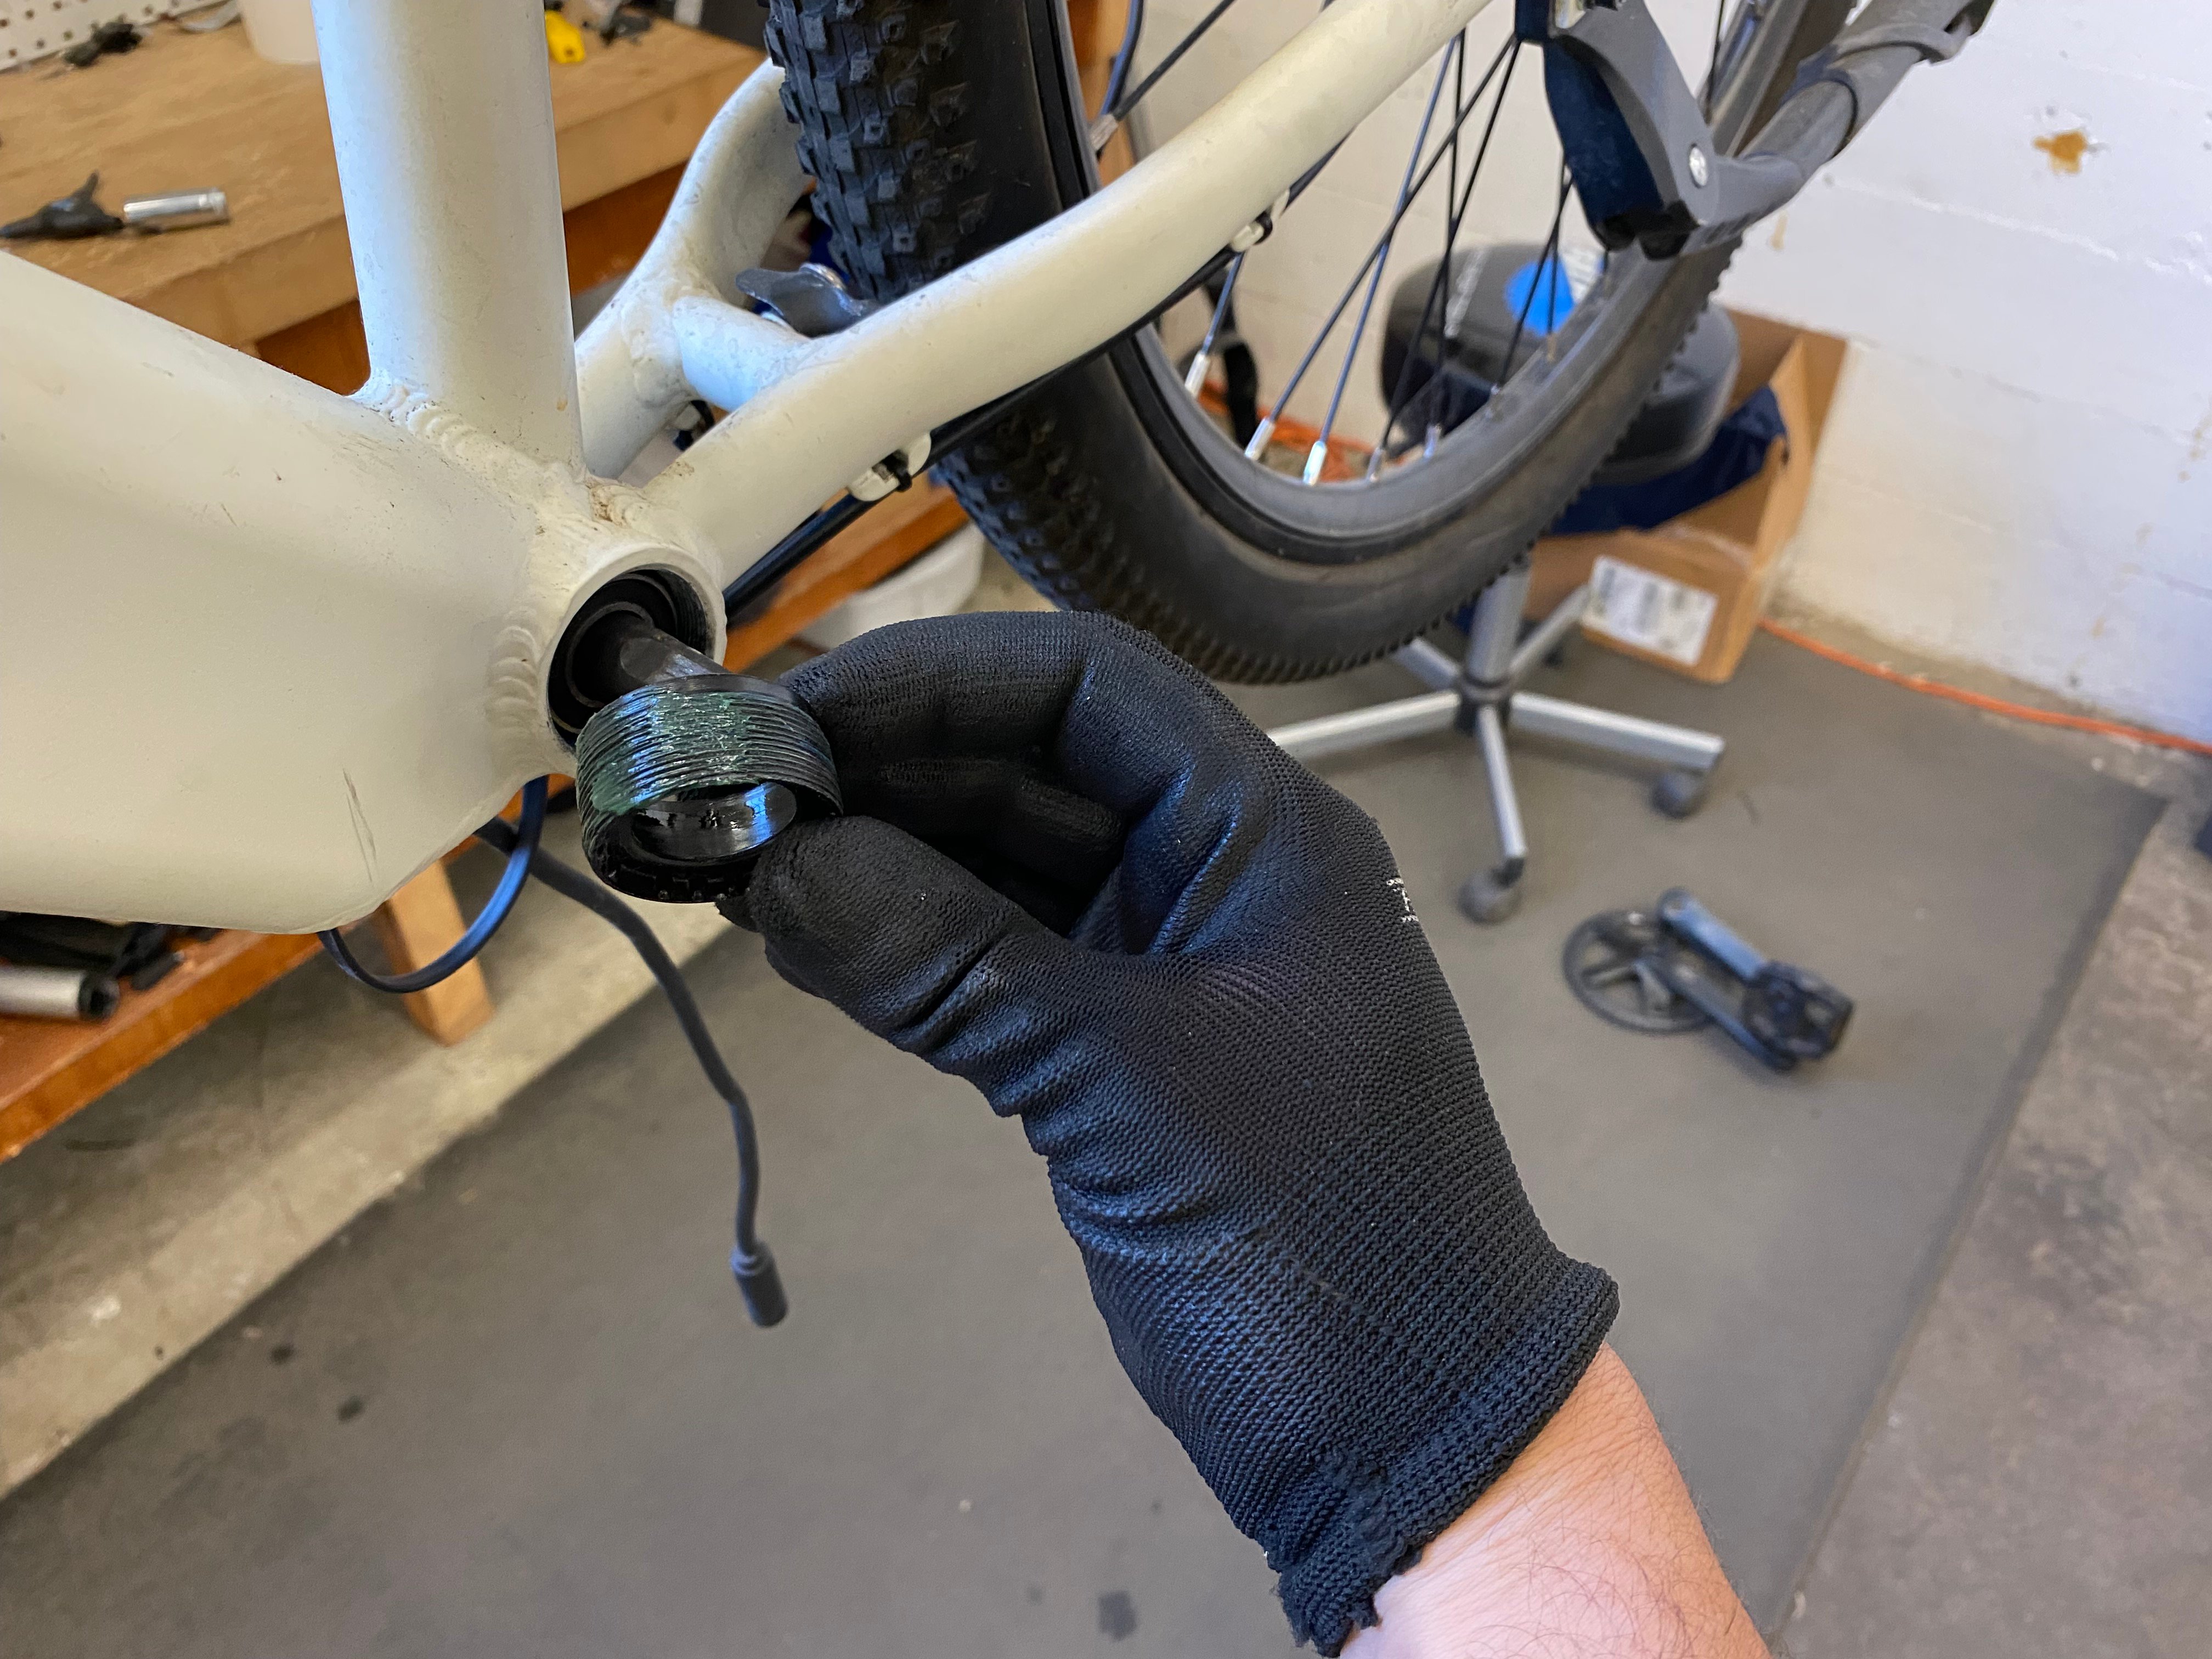
 - Remove the non-drive side cup.
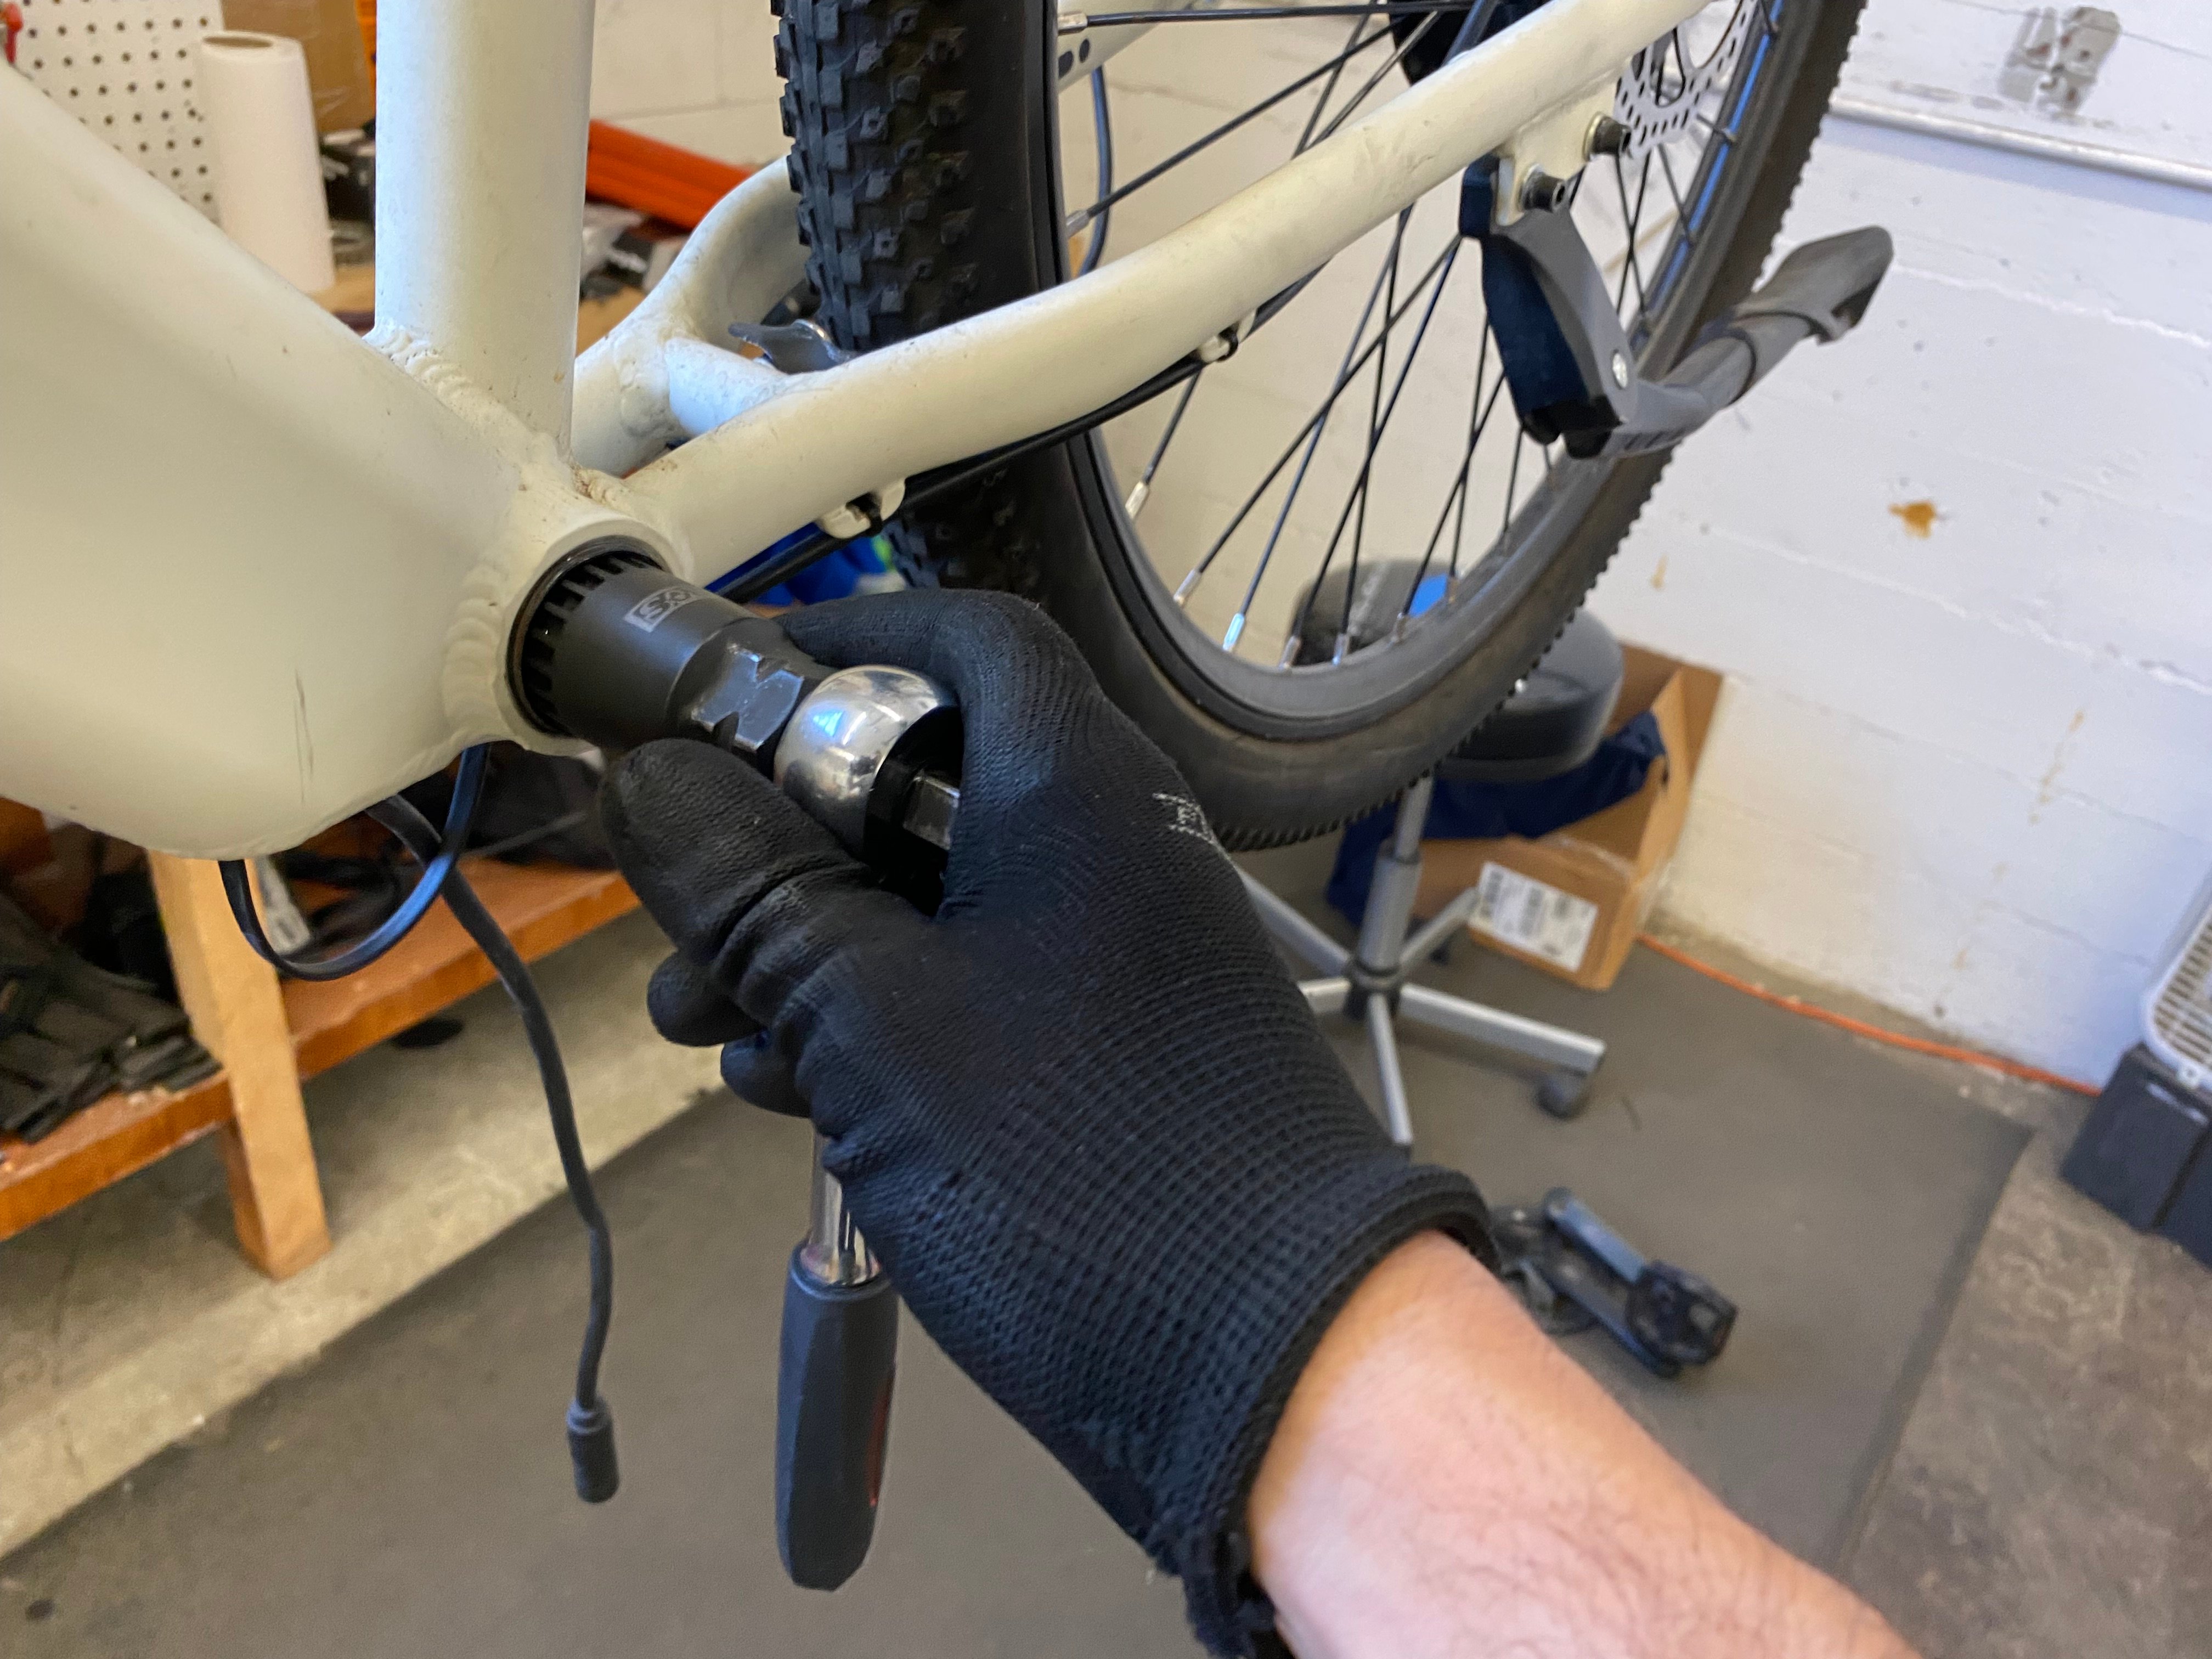 Cool tool, dude!
 - Use the soft mallet to gently hammer the bottom bracket spindle from the drive side.
 Just taaaaap it out! Tap tap tap it out.
 - You can now pull the bottom bracket out of the non-drive side of the bottom bracket shell, ensuring you don't damage the wire when pulling it out of the guide hole at the bottom of the shell.
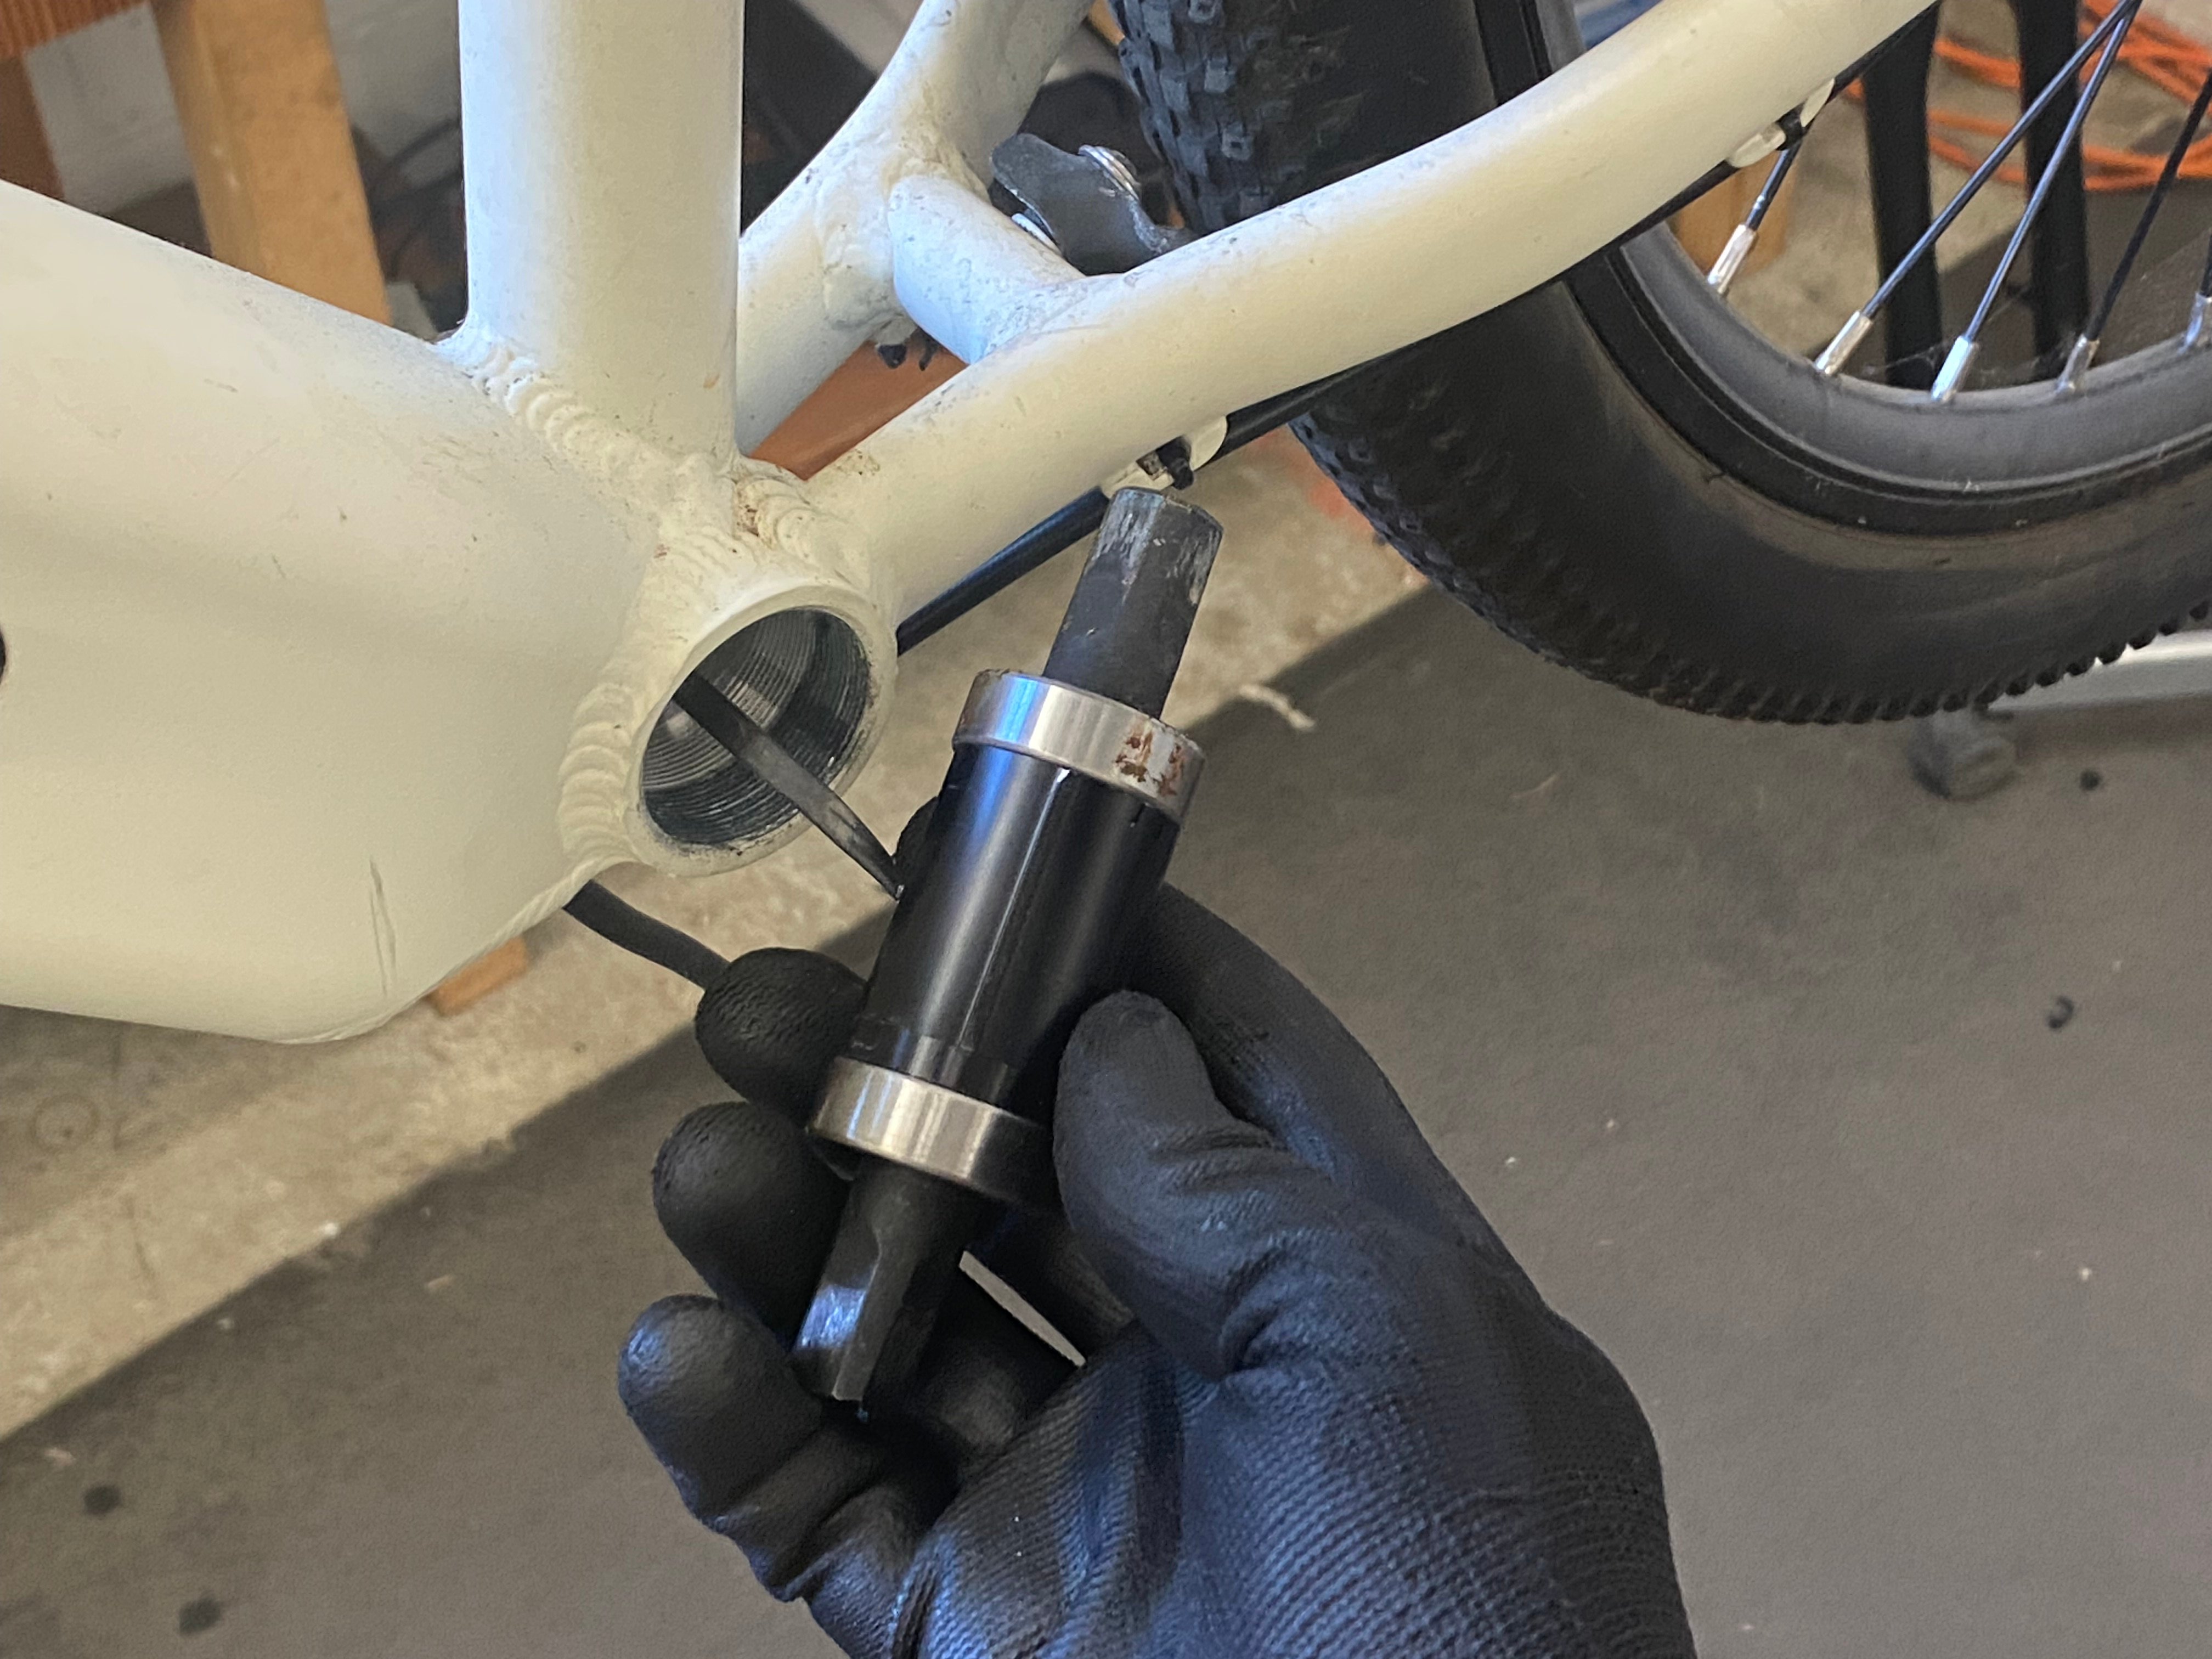 Hey BB, it's nice to see you!
 - You can now remove the drive-side cup.
 Out we go!
 - For reinstallation, note the notches present within the drive-side cup. You'll be matching the keyed portion on the cartridge with the notches in the cup:
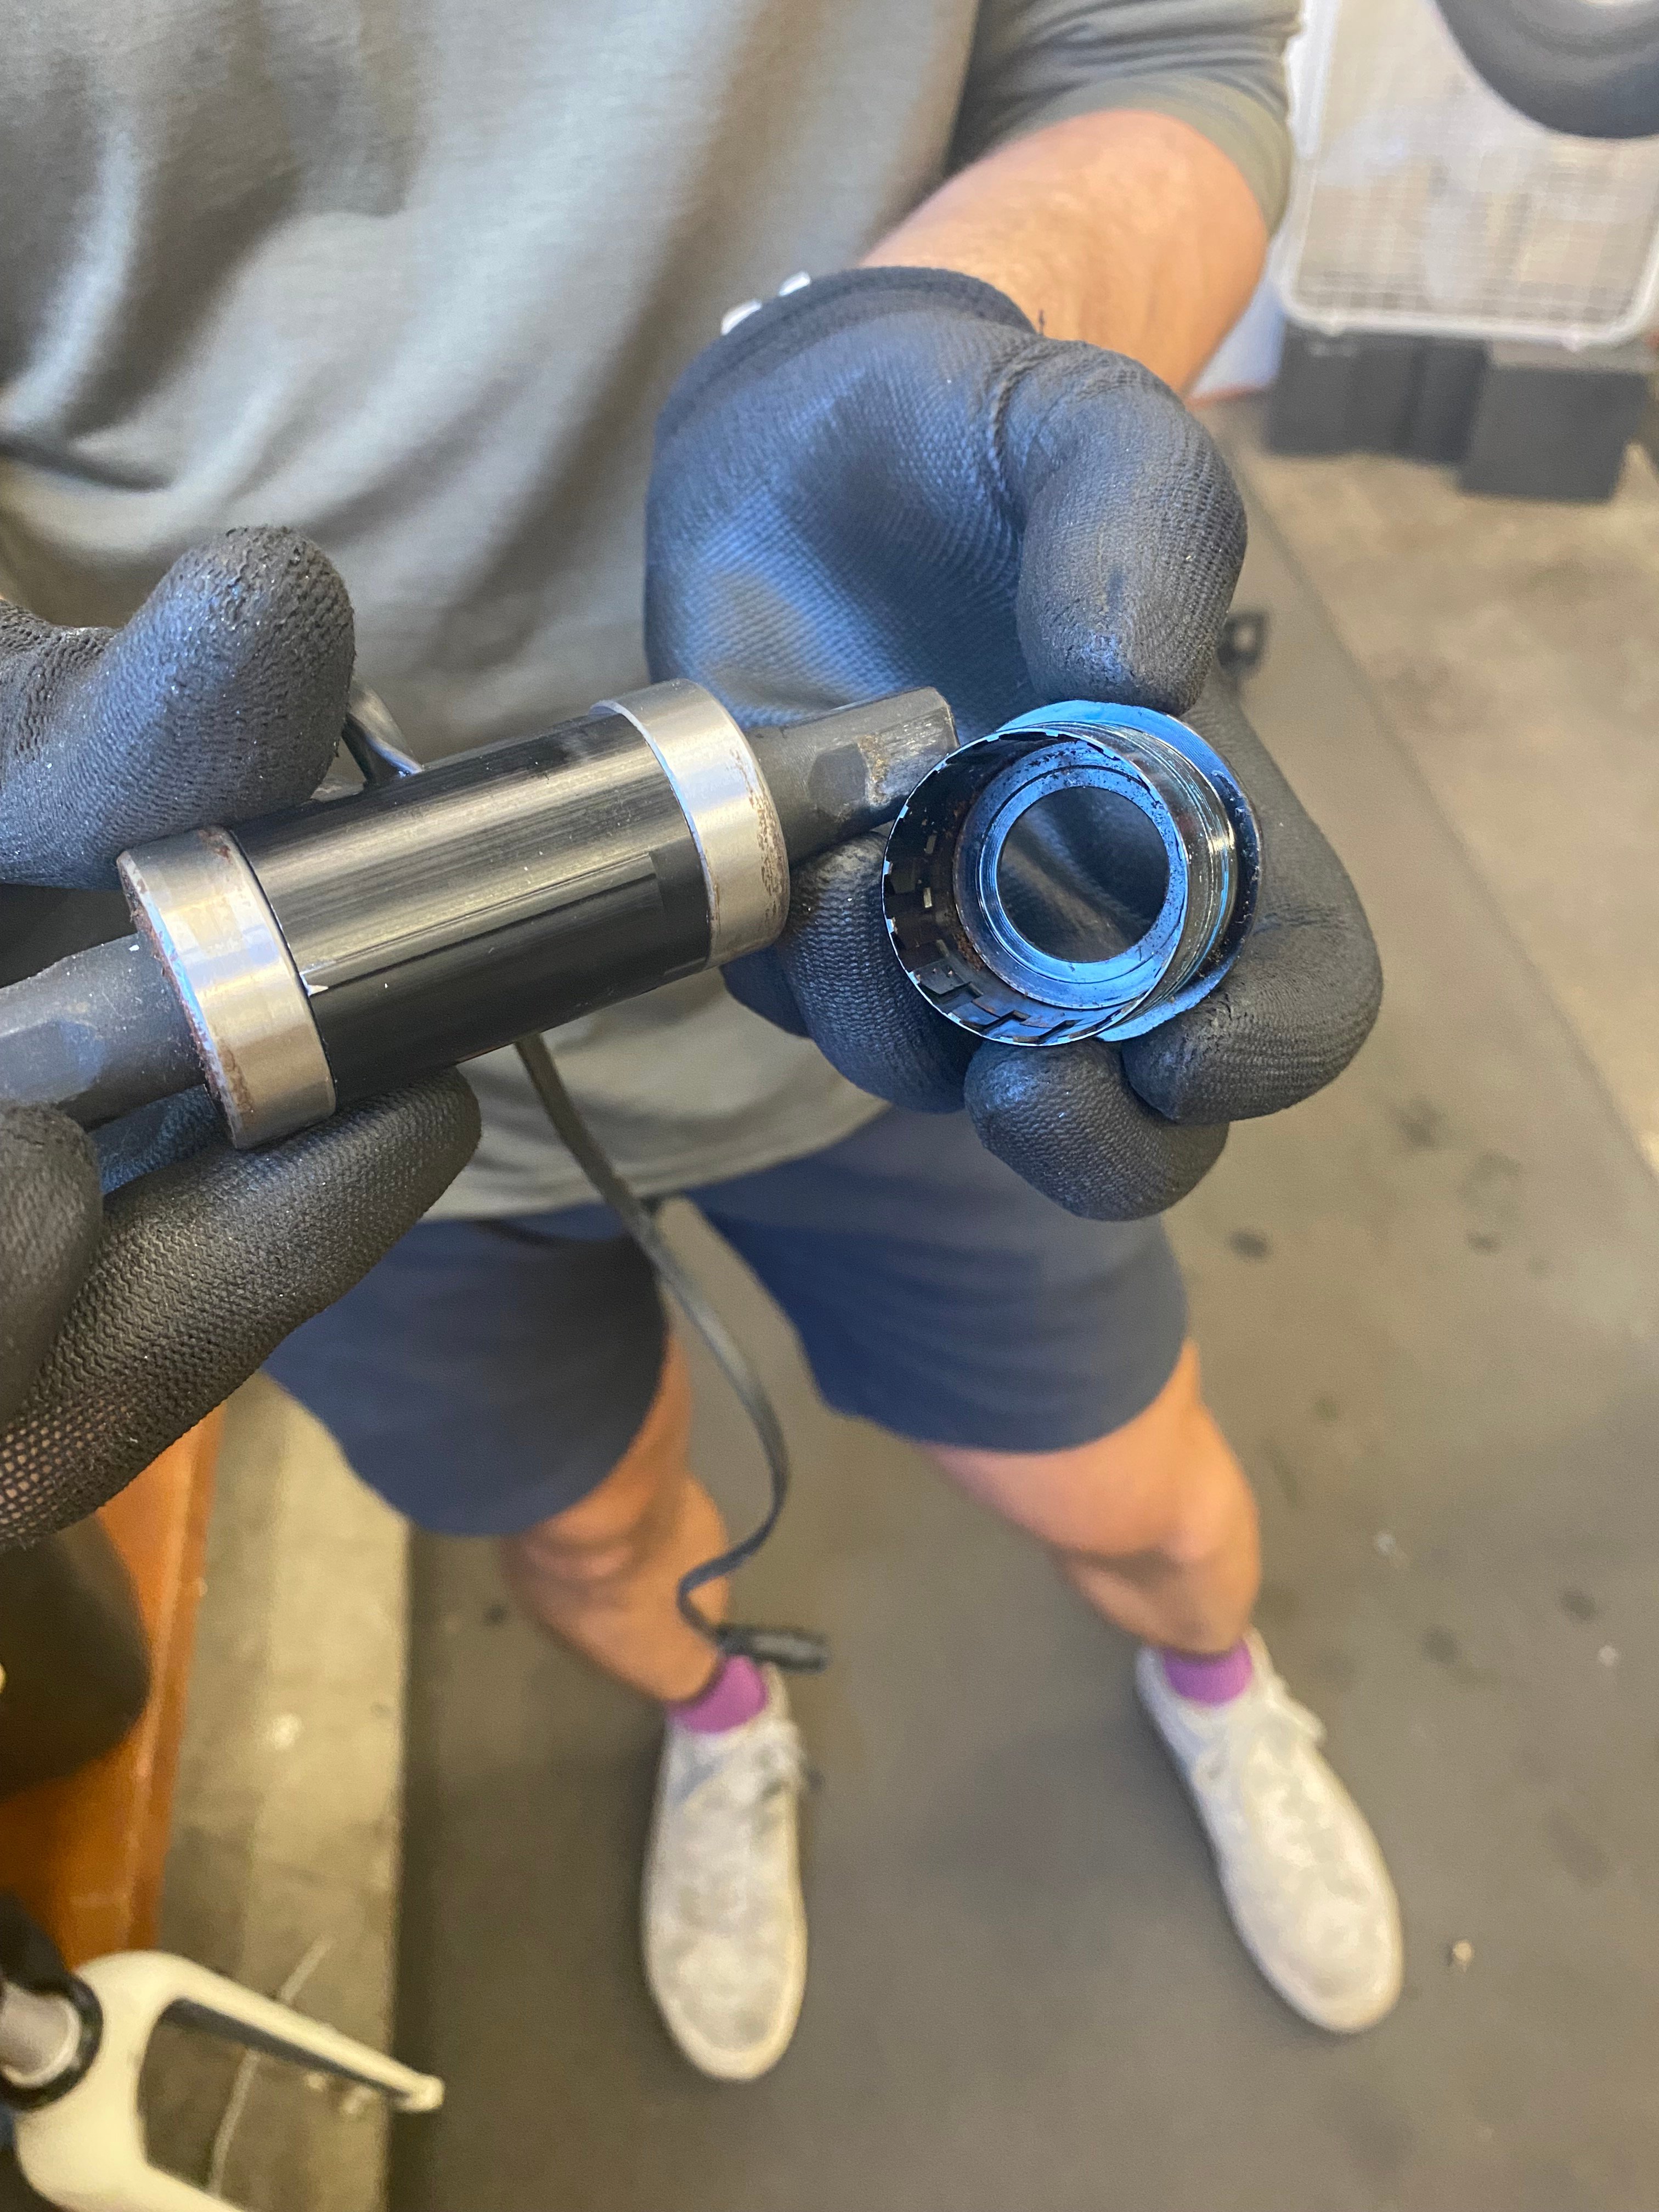 Nachos. I mean, NOTCHES. Now I'm hungry.
 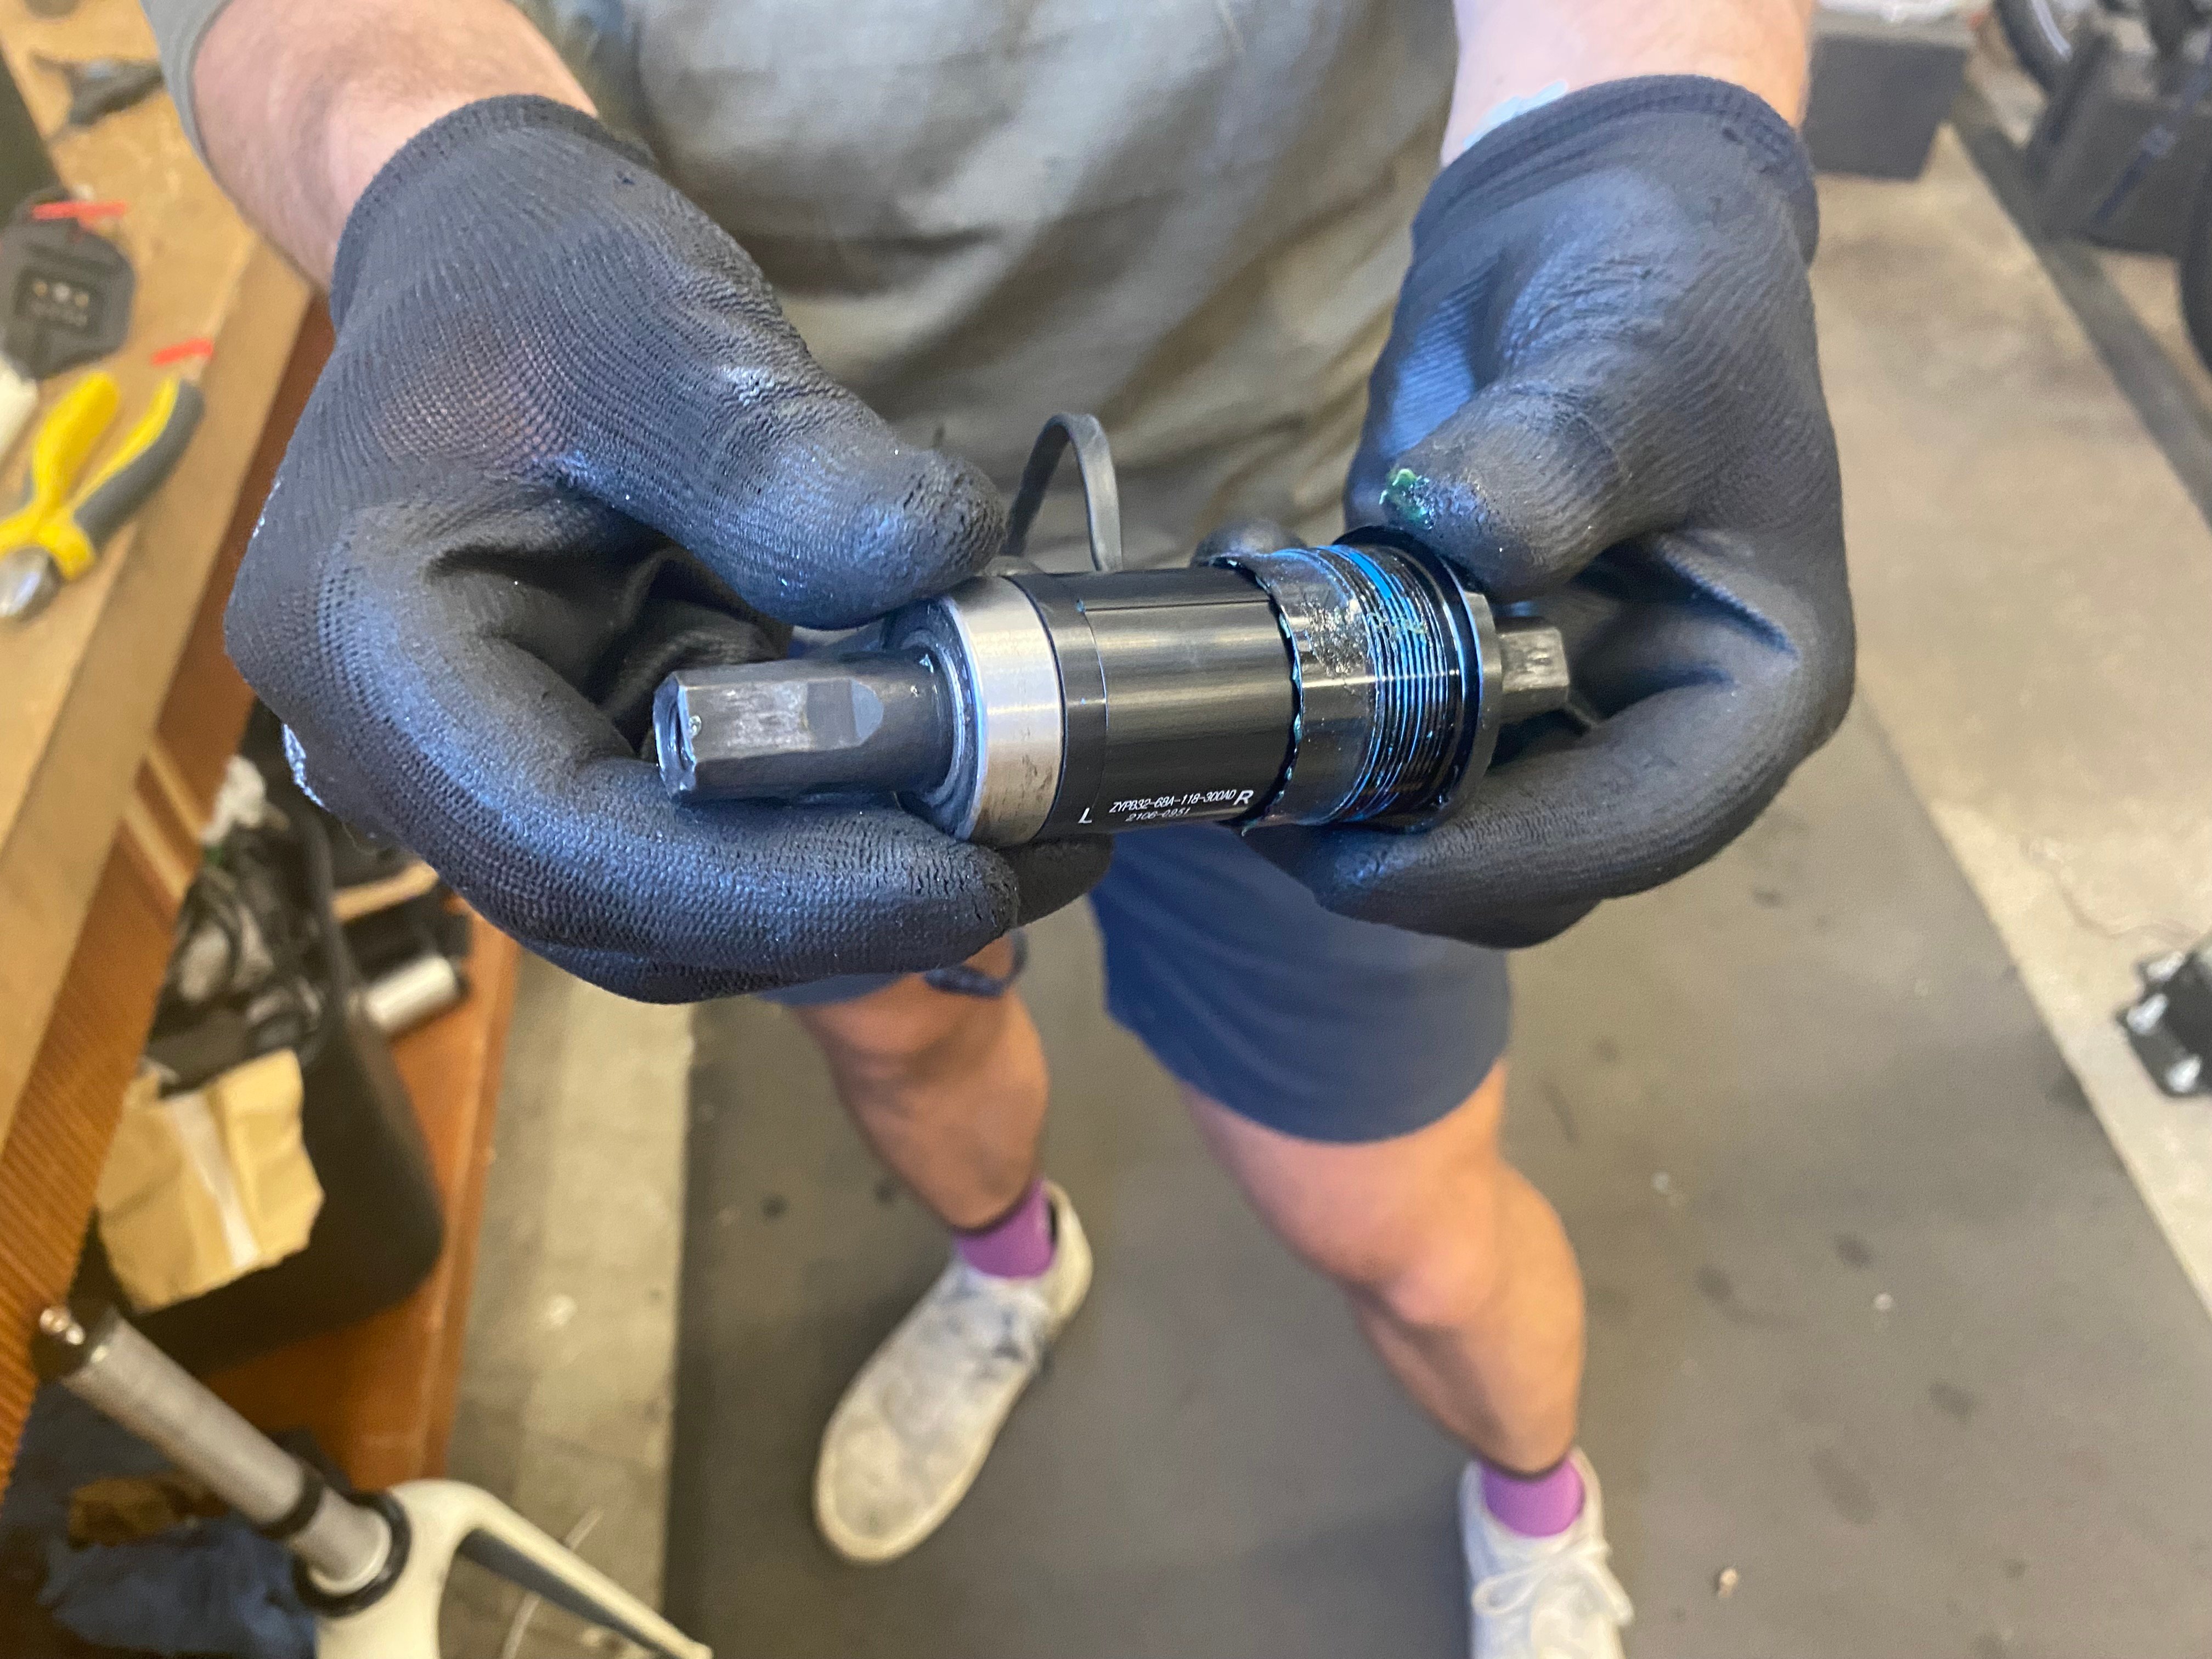 We recommend greasing the notches prior to installation
 - During reinstallation, you'll begin by installing the greased drive-side cup to a torque of between 35-40 Nm. Then, you'll route the cable (followed by the cartridge) through the shell from the non-drive side and out the bottom cable port before installing the cartridge. You may need to use the mallet to tap the cartridge into the drive-side cup once you've aligned the cartridge key with the notches inside the drive-side cup.
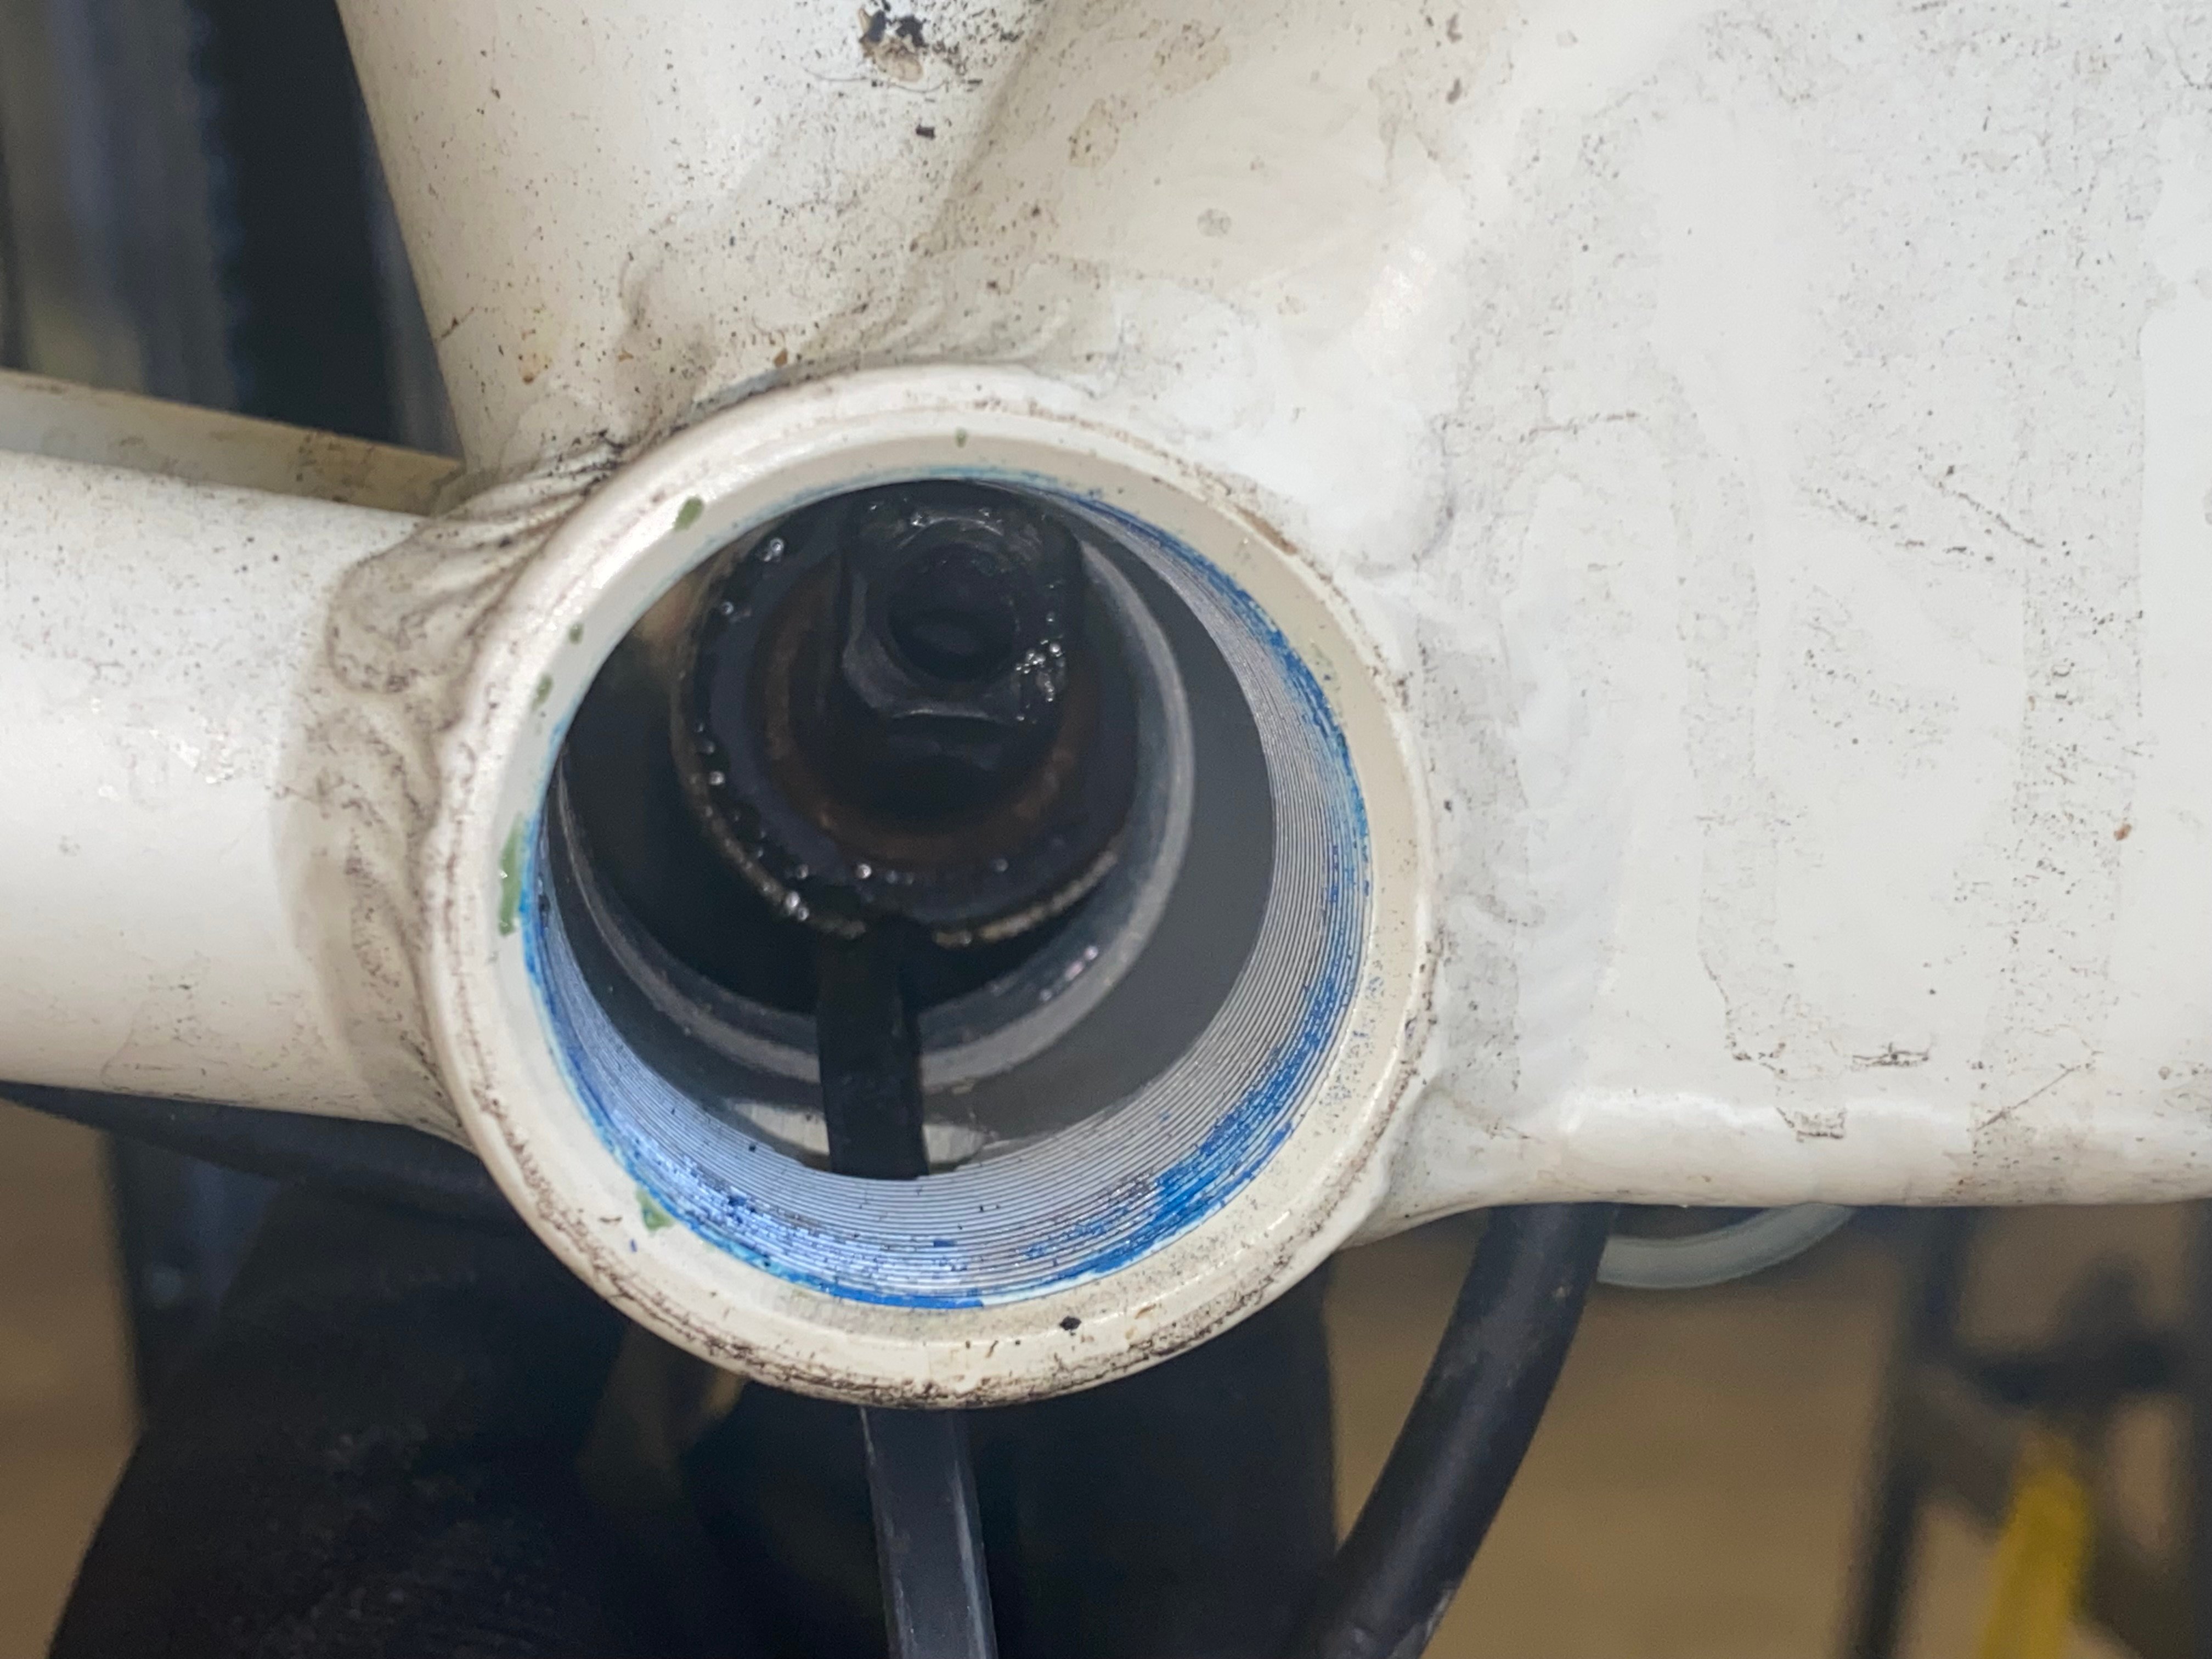 In we go! Drive-side cup not installed so you can see the wire routing
 - With the cartridge installed in the drive-side cup, grease and install the non-drive-side cup to a torque of between 35-40nm.
- Plug in the BB wire and associated power leads from the discharge terminal, plug in the motor wire, reinstall the cranks, and test that ebike!